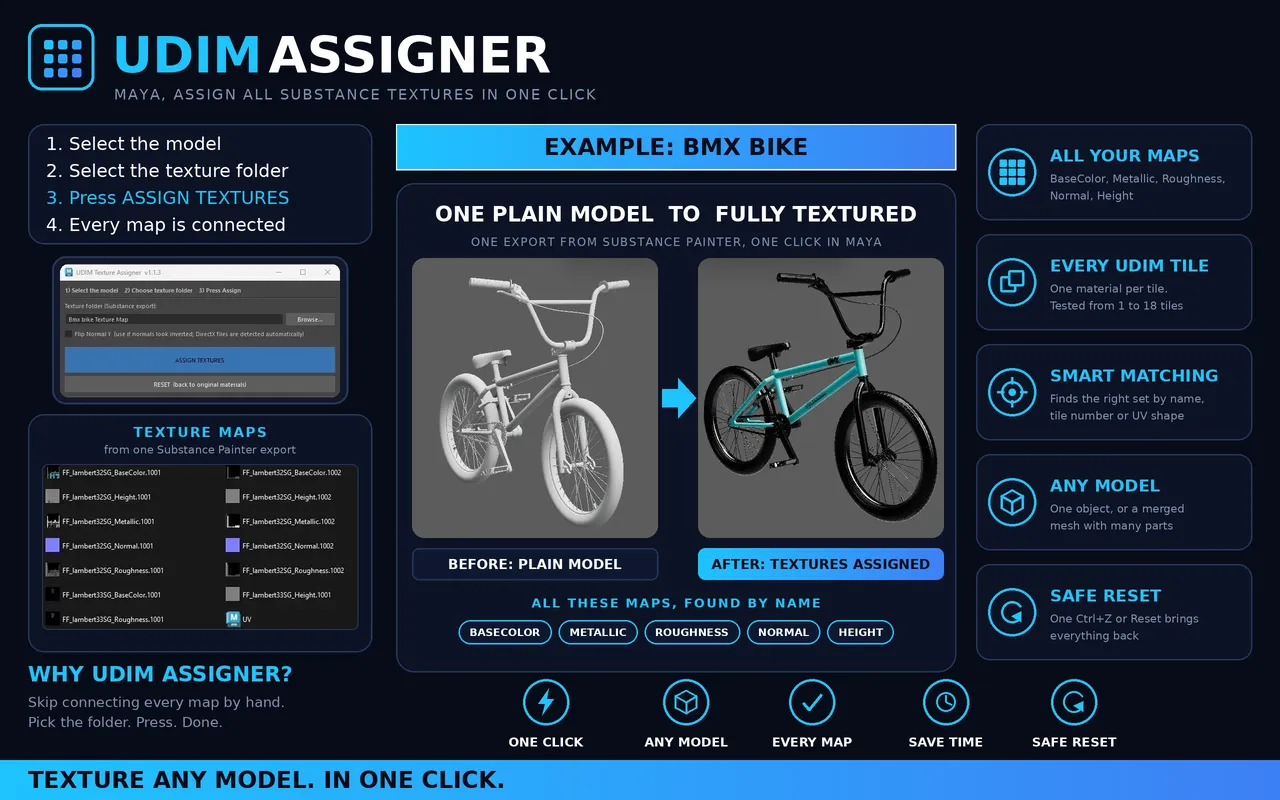
After exporting textures from Substance Painter, applying them in Maya can be a long and tedious process. You have to create each material separately, create a file node for every texture map, connect each map to the correct slot, and then select faces according to each UDIM tile to assign the materials.
To make this process easier, I created the UDIM Texture Assigner. Simply select your model, choose the texture folder, and click Assign Textures. The tool handles everything automatically.
What It Does
Automatically detects texture maps by reading file names: BaseColor, Metallic, Roughness, Normal, and Height.
Creates a separate Arnold material (aiStandardSurface) for each UDIM tile, with only the maps belonging to that tile.
Automatically sets the correct color space: sRGB for color maps and Raw for all other maps.
Connects Normal maps correctly so they work in both the Maya viewport and Arnold renders.
Reads the model's UVs to identify which UDIM tile each part belongs to and assigns the correct material to the corresponding faces.
If material names in the scene don't match the texture sets, the tool identifies the correct set by analysing the texture images.
Includes a Reset button, and the entire process can be undone with a single Ctrl+Z.
How to Use
Drag and drop udim_texture_assigner.py into the Maya viewport (a UDIM button will be added to your shelf).
Select your model.
Choose your Substance Painter texture folder.
Click Assign Textures.
Tested On
Tested on more than 12 models, covering 1 to 12 UDIM tiles, merged meshes, and different texture naming conventions.
Tested in Maya 2024.
Designed for Arnold (aiStandardSurface).
Requirements
Maya 2022 to 2026.