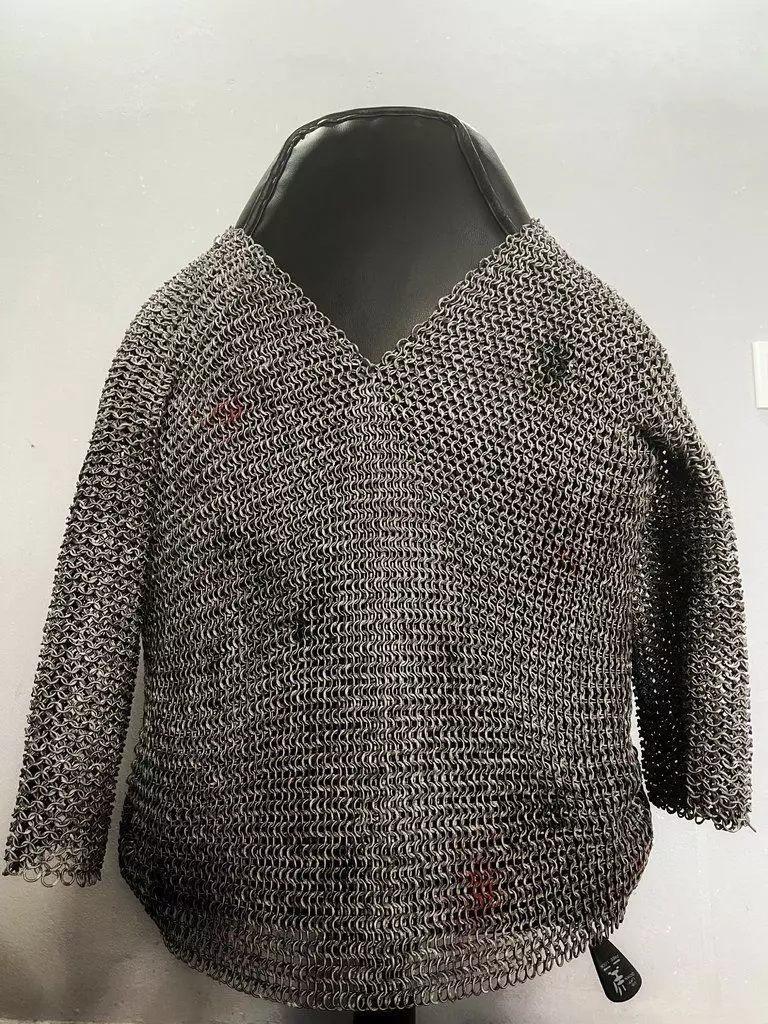
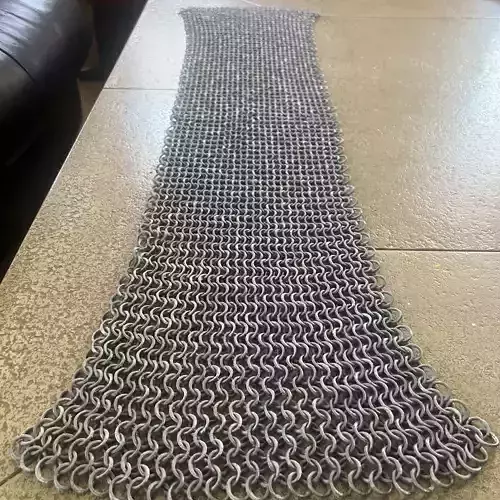
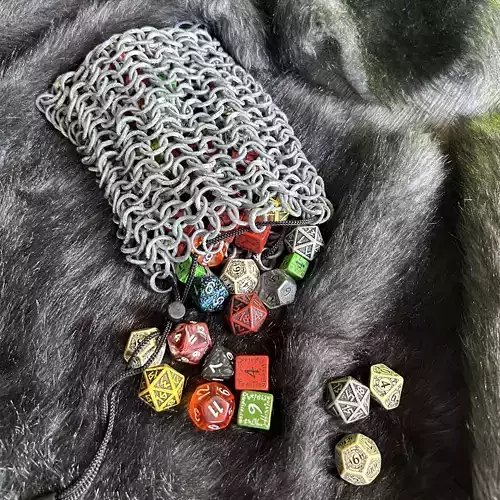
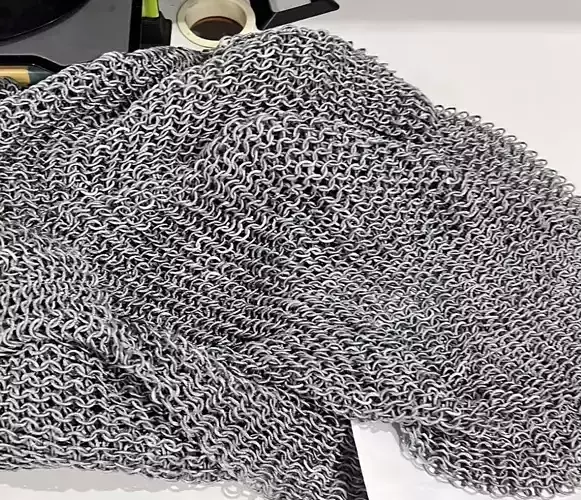
Had to make some adjustments to print on a high-speed FDM printer. But otherwise it printed just fine.
After some trial and error figuring out what filament to print this with (esun silver Pla+) printed out like a charm. I tried with Silk pla (clogged extruder) and PETG (rings stuck together too much). Ring breakage is minimal if you are careful separating the layers
So, these files are definitely not for the faint of heart or poor calibration. All my attempts thus far with PETG were failures, possibly due to the lack of cooling that is inherent with PETG and the number of small moves. My first attempt with PLA was much better though. I have only done one section so far, but it was the largest and only I broke about 8 rings or so pulling it apart, but considering the density I'm quite impressed.
Absolutely INCREADIBLE design! I didn't have many expectation because I tried printing other free chainmail models before buying this one, and had no success what so ever.
But this worked absolutely perfectly.
I printed this on a Bambulab P1P and was able to translate all Settings provided by the pdf.
The stacking design is genius, you are printing multiple layers of interwoven rings, stacked on top of each other but easily separable. You will need to 'massage' and pull your chainmail quite a bit to separate all internal connection (or rotate the rings one by one if you like pain).
This basically releases the chainmail to about 1.6x its size when you take it from the buildplate.
I printed it in kexcelled grey silk pla and it looks stunning.
I've never written a damn review for anything, but this model is just so far beyond what I thought was possible and soooo worth the 20 bucks, that I have to write this.
Gives me the same feeling as I had the first day I used a 3D printer. A sense of wonder what is possible with technology!
Thanks so much propsmaker!
Worked perfectly after some tweaking with the test print! Printed on Prusa i3 MK3 with silver PLA. Will be awesome to not wear 20kg chainmail on next larp! :'D
I'm currently trying the test print, any advice on filament type, retraction settings and the like?
Update: I've successfully printed a sleeve piece in abs on my prusa. I'd estimate a 5% breakage rate on rings while separating - mostly occuring at the ends whenever direction folded and changed. I might need a little less extrusion to weaken the ring bonds.
Breaking up the model was like flexing some very angry pre-cooked Ramen noodles. My hands were raw by the end of it (printed in ABS) but it was oh so satisfying!
The sleeve piece was a bit to small for my arm (I'm a medium build '6 male). I could get the sleeve over my arm but if I bent my elbow, the printed sleeve would bond, constrict and wouldn't let me bend my elbow more than 90 degrees. The completed shirt might be sized for a small adult instead of a medium, or maybe I just need to weave in some more rings at the elbows to restrict movement less. The base print would be super easy to expand, by simply adding a few rows of pre printed test pieces to expand the current pieces.
Regardless, this is still one of the coolest things I've ever printed in my near decade of experience!
Does not fit on an ender s1 stock. Needs a print bed at least 225mm by 250mm. Wish I could leave neutral feedback. Hopefully I can get a refund or a workable solution.
This is the BEST chainmail that ive ever printer off. This is worth it. So easy to print and clean up.
know all about 3d printing. I could not get it to work using a .4 nozzle but it did print with a .8 nozzle. The final product feels really cool and makes a neat clinking noise.
Google translator
Hello,
there were 2 very negative reviews recently that made me not buy this model just like that. I wrote a question to the manufacturer and read and tried everything possible from her. I finally bought the model.
Several times I tried to create and print "my version" of chainmail...
THIS model is by far the best I have had. Honestly, this model is NOT for beginners, it requires a very well tuned printer that can print for 2 days straight, it requires very well tuned retractions, a good PLA that you can print overhangs with without raising the edges, that has enough strength in the Z axis, etc. .
So YES, it's not for everyone, but IT IS BY FAR THE BEST CHAIN MAIL MODEL I'VE EVER HAD.
It's definitely worth it, plus the creator actively communicates...
THANK YOU VERY MUCH !!!
Borek.
PS: YES, there are "holes" (omitted layers) in the model, but if they are not there, the individual rings will not separate and you will tear them.... this is a very good option to make it separable... but you have to play with the temperature of the PLA (and cooling) so that your string sticks securely to one layer
I would give this model 3 stars. The design of the actual model is brilliant. Being able to print in layers is great. Even with all the key steps laid out I have had 4 failed prints. The spacing of the rings isn’t quite right. There are to many “floating bodies” in the design which means when it prints the rings often don’t adhere to the base or the next ring doesn’t adhere to the first. I have spent around 6 hrs working on adapting just one of the several pieces of the model. I imported it into the design software I use Shapr3D and made some minor changes. Unfortunately there were so many invalid bodies that the file couldn’t be exported. Given the several thousand individual objects in the file I was required to go object by object grouping them together until I was able to identify the invalid elements of the design before being able to print it. I would suggest the original designer do the same or make some small changes to allow for easier printing. It’s clearly possible as seen in the above image but with a little tweaking it could be much easier and use less material. The base platform is much thicker then it needs to be.
Despite all of that I think the concept and the fact that most of the work has been done made this a worth while purchase. So thank you for your model
Impossible de l'imprimer avec les infos données. PDF plus présent dans le téléchargement. Ne répond pas au message envoyé il y a plus d'une semaine
DO NOT BUY.
I am printing on a Prusa i3 Mks+ printer and have had 0 issues with any prints for the past 6 months of printing, so the only factor I am seeing is this file is not good. I tried the sellers settings in PrusaSlicer but the file was too complex to process and crashed the system. I moved it over to Cura and tried to replicate the settings the best I could and finally got it to slice. After 2 days of printing and almost a full roll of filament, I had a brittle hunk of plastic that I could not pull apart, and when I did start to get it pried apart, it immediately broke. Its a cool idea, but far too expensive and shoddy to keep wasting time and money on.
Has anyone been able to get this right on a Bambu Lab A1? Been fine tuning all kinds of settings and I still can't get a successful print. Here's what I've tried:
Filament: PLA+
Nozzle: 0.4mm
Layer Height: 0.28mm (Bambu Lab A1 has a max line height of 0.28)
Speed: 50 mm/s general, 100 mm/s travel
Z-Hop: 0.2mm
If there's something else I can try, please let me know