- Files & Printing
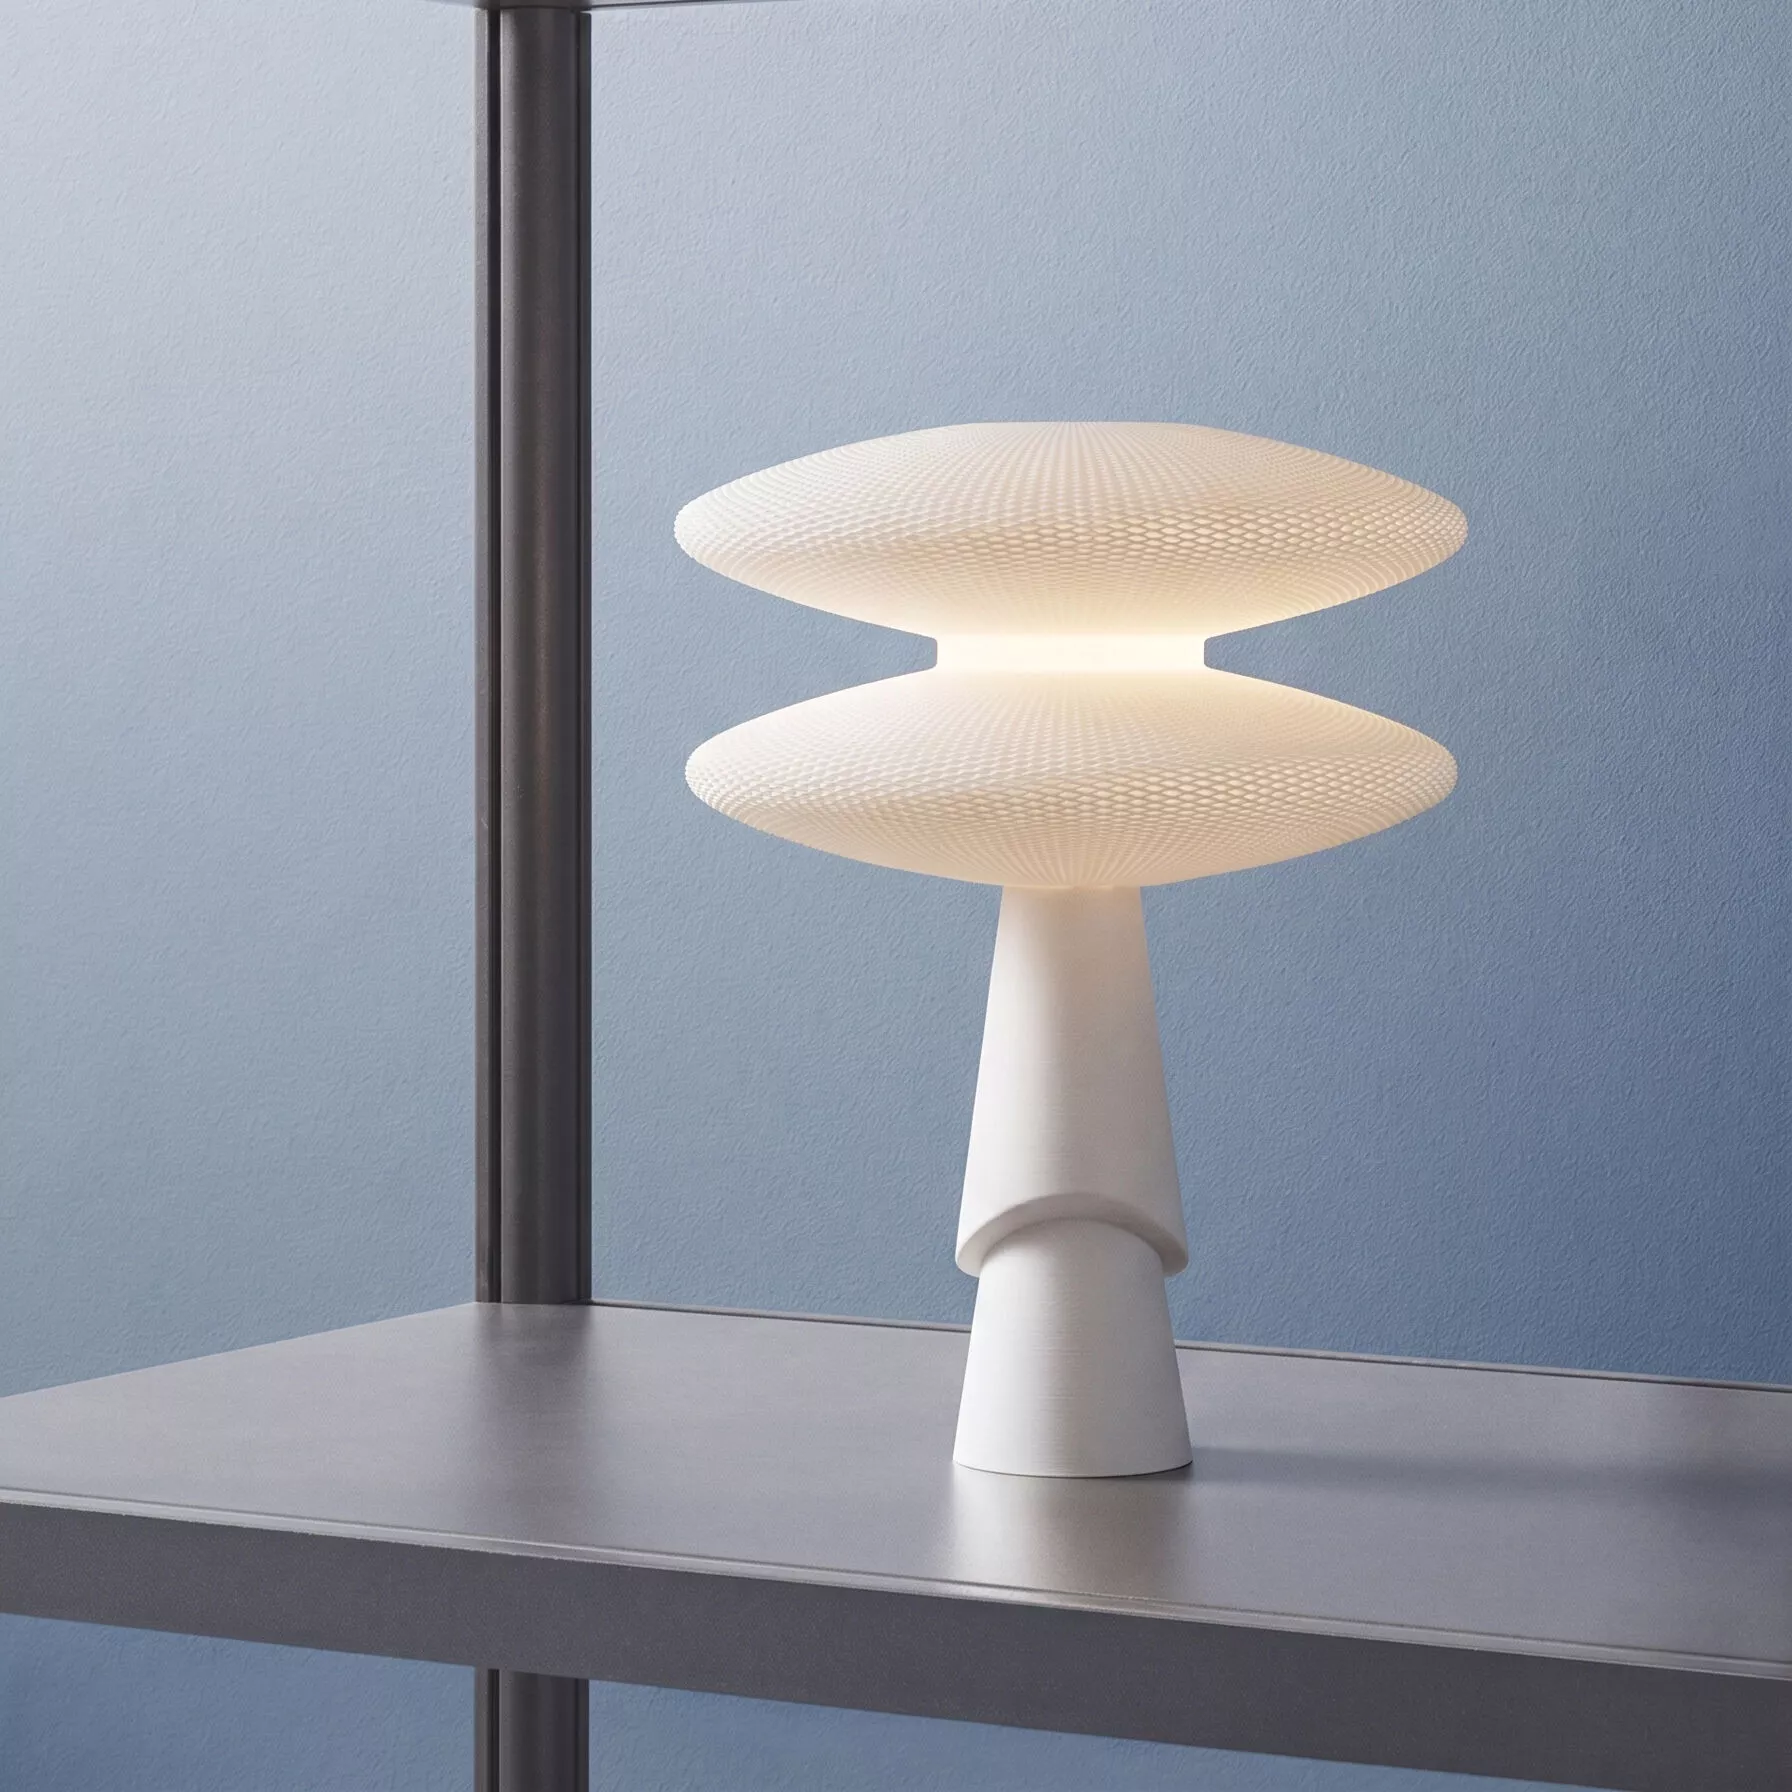
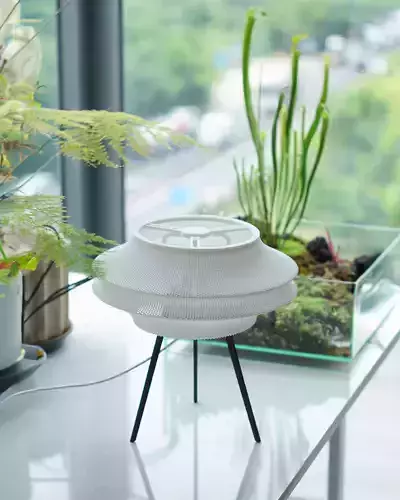
The lamp consists of two printed parts: the Base and the Shade.
ShadeFile type: G-codeNozzle: 0.8 mmSince this is a G-code file, open it directly in your slicer software and review the toolpath, print settings, and estimated print area before starting the print.The Shade can be printed on a printer with a minimum build area of 256 × 256 × 256 mm.If your printer has a larger build volume, the file can still be printed normally.Do not modify the G-code unless you understand the resulting changes to the toolpath and print parameters.BaseNozzle: 0.4 mmEnable support structures around the overhanging rim/edge of the Base.Use your printer's standard settings appropriate for the selected filament and nozzle.
- Required Socket
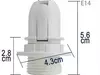
The Base and Shade are connected using an E14 lamp socket, matching the type shown in the provided reference image/profile.
Make sure the socket and retaining ring are compatible with the dimensions of the printed parts before assembly.
AssemblyPass the electrical cable through the opening in the Base.Install the E14 socket into the Base.Position the socket through the upper opening of the Base and secure it according to the socket manufacturer's design.Place the printed Shade over the socket.Screw the retaining ring onto the socket to secure the Shade in place.Because the Shade is relatively deep, you can attach the retaining ring to the lower opening of the Shade beforehand to make it easier to reach and tighten during assembly.Choose a light bulb with a suitable height so that the bulb is easy to access when installing or removing it from the E14 socket.
Contact
If you have any questions or encounter any issues during the printing or assembly process, please feel free to contact me at:
Email: hoangvo.5420@gmail.com