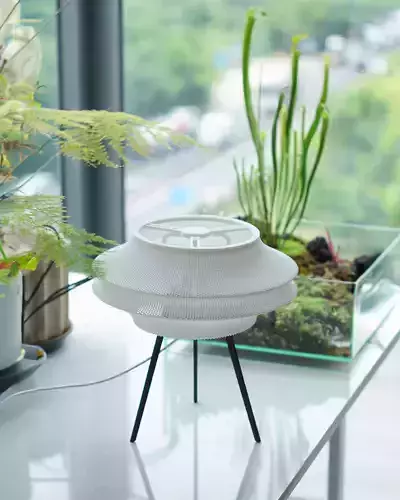
1/7
Printing Instructions for the Lamp
Files included:Shade.stlShade support.stlStand x 3.stl (print 3 times)Top stand x 3.stl (print 3 times)Bottom connection.stlTop connection.stl
Print settings:
Shade (Shade.stl)Nozzle: 1.0 mm (or 0.8 mm, but less sturdy)Layer height: 0.3 mmWall loops: 1Supports: noneTop shell layers: 0Bottom shell layers: 3Bottom surface pattern: concentricInfill: 0%
Other parts (Top stand x 3.stl, Stand x 3.stl, Shade support.stl, Bottom connection.stl, Top connection.stl)Nozzle: 0.4 mmLayer height: 0.2 mmInfill: 15%Supports: only if neededWalls and shells: standard slicer defaults
Assembly:
Print all parts as listed above.Attach three Stand parts to the Bottom connection.Add the Top stand parts to the upper ends of the legs.Place the Shade support in the center to hold the shade.Fit the Shade on top.Lock with the Top connection.Insert the E14 lamp holder through the hole in the connection after assembling all printed parts.
REVIEWS & COMMENTS
accuracy, and usability.


