3D PRINTING INSTRUCTIONS – LAMP ASSEMBLY
Overview
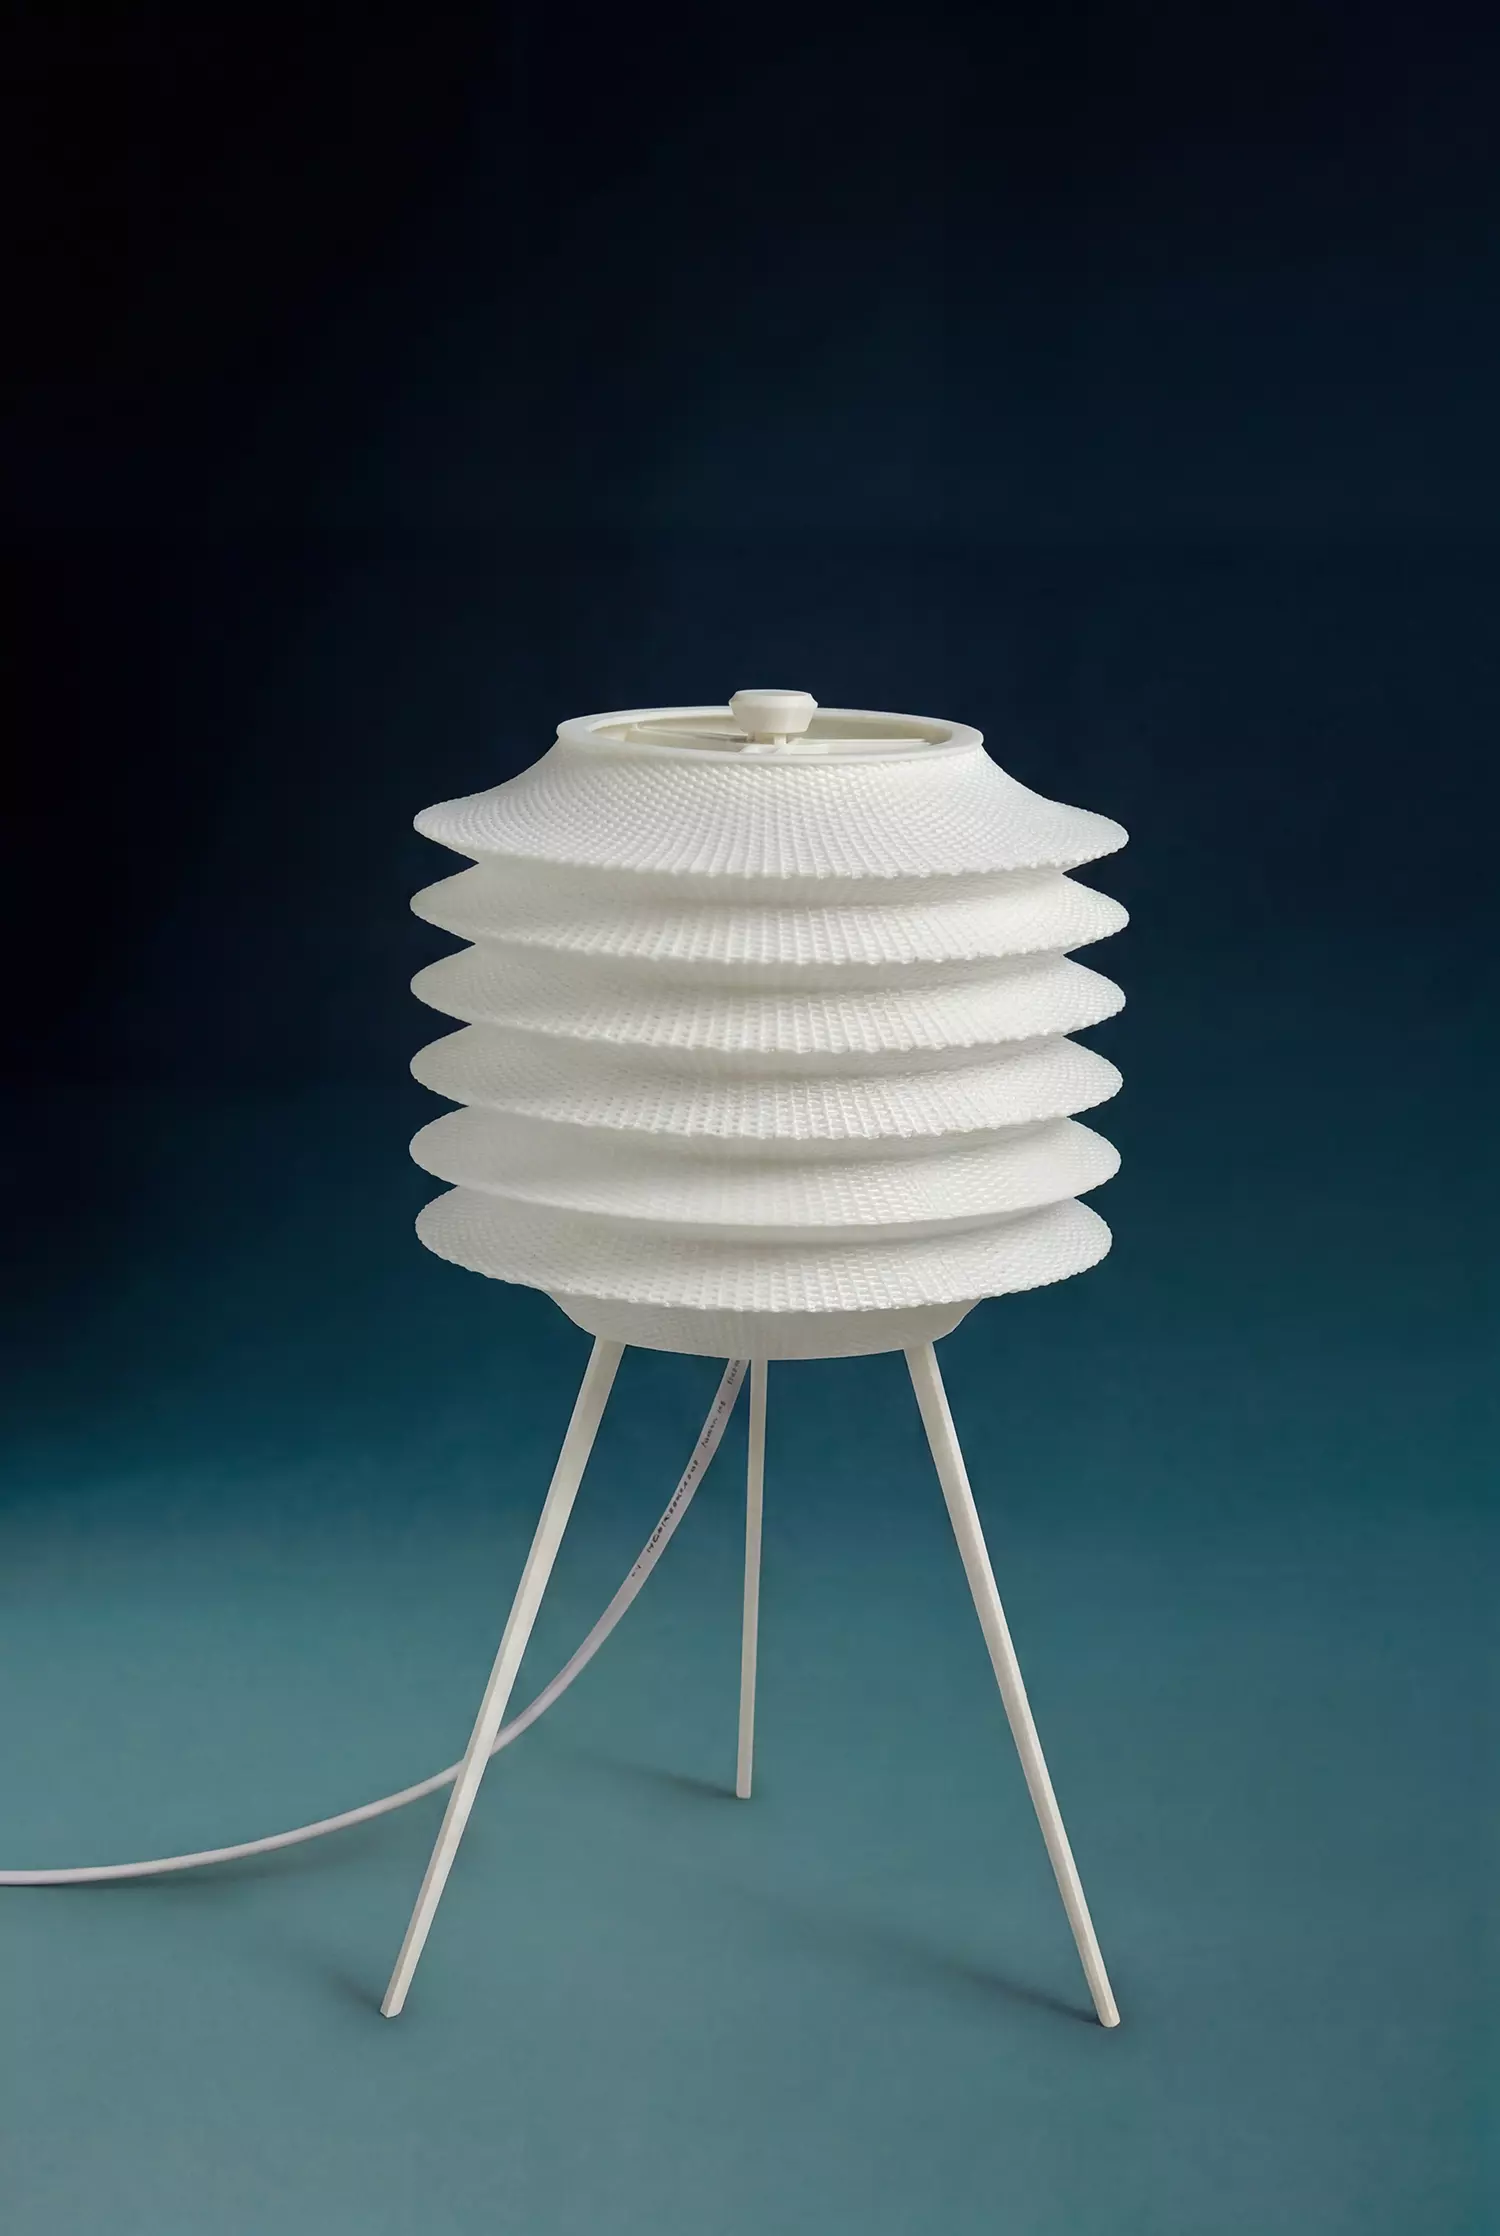
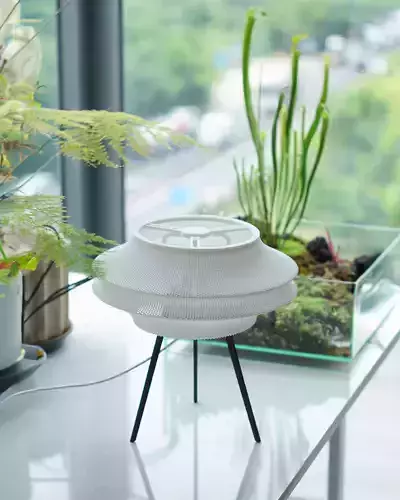
This lamp is designed as a multi-part assembly for FDM 3D printing. Please carefully follow the instructions below to ensure proper print quality, structural strength, and successful assembly.
Nozzle Configuration
Lampshade.gcode - Print with 0.8 mm nozzleAll other parts (.stl files) - Print with 0.4 mm nozzle
Quantity Requirements
Tripod legs (.stl) - Print x3Support struts (.stl) - Print x3
All other parts only need to be printed once.
Material and Strength Requirements
The following parts are load-bearing components:
Tripod legsSupport struts
These must be printed with:
Durable material (PETG, ABS, or Nylon recommended)Infill greater than or equal to 80 percentStrong layer adhesion settings
Standard Parts (Default Settings)
The following parts can be printed using default settings for a 0.4 mm nozzle:
Shade holder ringLower support ringUpper support ringTop cap
Lampshade IMPORTANT
File Lampshade.gcodeThis is a pre-generated G-code, not an STL fileGenerated using Rhino and Grasshopper
Build Volume and Compatibility
This file is optimized for printers with a build volume of:
320 mm x 320 mm x 380 mm
You must review the G-code in your slicer to ensure all toolpaths are within your printer build area before printing.Do not print without checking.
Using a Smaller Printer
If your printer has a smaller build volume:
Do not print this file directlyContact me after purchase with your printer specifications
I will provide a custom G-code version adapted to your machine.
Email hoangvo.5420@gmail.com
Socket Compatibility
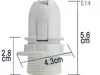
This design is made to fit:
E14 lamp socket (small Edison screw)With a standard fixing ring as shown in the provided reference image
Please ensure your socket matches this specification before printing.
Disclaimer
I am not responsible for any issues including:
Print failuresMachine errors or damageMisprints due to incorrect printer setup
If the file is printed without prior slicer review or used on a printer outside the intended build volume.
Additional Notes
Ensure good bed adhesion for large printsCalibrate extrusion before printing the lampshadeUse appropriate supports if required by your slicerEnsure your printer is properly calibrated for best results