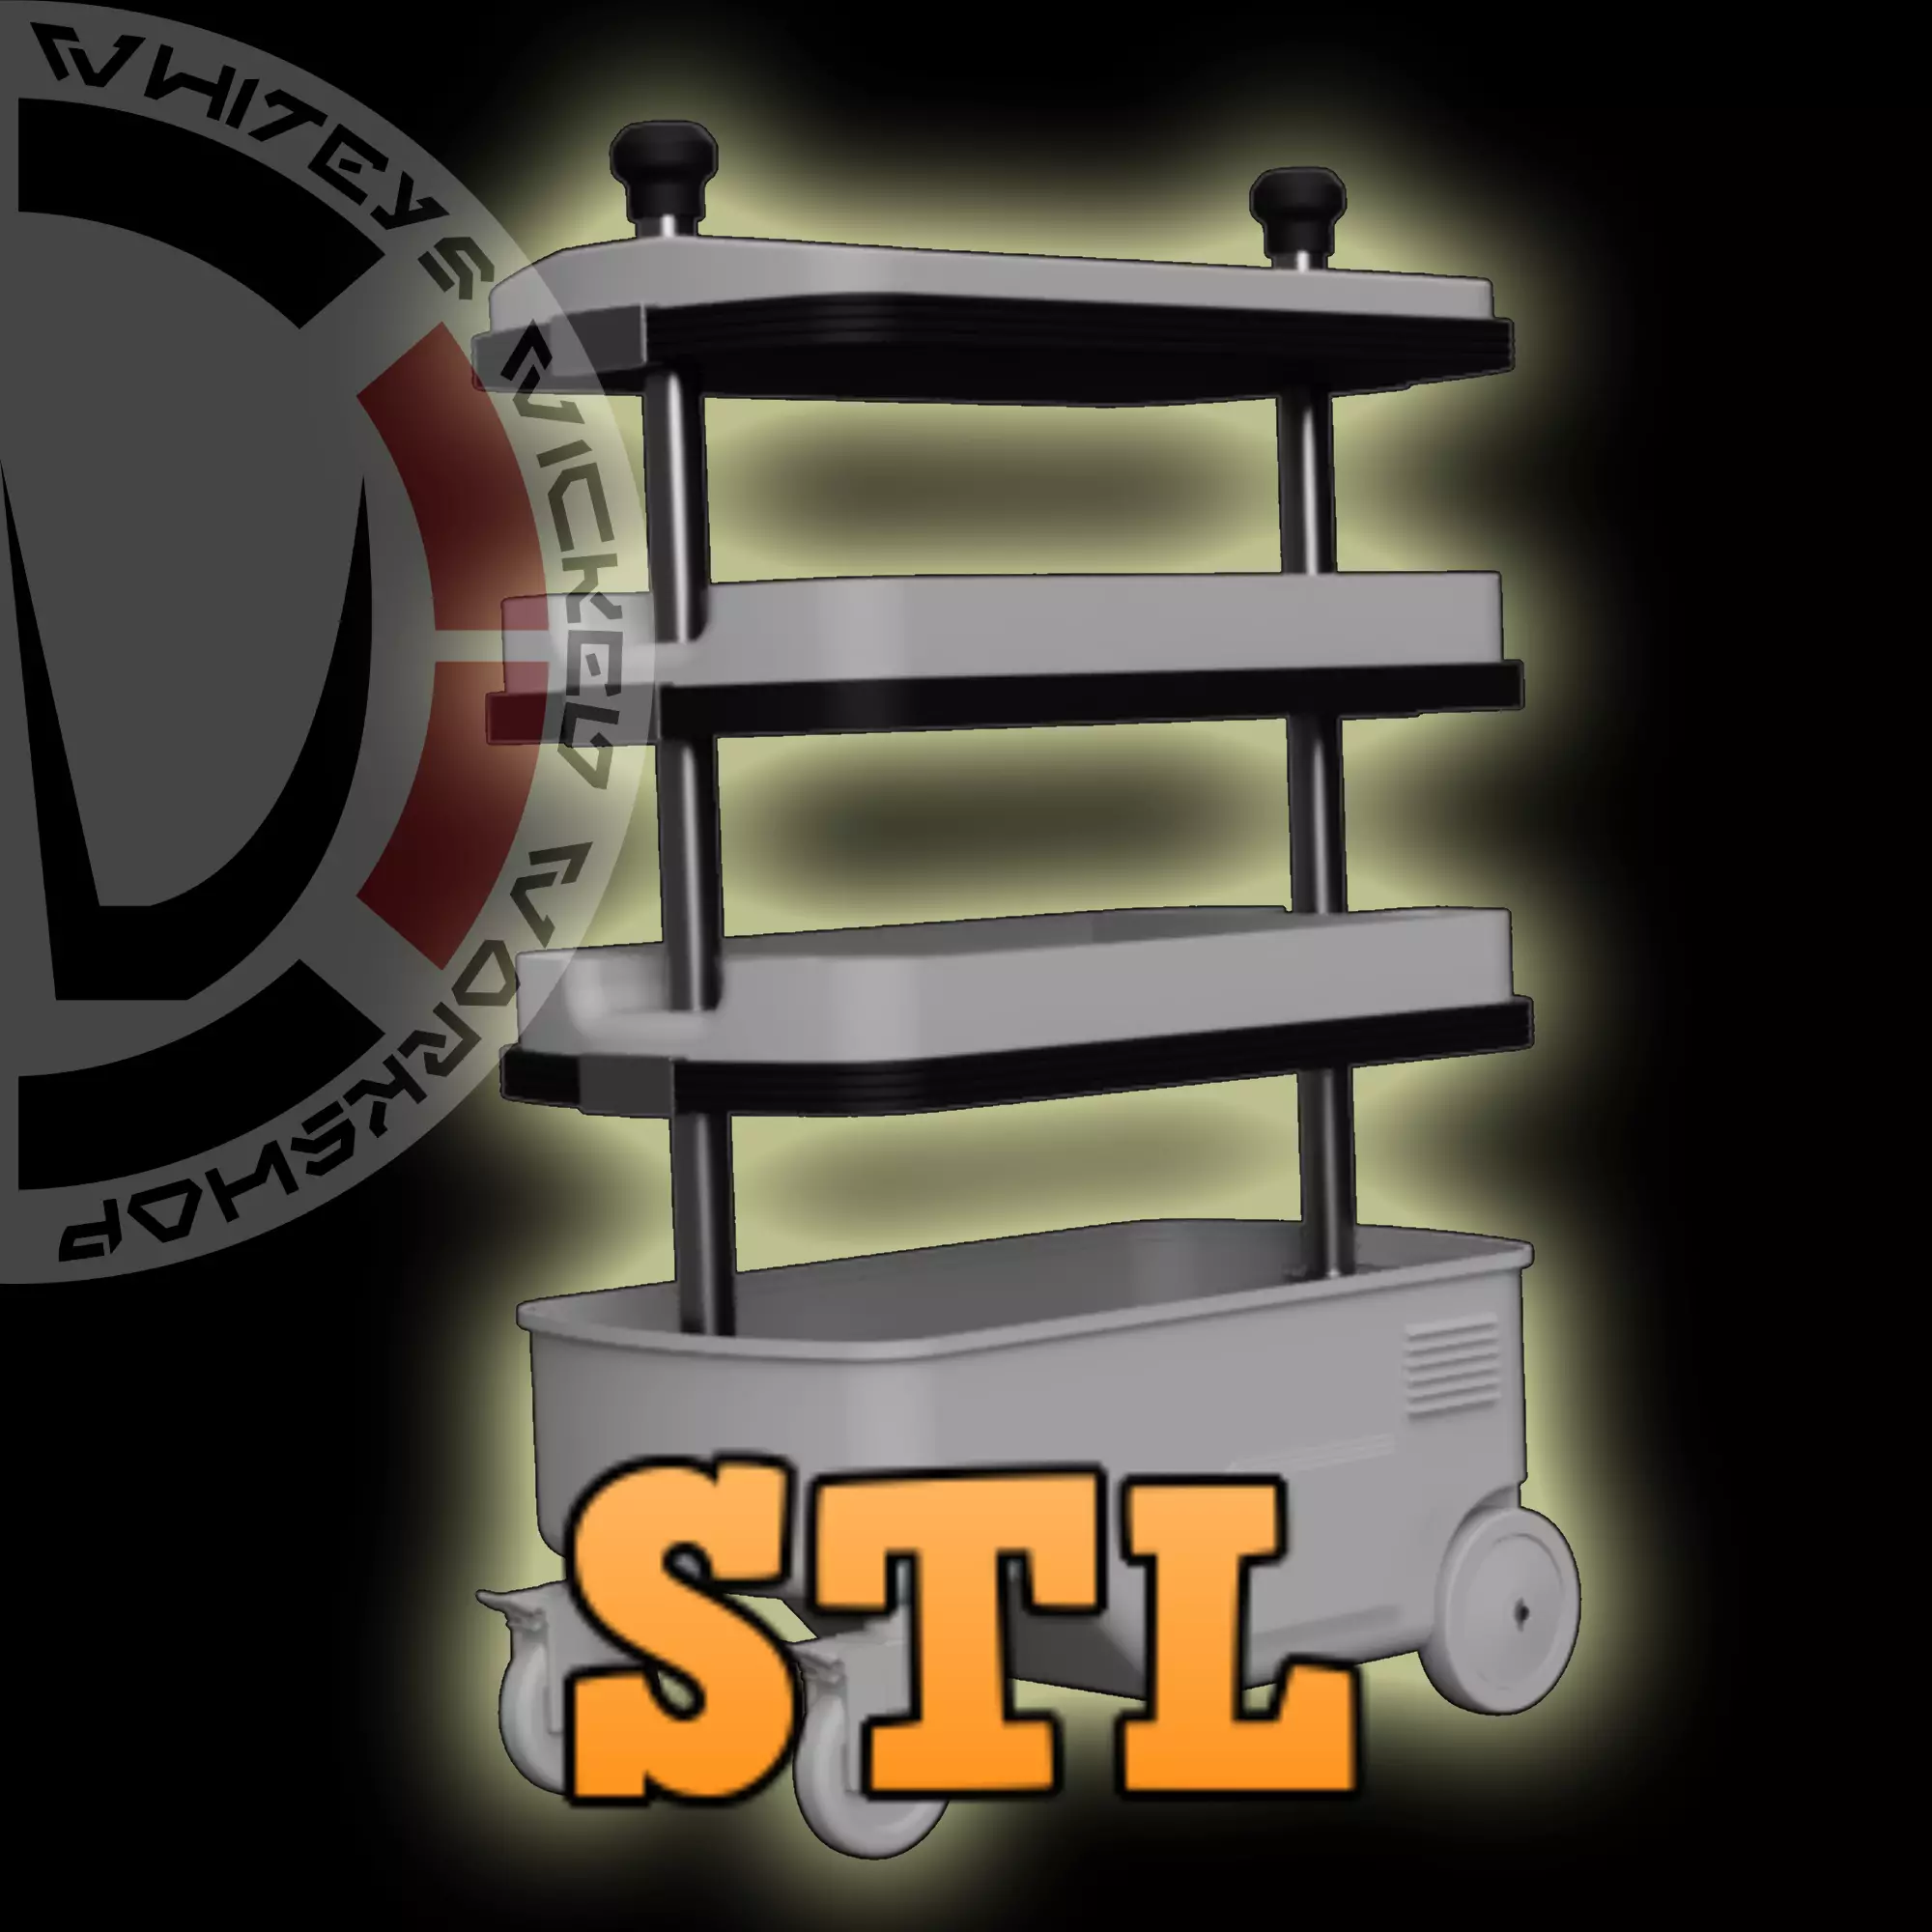
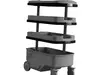
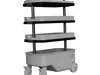
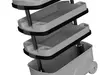
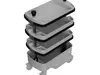
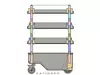
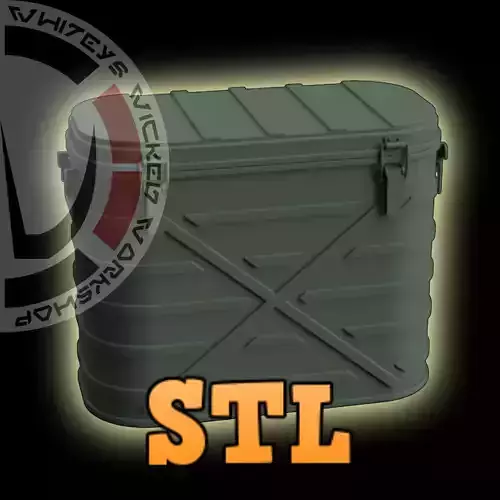
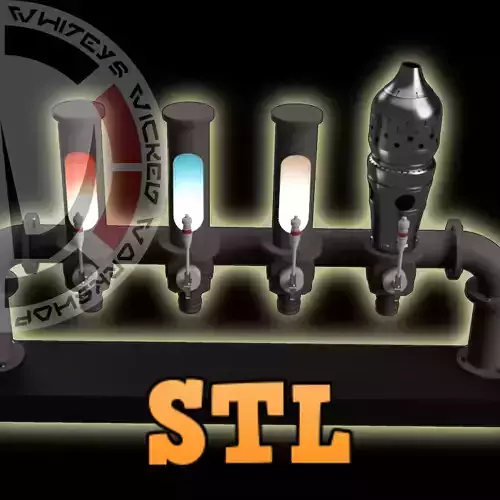
This one took me awhile, but I made the full size Droid Tool cart. I'm not sure but I think it was seen in Galaxy's Edge. In real life Its an older version of a Hazet German tool cart. Pretty neat.
Star Wars Droid Tool Cart 3D Print STL File:
This listing includes digital files only; no physical items will be shipped.Due to the digital nature of the product, refunds or exchanges are not available.
26-08-16 Cut up the bottom pieces better. They were too tall. Thanks Owen!
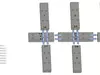
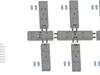
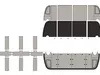
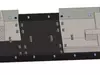
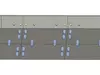
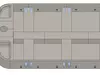
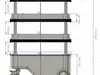
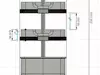
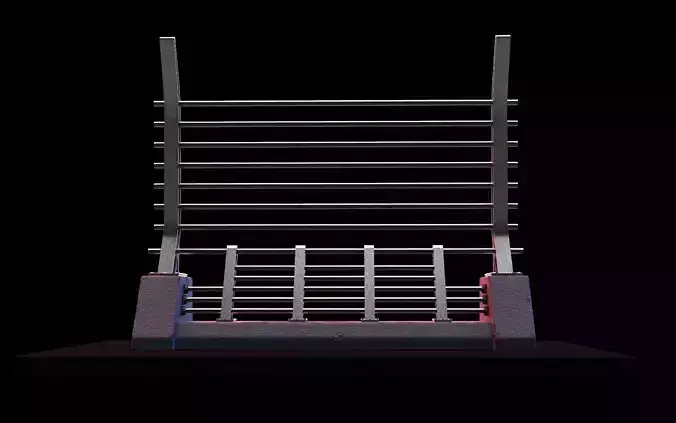
Dimensions (see pics): Fully Assembled - approx. 1151mm (45) tall x 742mm (29) long x 422mm (16") wideCut up to be printed on 256mm bed.But you can scale it to your printer bed size!
Bill of Materials (may include affiliate links):9949T62_Creston Caster or equivalent 62384T19_Threaded-Stem Caster or equivalent 5QTY 2 Cotter pinsBob Smith Superglue:
Instructions:
- Print all parts needed - I will be giving instructions on the Cut-Files for Smaller Printers
- You will need to complete 1 Top tray, 2 Middle trays, and one Bottom Tray
- Gaskets are the same for all 3 trays - You will need 3 Gaskets - 1 for each tray.(two types of gaskets provided)
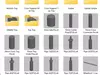
- QTY 2 PipeTop
- QTY 2 Small-Wheel
- QTY 2 Wheel
- QTY 4 HubCap
- QTY 1 Wheelrod-1-Cut
- QTY 1 Wheelrod-2-Cut
- QTY 1 BottomPipeMount-Front
- QTY 1 BottomPipeMount-Rear
- QTY 6 Endclips
- 2 each of the Pipe pieces
- QTY 1 Greeblie-Left
- QTY 1 Greeblie-Right
- QTY 2 Grill-greeblie
-
Cross Support - BE CAREFUL TOP AND MIDDLE ARE DIFFERENT!
- Print out QTY 1 each from the Cross-Support-Top-Tray folder
- Print out QTY 2 each from the Cross-Support-Mid-Tray folder
- I have marked the bottoms of the cross support trays
- QTY 48 10mm Cross Connector Pins
- Put all the pins in the holes
- Start connecting the pieces together using the numbers marked on bottom
- Glue when ready
Look to the video showing how the trays go together, it can be a bit confusing, even for me the creator :)
-
Top Tray
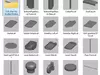
- Print 1 each of the cut pieces in the Top-Tray folder
- QTY 8 10mm Center Pins
- QTY 36 10mm Cross Tray Pins
- QTY 12 8mm Side Pins
- QTY 36 10mm Tray Under Pins
- Place the Cross-Support-Top-Tray that you build above on top of the Top Tray
- Add the 10mm Cross Tray Pins to connect the Top tray and the Cross Support
- Set down the gasket of your choice
- Place down the 10mm Tray Under pins into all of the holes on the Gasket
- Sit the tray down on top of the gasket
- Glue when ready
- Place the 6 each 8mm Side pins into the holes on the side, this will connect the tray to the gasket
-
Middle Tray (Need two middle trays)
- Print 2 each of the Cut pieces in the Middle-Tray Folder
- QTY 16 10mm Center Pins
- QTY 32 10mm Cross Connector Pins
- QTY 24 10mm Cross Tray Pins
- QTY 24 8mm Side Pins
- QTY 72 10mm Tray Under Pins
- Build the Middles trays the same as the top tray.
- Only difference will be the Cross Support Mid Tray
-
Bottom Tray
- Print 1 each of the Cut pieces in the Bottom-Tray folder
- QTY 40 8mm-Bottom-Pins
- QTY 6 Bottom-ConnectorClips
- Push the pins into each hole
- Start building in halves: 1-4
- Then put together the other half: 5-8
- Slide them both together to complete the Bottom Tray
- Glue when ready
- Attach the Bottom-ConnectorClips into the slots to help hold the top sides together
- I am thinking I might use a soldering gun to melt the pieces together for a better bond as well
- Glue when ready
- Your choice on what you want to do for the Casters
- I supplied wheels - See Bill of Materials
-
Piping
- Do this last
- Make sure your trays are built first
- Then make sure you have the piping in the correct order
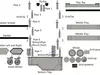
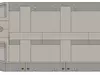
- See cutout picture and dimension picture
- When you know everything is right start adding the pieces to the bottom tray
- Work your way up adding the pipes and the trays in the correct order.
- Glue when ready
Enjoy!
Please let me know of any issues.
Whitey!
Photo Credit: Sorry I do not remember where I got the pictures so if you own them please let me know and I will post your name/and/or company. Thanks!
Join My Patreon for over 250 Awesome STL-DXF-SVG files and counting.Patreon=WhiteysWickedWorkshop