Consistent-Scale Equipment Renders in Blender
 dogergjiki
Create transparent equipment illustrations that keep the same visual scale when combined in a slide or technical layout. Learn an orthographic-camera workflow, a repeatable lighting setup and a two-meter reference check. You can follow with your own models or simple cubes; no paid asset is required. Tested in Blender 5.1.2.
1. Set a consistent scene scale
Start with a copy of your scene. Under Scene Properties > Units, choose Metric and Unit Scale 1.0. This changes the unit convention, not an incorrectly sized model: check each object's Dimensions in the Item panel.
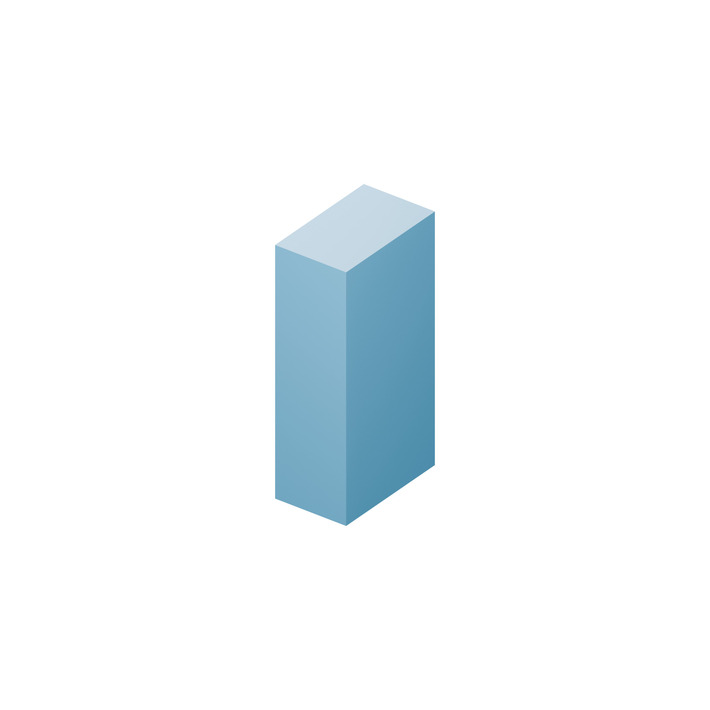
Use known reference dimensions, not visual guesses. For a practice object, add a cube and set Dimensions to X 0.6 m, Y 1.0 m and Z 2.0 m; set its Z location to 1.0 m so the base is on the ground. Name it ReferenceCabinet.
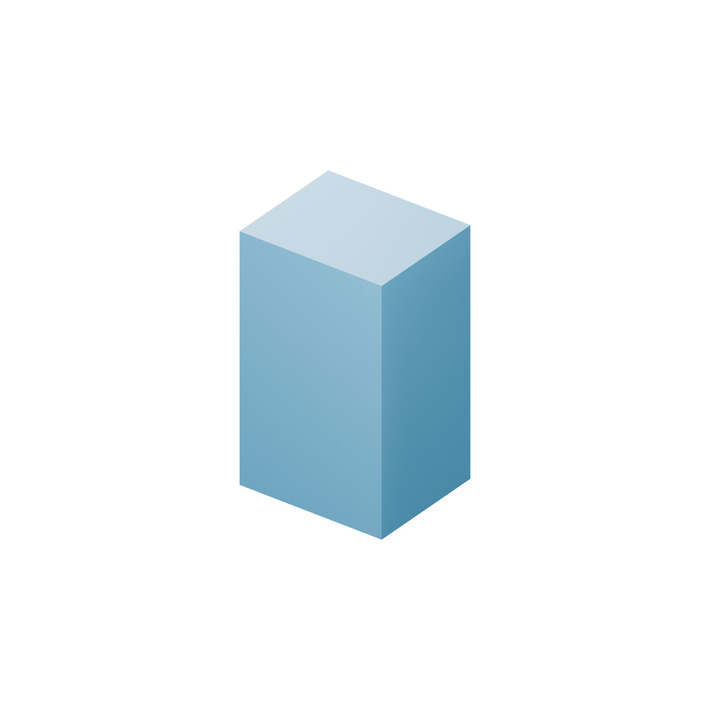
A second cube with dimensions 1.2 x 1.0 x 2.0 m gives you a wider object of exactly the same height. Keep any existing equipment's intended relative dimensions; do not resize every model to fit the same box.
2. Use an orthographic camera with a fixed direction
Add a camera and choose Orthographic in Camera Data Properties. Set Orthographic Scale to 4.8. Set Output Properties to 2000 x 2000 pixels, 100%, with square pixels. For a repeatable elevated view, place the camera at (6, -8, 7) meters and aim it at (0, 0, 1). In Blender's Python Console, with that camera selected, run:
from mathutils import Vector; cam = bpy.context.object; cam.rotation_euler = (Vector((0, 0, 1)) - cam.location).to_track_quat('-Z', 'Y').to_euler()
Set the camera as the scene's active camera. This is an oblique orthographic view, not a strict equal-axis isometric view. Unlike a perspective camera, moving an orthographic camera closer does not enlarge the subject; Orthographic Scale controls the framing.
3. Frame the collection without changing relative size
Show one equipment group at a time. Hide other groups from rendering using the Outliner's camera visibility toggles, not only the viewport eye. Keep camera rotation, resolution and Orthographic Scale unchanged between renders.
To center a different item, translate the camera and its aim point by the same amount; do not rotate the camera toward a new position from its old location. Check the widest and tallest equipment before batch rendering. If one item clips the frame, increase the common Orthographic Scale for ALL items and rerender them.
Automatically fitting each object separately makes unrelated equipment look equally large and destroys the consistent-scale comparison. Square images simplify this workflow because the horizontal and vertical framing spans match.
4. Keep lighting consistent and export real transparency
Use the same world strength, light directions, exposure and color-management settings for every item. If you recenter a subject to another part of a large scene, move the studio lights by the same translation as the subject and camera; otherwise light distance changes the look. In Render Properties enable Film > Transparent.
Under Output Properties choose PNG, RGBA and 100% resolution. Hide any studio floor if you want a completely transparent background: Film transparency does not remove a modeled floor. Render with F12 and save the Render Result as PNG RGBA.
Inspect the result over both light and dark backgrounds. A JPEG or an RGB PNG will not preserve the alpha channel.
5. Check scale before using the cutouts
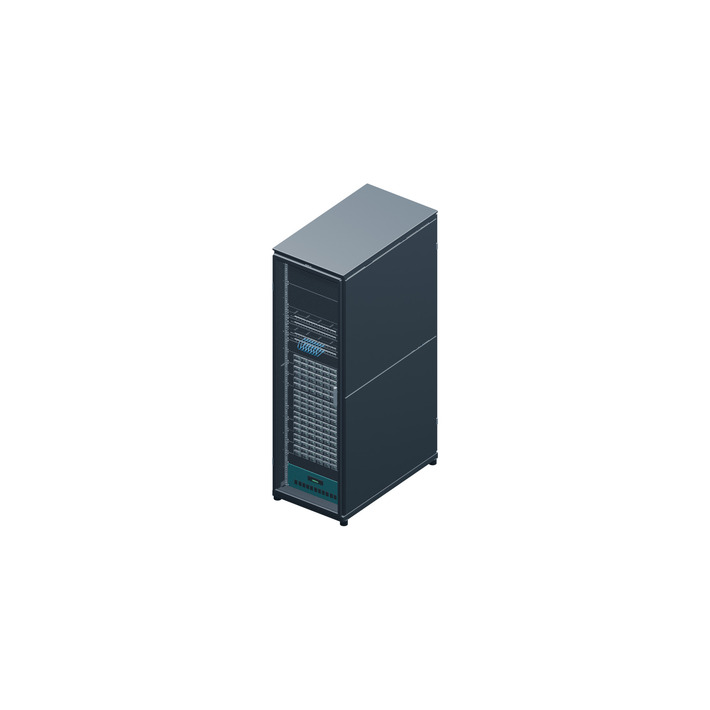
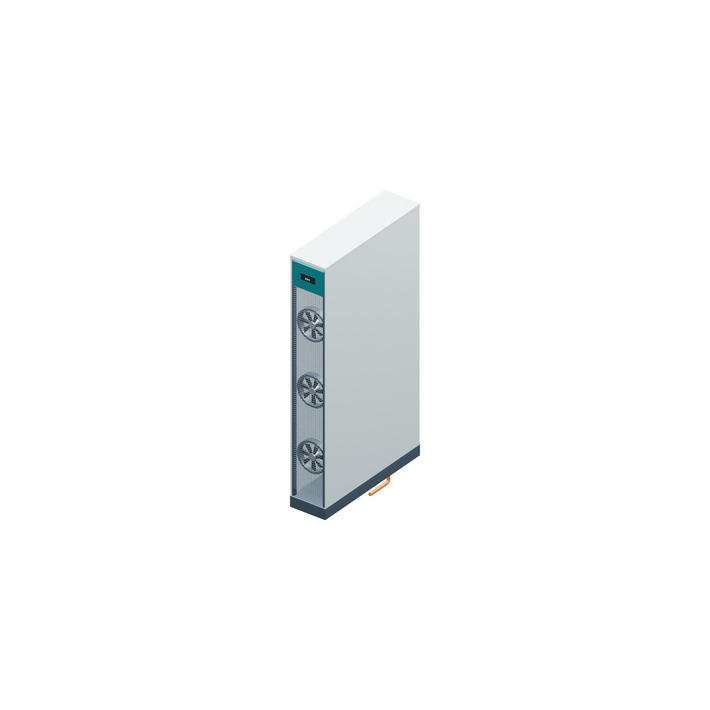
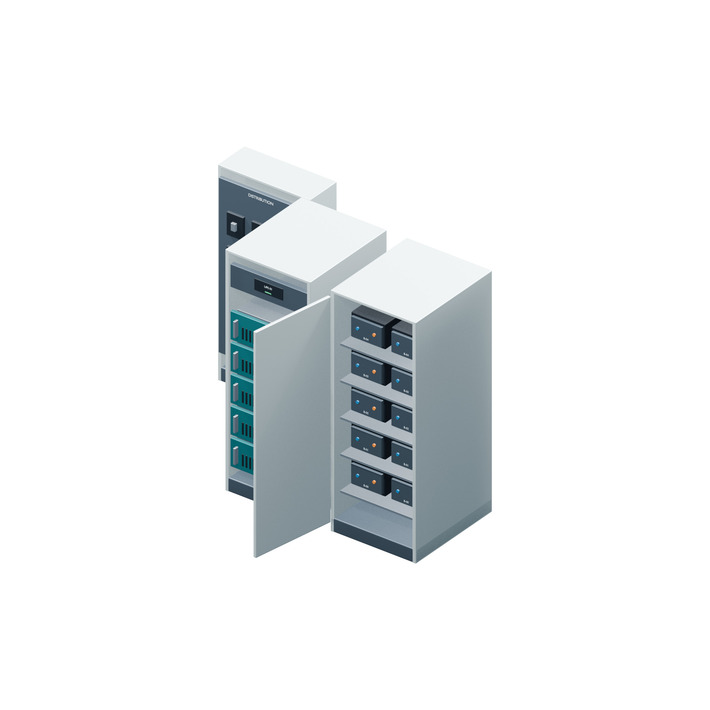
Render the two reference cabinets separately using the same camera direction, 4.8 scale and 2000-square output. Their corresponding two-meter vertical edges should have the same projected length, although the silhouettes differ because one cabinet is wider. Use corresponding edges or temporary reference rods, not the entire silhouette bounding box: depth contributes to a three-quarter-view silhouette. For this exact view, a two-meter vertical reference segment projects to approximately 714.6 pixels at 2000 x 2000. Different camera angles change that number, but identical settings should keep it equal across images. In a presentation, give every complete PNG canvas the same displayed width. Do not independently crop away margins or use an automatic fit-to-frame option. The example equipment cutouts below were rendered at the same 4.8 camera scale and direction. Their sizes differ intentionally.
The five reference images at the end use equal 2000 x 2000 canvases. CGTrader converts these illustrations to JPEG, so these web previews do not retain alpha. Export your own deliverables as PNG RGBA. Compare complete images at the same displayed width, without cropping.
6. Document what the illustration does and does not show
Keep your source scene, the common camera settings and a short export note so later additions match. State whether doors are manually opened, panels hidden or objects isolated for illustration. Consistent camera scale is useful for course slides and equipment layouts, but does not establish installation clearances, electrical safety or engineering accuracy.
The rack, cooler and power-cabinet examples use our original AI-assisted Data Center Server Room - Editable Training Scene, available in this CGTrader profile. It is a paid static visualization asset, not a working data-center simulation; purchasing it is optional and not needed for the steps above. The example geometry was procedurally authored with AI assistance, and the rendering workflow was tested in Blender.
No downloaded third-party model or invented image detail is used.
Optional example asset: Data Center Server Room - Editable Training Scene.
Reference image A: 0.6 x 1.0 x 2.0 m cabinet
Reference image B: 1.2 x 1.0 x 2.0 m cabinet
Example cutout: compute rack
Example cutout: in-row cooler
Example cutout: power equipment group


Comments