COMMERCIAL LICENSE NOTE
This is a commercial model with an included STEP file for further customization. The license allows you to print and sell physical 3D-printed versions of this model, but does not permit reselling or redistributing the digital 3D file itself.
INCLUDED FILE FORMATS
-
STEP (.step / .stp) - Fully editable CAD file for modifications and custom printer tolerance tuning.
-
STL (.stl) - Standard ready-to-print 3D model file.
-
3MF (.3mf) - Pre-configured slicer project file.
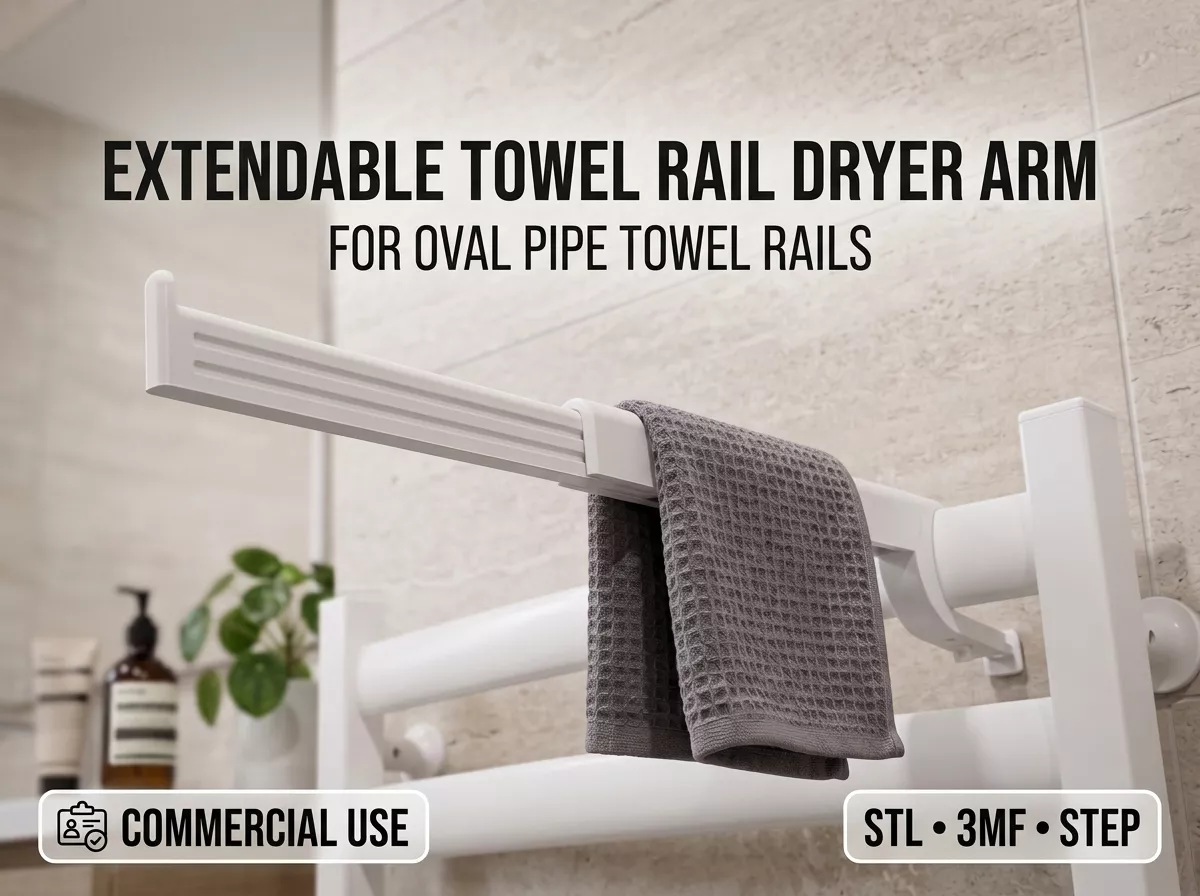
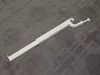
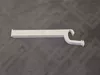
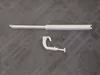
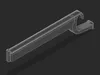
Tired of damp, crowded towels that never dry? Standard bathroom heated towel rails often have pipes placed too close together, meaning towels overlap, trap moisture, and take forever to dry. This Extendable Towel Rail Dryer Arm is a smart, space-saving solution that mounts perpendicular to your towel rail, extending the hanging area forward so you can mount multiple arms side-by-side to hang several towels neatly in front of the heater.
WHY THIS MODEL
This design solves standard bathroom crowding by offering a modular, adjustable system with a sliding print-in-place arm and tension-free grip, allowing you to optimize your drying space effortlessly.
FEATURES
Designed for maximum practical organization and convenience, this model includes:
- Print-in-place telescopic sliding arm with flat-bottom design and zero support requirements.
- Telescopic range from ~20 cm to over ~36 cm with a secure 4 cm internal overlap.
- Rounded upper edges and vertical end-stop to prevent towel slipping or tearing.
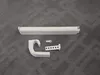
- Adjustable support bracket with wall horizon compensation and vernier lock pin with expanding split-prong tabs.
TECHNICAL SPECIFICATIONS
Detailed physical configurations, variants, and compatibility specifications are listed below.
Technical Parameters
-
Towel Rail Pipe Profile: Designed strictly for 19 x 45 mm oval-profile pipes.
-
Wall Clearance Range: Adjustable from 50 mm to 80 mm (distance from pipe to wall).
-
Arm Length: 200 mm (folded) to 360 mm (fully extended).
-
Connection: Heavy-duty slide-on dovetail joint.
HOW TO ASSEMBLE
Follow these simple steps to assemble the printed parts:
- Clean any minor printing artifacts from the dovetail joint.
- Slide the arm securely onto the vertical dovetail joint of the bracket.
- Adjust the wall support leg to match your wall clearance and insert the vernier lock pin into the aligned holes to secure the assembly under heavy weight.
RECOMMENDED PRINT SETTINGS
For optimal print quality and mechanical strength, use the following slicer settings:
-
Material: PETG, ABS, or ASA (standard PLA may sag over time under heavy, wet towels).
-
Layer Height: 0.2 mm (important for snap-fit locking pin and sliding tolerances).
-
Infill: 20% to 25% (Grid or Gyroid for structural strength).
-
Supports: Required only for the Hook and Wall Stopper parts due to horizontal locking holes and overhanging dovetail. The sliding arm prints completely support-free.