THIS LISTING IS FOR A DIGITAL FILE, IT IS NOT A PHYSICAL ITEM. YOU WILL NEED A 3D PRINTER TO PRINT IT OUT.
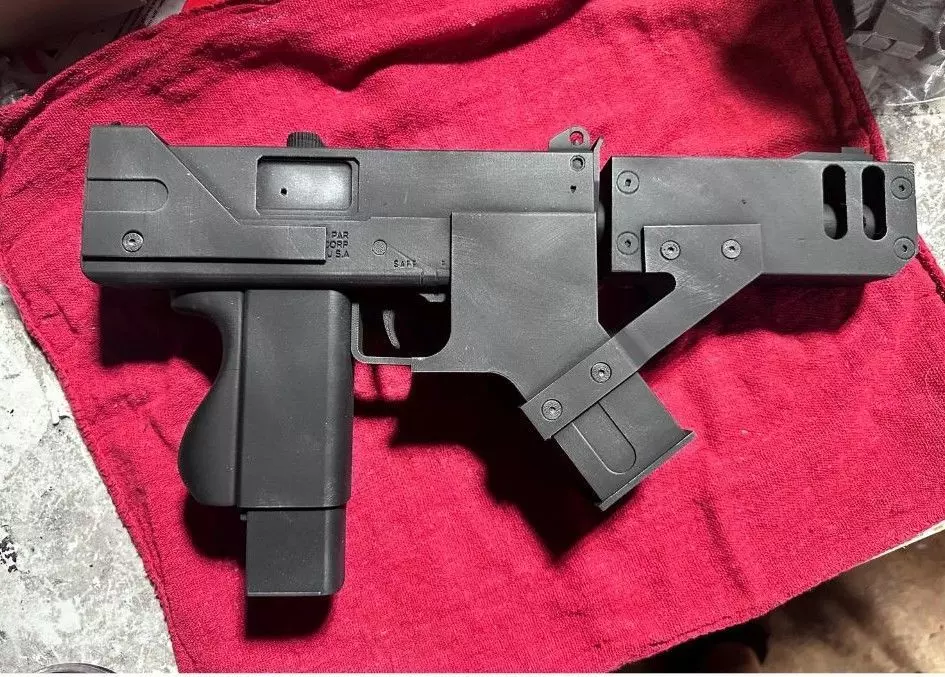
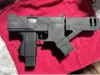
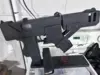
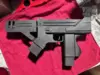
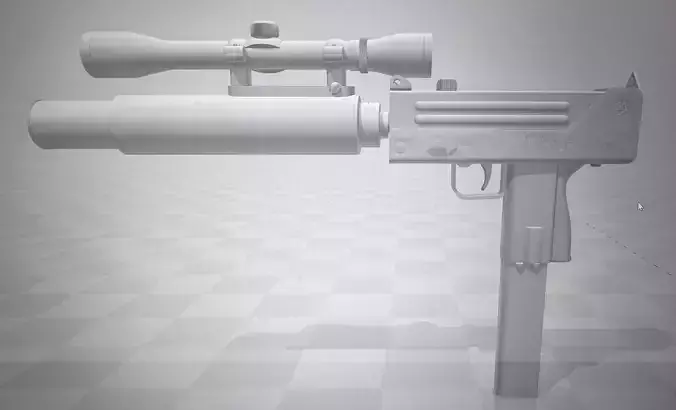
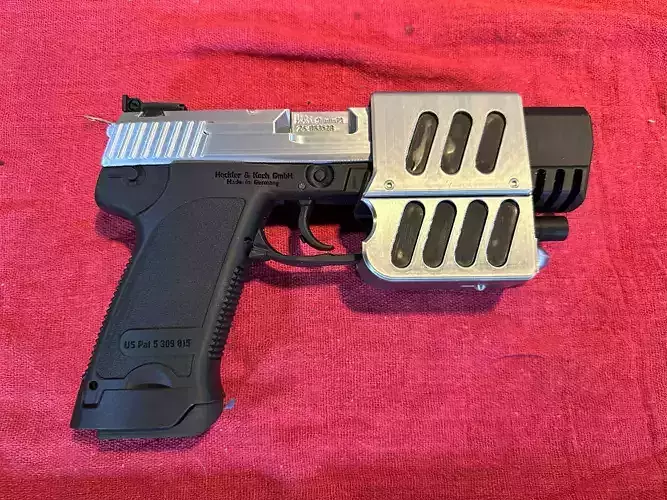
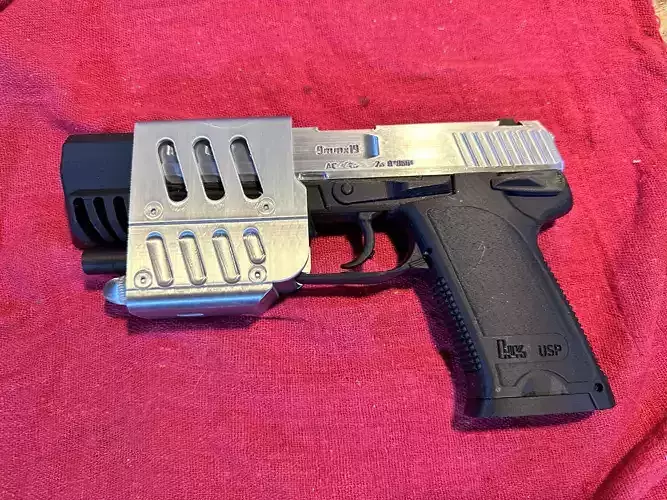
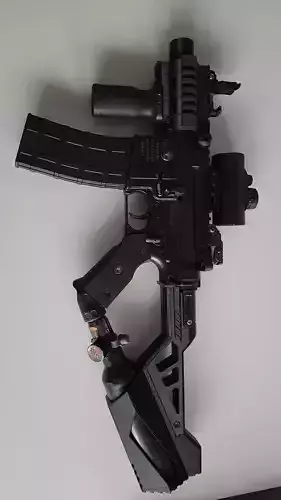
This is one of the obscure but super cool props from the Blade movies. This is Mac 10 prop from Blade 2, not to be confused with the Mac 11 prop from the first Blade movie.
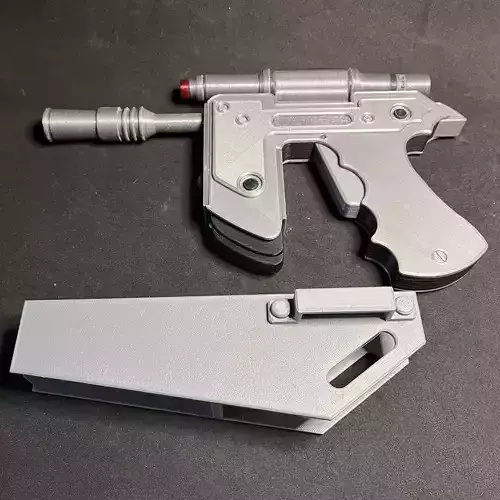
This is a 3D print STL file. I printed it on a Bambu A1. I used PLA, but there’s no reason it can’t be printed in something else. The files are made to fit a print bed that’s about 256x256x256mm.
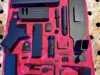
The file includes all the parts you’ll need to print it, as well as a display stand to show it off. You’ll need 2 small springs and a small price of rod (I used the shaft of a small pop rivet) if you want to have the trigger move and the magazine hold in and eject. If you just want a static display, you won’t need them. You’ll also need some super glue to put it all together, and maybe some paint if you don’t print it in color.
I printed it with tree supports and an outer brim.
For the lettering in the stand, I slopped on white acrylic paint one line at a time, filling in every recessed area, let that dry. then did the same again with red. When that dried, I cleaned up the outside with black paint. It’s really simple.
Please note that buying this file does not grant you the right to sell copies of the files or prints of the finished prop. If you'd like a license to sell copies, please let me know.
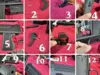
Assembly:
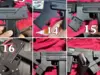
1 Glue the mag top, mag well, barrel front, and sight in place.2 For the mag release, you’ll need a small spring and a small pin.3 Glue the spring to the release.4 Put the pin through the release lever, but don’t glue it. Only glue the 2 ends of the pin in the shaft so the lever can move freely.5 Glue the grip to the back of the mag well.6 Glue a small spring to the back of the trigger.7 You’ll need to install the trig ger and trig ger guard at the same time. It’s tricky, but can be done. Glue the trig ger guard in place, but do not glue the trig ger.8 Insert the trig ger rod in place. You can use a small amount of glue at the end or leave it unglued.9 Glue the front of the Mac body in place.10 Glue on the rear sight and the bolt handle. it can be glued in the forward (safe) position, or the rear (loaded and ready to fire) position.11 Glue the selector switch in place. You can set it to semi or full, or glue a pin to the back and insert it and make the selector working.12 Glue the safe/fire switch in place.
13 Glue the rear plate on.14 Glue the front extension on.15 Glue the barrel insert into place with the strap holder and insert it into the front armor section. Then glue the brace better the barrel cover and the front extension.16 Insert the fasteners. You can clip the backs off and just glue them in for the spots with shorter holes.17 Paint it all black, and dry brush some silver around to weather it.18 Paint the am \mo in the mag and then paint the stand and you’re all set!
Printed on a Bambu A1 with matte black PLA, tree supports and an outer brim.