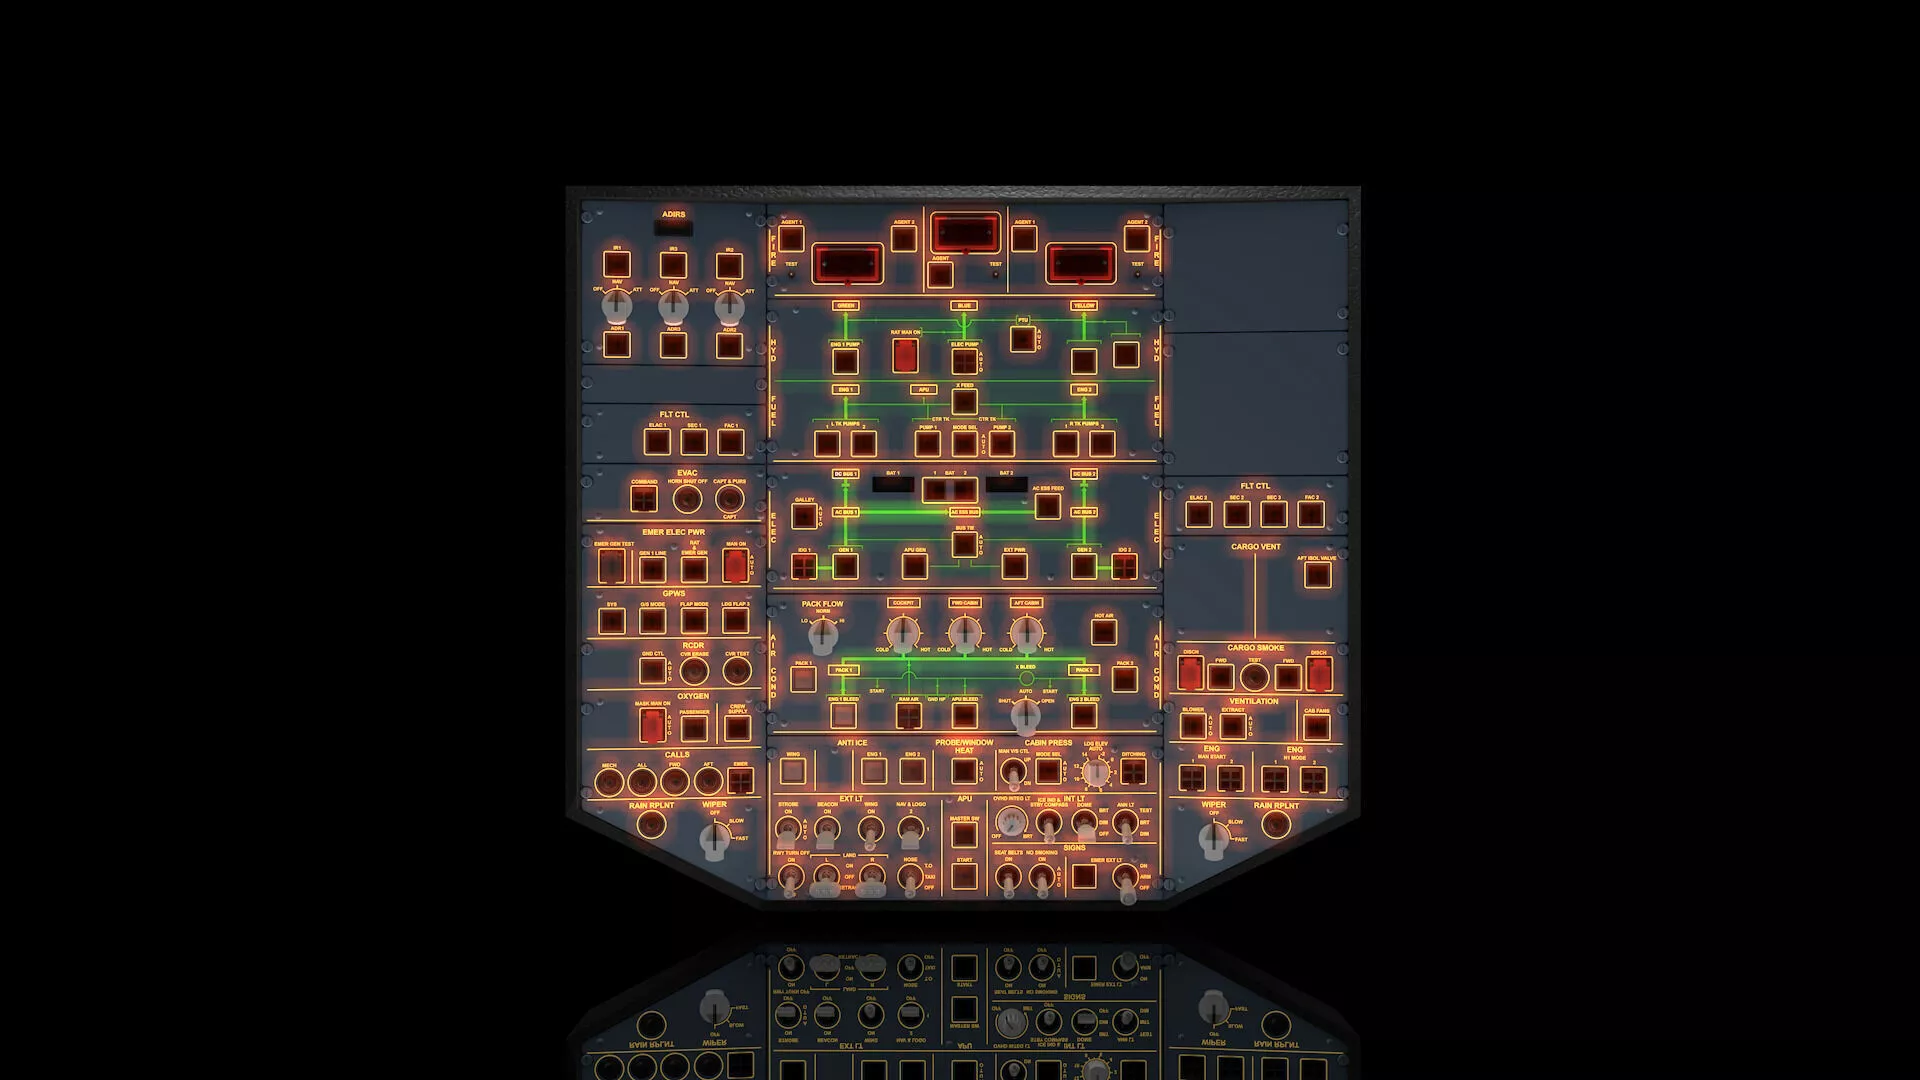
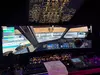
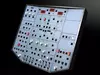
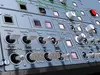
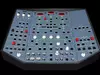
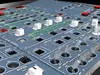
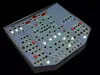
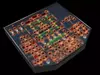
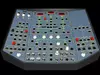
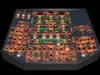
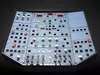
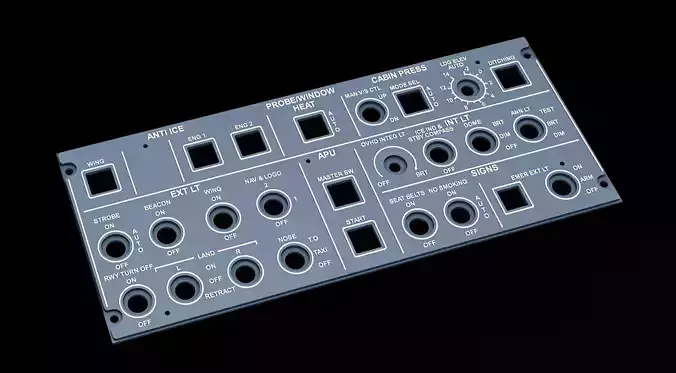
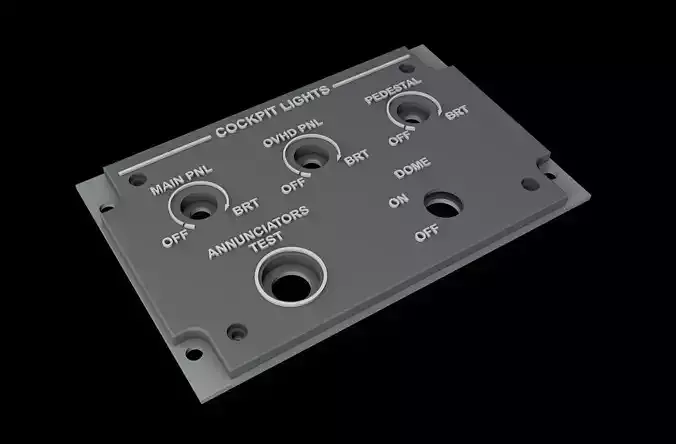
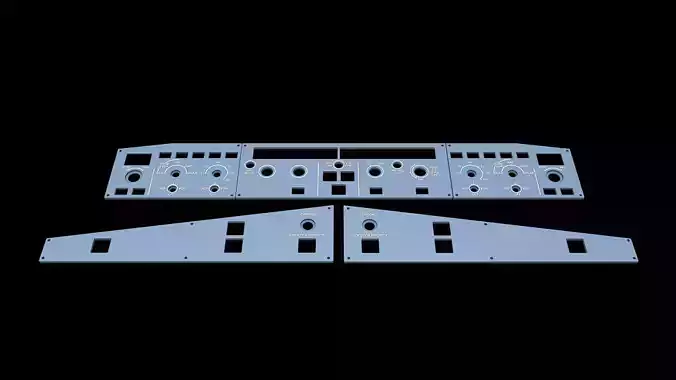
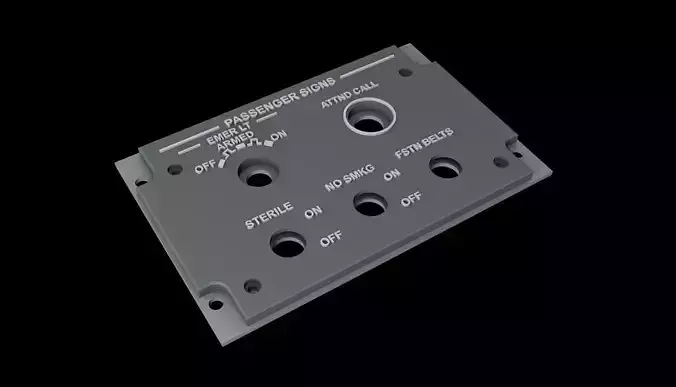
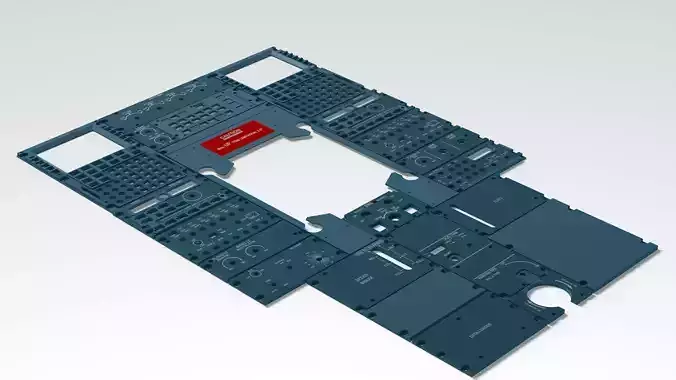
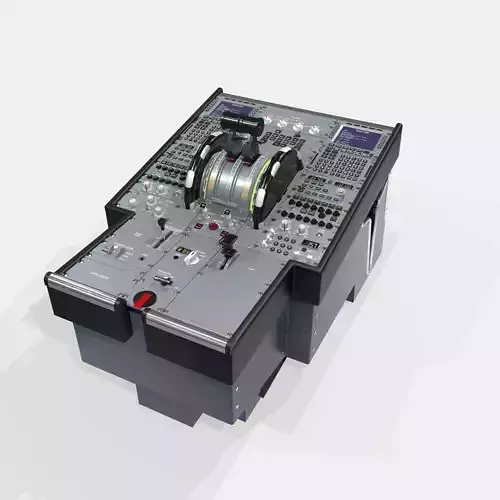
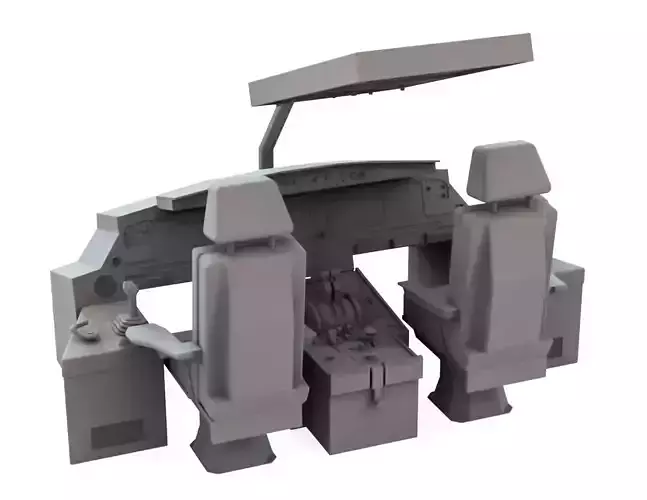
Airbus A320 - Overhead Panels 1:1 (At real and millimiter accurate Aircraft Scale)
Made by real A320 pilots, for pilots.
True DIY — the ultimate DIY-friendly project! Everything can be built at home with just a single 3D printer. No Gerber files, no outsourcing, and no expensive PCB manufacturing services required.
Used by 140+ builders in the sim community. Our Cults3D Top-seller design requires no PCB knowledge, Gerber files knowledge, advanced electronics or complex wiring needed
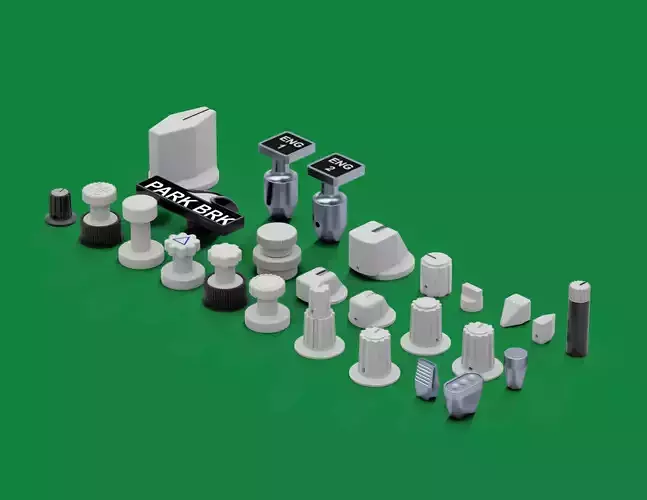
Extra files such as rotary switch knobs and Korry guards available for free. No need to buy the kit and purchase tons of additional files.
Direct Support — Get help whenever you need it throughout your build. Whether you have questions about assembly, setup, or troubleshooting, assistance is always available.
This fully integrated set of panels, buttons, mechanisms, and controls is designed to replicate the layout, proportions, and functionality of real aircraft. Additional components, including rotary knobs and fire buttons, are included free of charge.
NEWS: Our Top-Seller and most realistic A320 Overhead now includes .SVG for laser engraving and a smooth pro finish
Full Mobiflight preset for Fenix A320 (MFS2020 & 2024) included, as well as a detailed BOM and instructions step by step painting/backlighting guide.
Optimized electronics! - only 5x Arduino 2560 Pro Mini required.
Join the largest home cockpit Discord community, Mobiflight, with over 13,000 active members sharing knowledge, support, and ideas every day.
If you find their work helpful, consider making a donation to support the amazing effort behind the project https://discord.com/invite/99vHbK7
This model also includes a complete modular Rail System to secure your Overhead Panels, along with measurements to build your own DIY frame. The frame can be made either in wood or fully 3D printed — however, a wooden structure is recommended for greater durability, safety, and lower cost compared to using large amounts of filament.
This model includes the following panels (at real aircraft scale and ready for 3D printing):
- Lights panel
- AirCond panel
- Elec panel
- Hyd/Fuel panel
- Fire panel
- Emer Elec panel
- Evac panel
- Flt Ctl panel
- Adirs panel
- Cargo Heat panel
- Flt Ctl For panel
- Modular Rail System
- Frame Wooden Box measurements
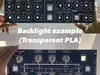
The files are designed in a way that allows creating the backlight effect in two different ways — either using only a 3D printer (no laser needed), or by laser-engraving the lettering using the .svg files provided.
Method 1 — 3D printer only (no laser cutting machine needed)
(1) - Print the panels with transparent PLA. (I recommend printing it with 20% infill, and 0.12mm quality).(2) - Apply primer and paint your panels the way you want (Do not sand them yet).(3) - Now with your primer and paint finished, place your sandpaper (I recommend higher grits) on top of a flat surface, and rub the panels on top of it, so that the paint that covered the decals comes out.
Method 2 — 3D print + laser engraving
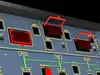
(1) - Print the panels without the lettering (laser version), using transparent PLA. (I recommend 20% infill, 0.12mm quality).(2) - Apply primer and paint the panels.(3) - After the paint is fully dry, engrave the lettering using a laser machine with the .svg file provided (align using the red edges and engrave the lettering).