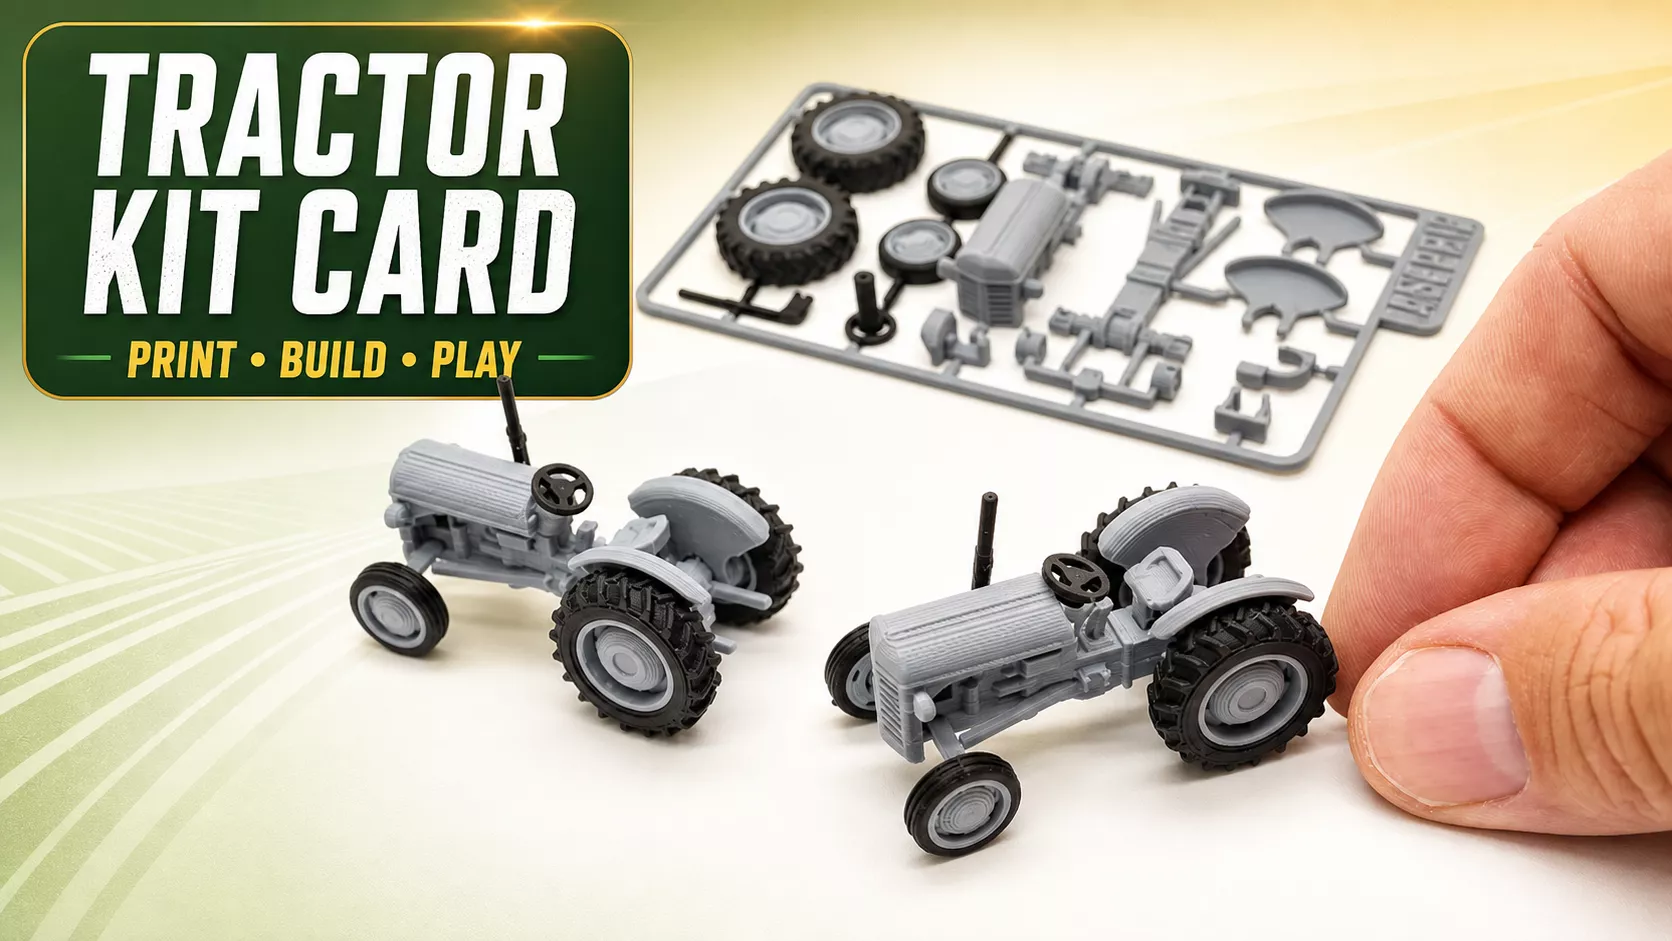
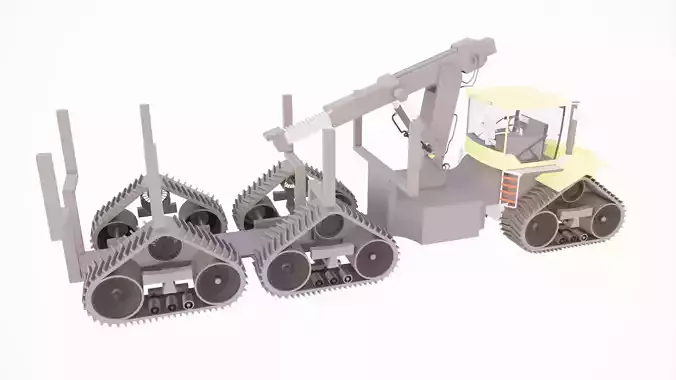
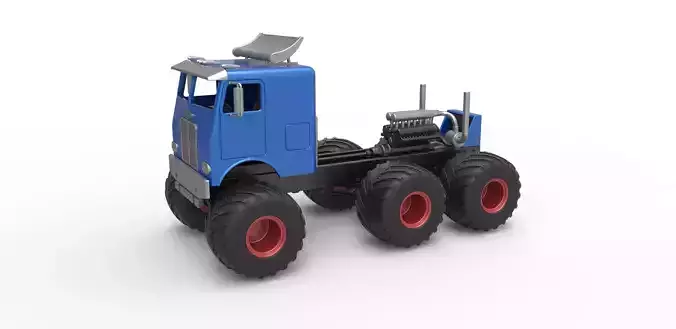
CUSTOM TRACTOR KIT CARD - PRINT GUIDEFILES
Custom_Tractor_Kit_Card_Multicolor.3mf Recommended file. Contains three aligned, named objects: grey tractor card, black tire/detail inserts, and assembly tool.
Custom_Tractor_Kit_Card_Complete.stl All geometry in one STL for a single-colour print.
tractor_kit_card_components/ Separate aligned STL files for manual multi-material setup.
Custom_Tractor_Kit_Card_Editable.blend Editable source with named objects, colours, lighting, and camera.
MODEL SIZE
Approximately 97.4 x 55.0 x 10.75 mm at 100% scale.All pieces share the same origin and alignment. Do not auto-arrange thethree component files if they will be printed together.
RECOMMENDED FDM SETTINGS
Material: PLANozzle: 0.4 mmLayer height: 0.20 mm (0.16 mm for finer text/details)Walls/perimeters: 3Top/bottom layers: 4Infill: 15-20%Supports: OFFBrim: Usually OFF; use 3-5 mm only if bed adhesion is weakOrientation: Print flat exactly as supplied
MULTICOLOUR PRINT
Open the 3MF and assign grey, black, and orange filaments to the threenamed objects. Preserve their positions. If importing separate STLs,load them as parts of one object/assembly so the slicer keeps alignment.
ASSEMBLY
- Let the print cool fully before removing it from the bed.
- Carefully free the tractor parts from the card connectors using flushcutters. Do not twist small axles aggressively.
- Remove connector nubs and dry-fit every joint before final assembly.
- Use the supplied assembly tool where helpful; press parts togethergradually and evenly.
IMPORTANT
Keep the model at 100% scale for the designed joint fit. Printer andfilament tolerances vary, so test-fit parts before forcing them together.Geometry and registration have been preserved from the supplied sourcefiles; objects were cleaned, renamed, aligned to the build plate, andpackaged into an organized print-ready set.