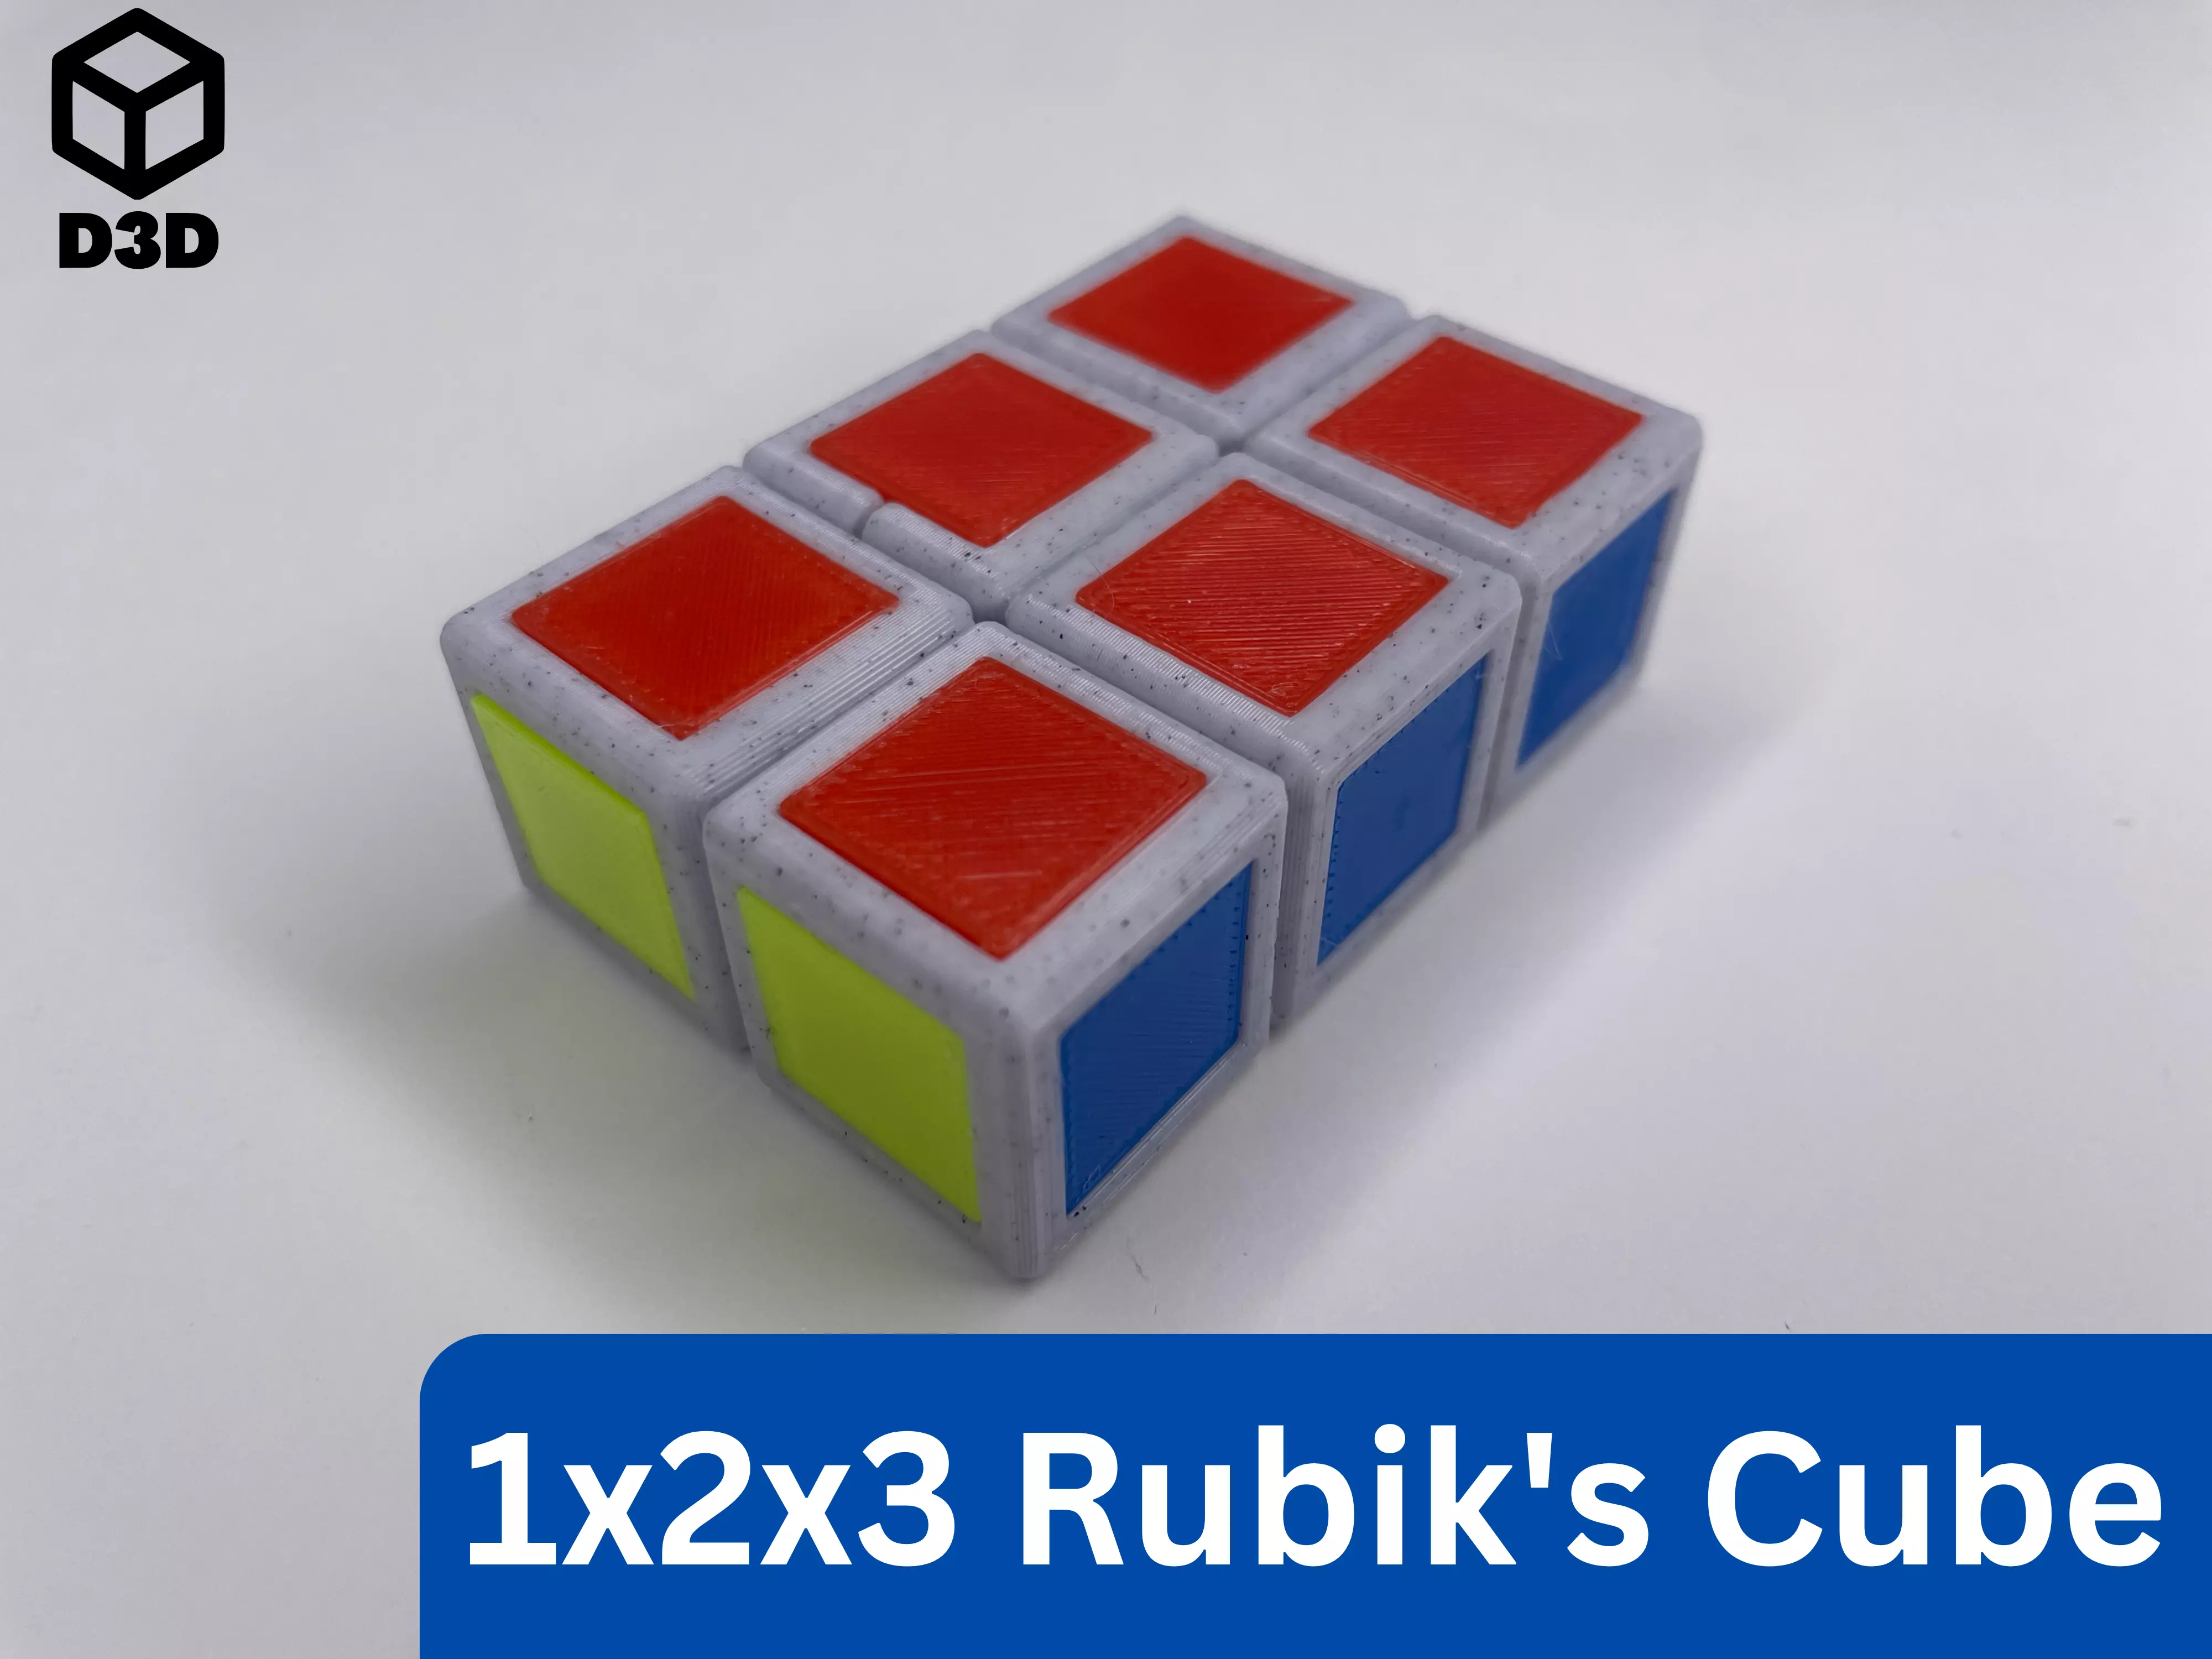
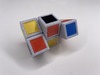
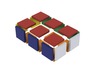
Create your 1x2x3 Rubik's Cube with this simple and fun 3D printable model. This cube features separate, easy-to-print tiles for customizable colors.
Usage
- Print the cube body and tiles separately (Note: Since this is a 3D printed Rubik's Cube it can get locked up relatively easily. In an attempt to combat this I have included two different options for the tolerance given to the moving pieces. You can either choose to print the cube body with a 0.05mm or 0.025mm tolerance.)
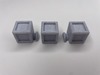
- Place two of the corner pieces into the grooves in the full middle piece
- Do the same with the other two corner pieces and the half middle piece
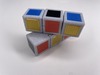
- Then place the two assemblies one on top of the other
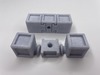
- Ensure that the holes lineup in the two middle pieces
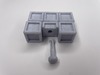
- Gently press or hammer the pin through the half middle piece into the full middle piece
- Press fit or glue on the cap to the head of the pin and the half middle piece
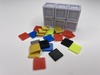
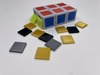
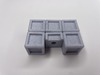
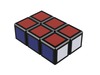
- Attach the tiles to their corresponding faces using adhesive or the press-fit method
Parts
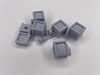
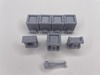
- 4 Corner Pieces (included)
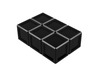
- 1 Full Middle Piece (included)
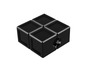
- 1 Half Middle Piece (included)
- 1 Cap Piece (included)
- 1 Pin (included)
- Color Tiles (included) (print 22 for a full cube)
Print Instructions
- Material: PLA or PETG for durability
- Supports: Yes
- There is support required on the pin
- Nothing else requires support if oriented correctly
- Orientation:
- Orient the cube pieces to minimize support
- Ensure that the pin is printed horizontally for maximum strength
- Print tiles flat on their largest face for optimal quality
- Brims: Optional for smaller tiles to ensure adhesion
If you enjoy this model, please leave a like and a comment. Please contact me if you have any questions, concerns, or problems.
If you want to support the creation of more models like this one, you can subscribe to my Printables Club (at https://www.printables.com/@Devise3D#join.@Devise3D.451) or you can purchase an individual model on CGTrader (at https://www.cgtrader.com/devise3d).