1/23
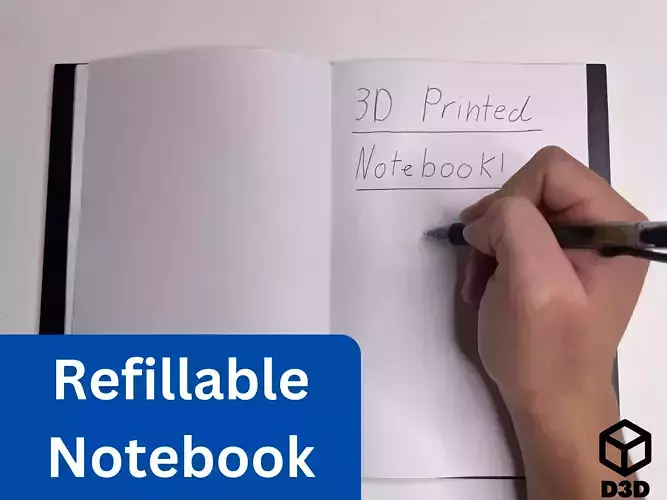
This is an updated version of the original refillable notebook that uses a flexible TPU spine instead of a mechanical, rigid one. The new design simplifies the print, increases flexibility, and reduces wear over time. You now only need to print the left cover, right cover, and a TPU spine. Assembly is straightforward and customizable, with the option to color-swap the covers to give your notebook a bold, personal touch.
This version still uses standard printer paper and a rubber band for page insertion, just like the original, but now requires two unprinted lengths of TPU to thread the covers together—and optionally some glue to help keep everything tight.
Uses:
- Personalized notebooks
- Travel journals
- Sketchbooks or art pads
- Refillable planners
- Gifts for students or creatives
Print Instructions:
- Material: PLA (for the covers), TPU (for the spine)
- Supports: No
- Brims: No
- Orientation:
- Covers: Flat with the outer side facing up
- TPU Spine: Flat with ridge facing up
- Color Swap: Optional
- If you want to give your notebook an extra pop of color, you can swap the color on the last few layers of the covers
Parts List:
- Left cover (file included)
- Right cover (file included)
- TPU spine (file included)
- 2x unprinted TPU lengths (not included)
- Rubber band (not included)
- Stack of folded printer paper (not included)
- Glue (optional, not included)
Assembly Instructions:
- Punch out the holes: Use an Allen key to carefully pierce through the thin support layers in the holes on both covers.
- Prepare TPU lengths: Cut two lengths of TPU slightly longer than the height of the notebook. Tie a knot at one end of each.
-
Attach first cover:
- Apply glue to the TPU spine if desired.
- Slide the spine into the first cover, aligning the holes.
- Thread one TPU cord through the spine and cover holes.
- Pull tight and tie off the end to secure.
-
Attach second cover:
- Repeat the threading and tying process with the second TPU cord.
-
Insert paper:
- Fold a stack of printer paper in half.
- Wrap a rubber band around the spine of the paper.
- Slide the rubber band over the TPU spine and rest the paper inside the central groove.
If you enjoy this model, please leave a like and a comment. Please contact me if you have any questions, concerns, or problems.
If you want to support the creation of more models like this one, you can subscribe to my Printables Club at (https://www.printables.com/@Devise3D#join.@Devise3D.451) or you can purchase an individual model on CGTrader at (https://www.cgtrader.com/devise3d).
REVIEWS & COMMENTS
accuracy, and usability.


