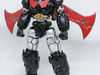
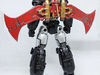
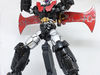
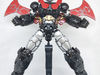
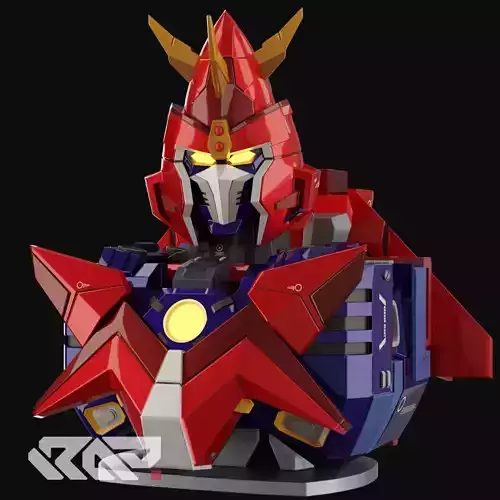
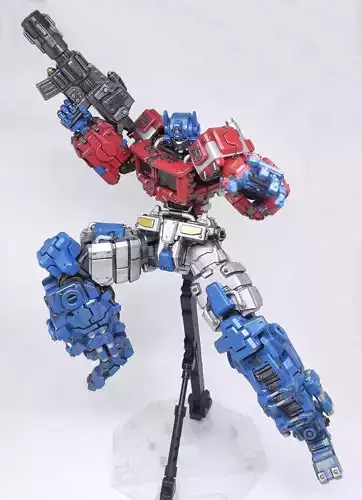
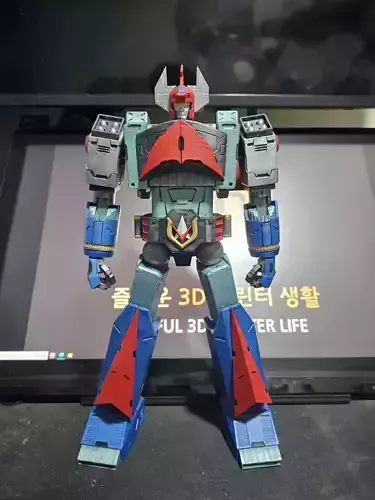
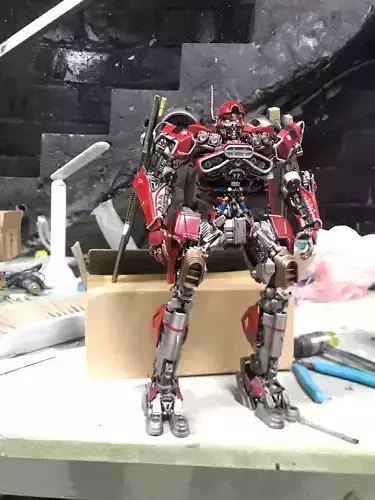
Excellent parts, images, and assembly instructions
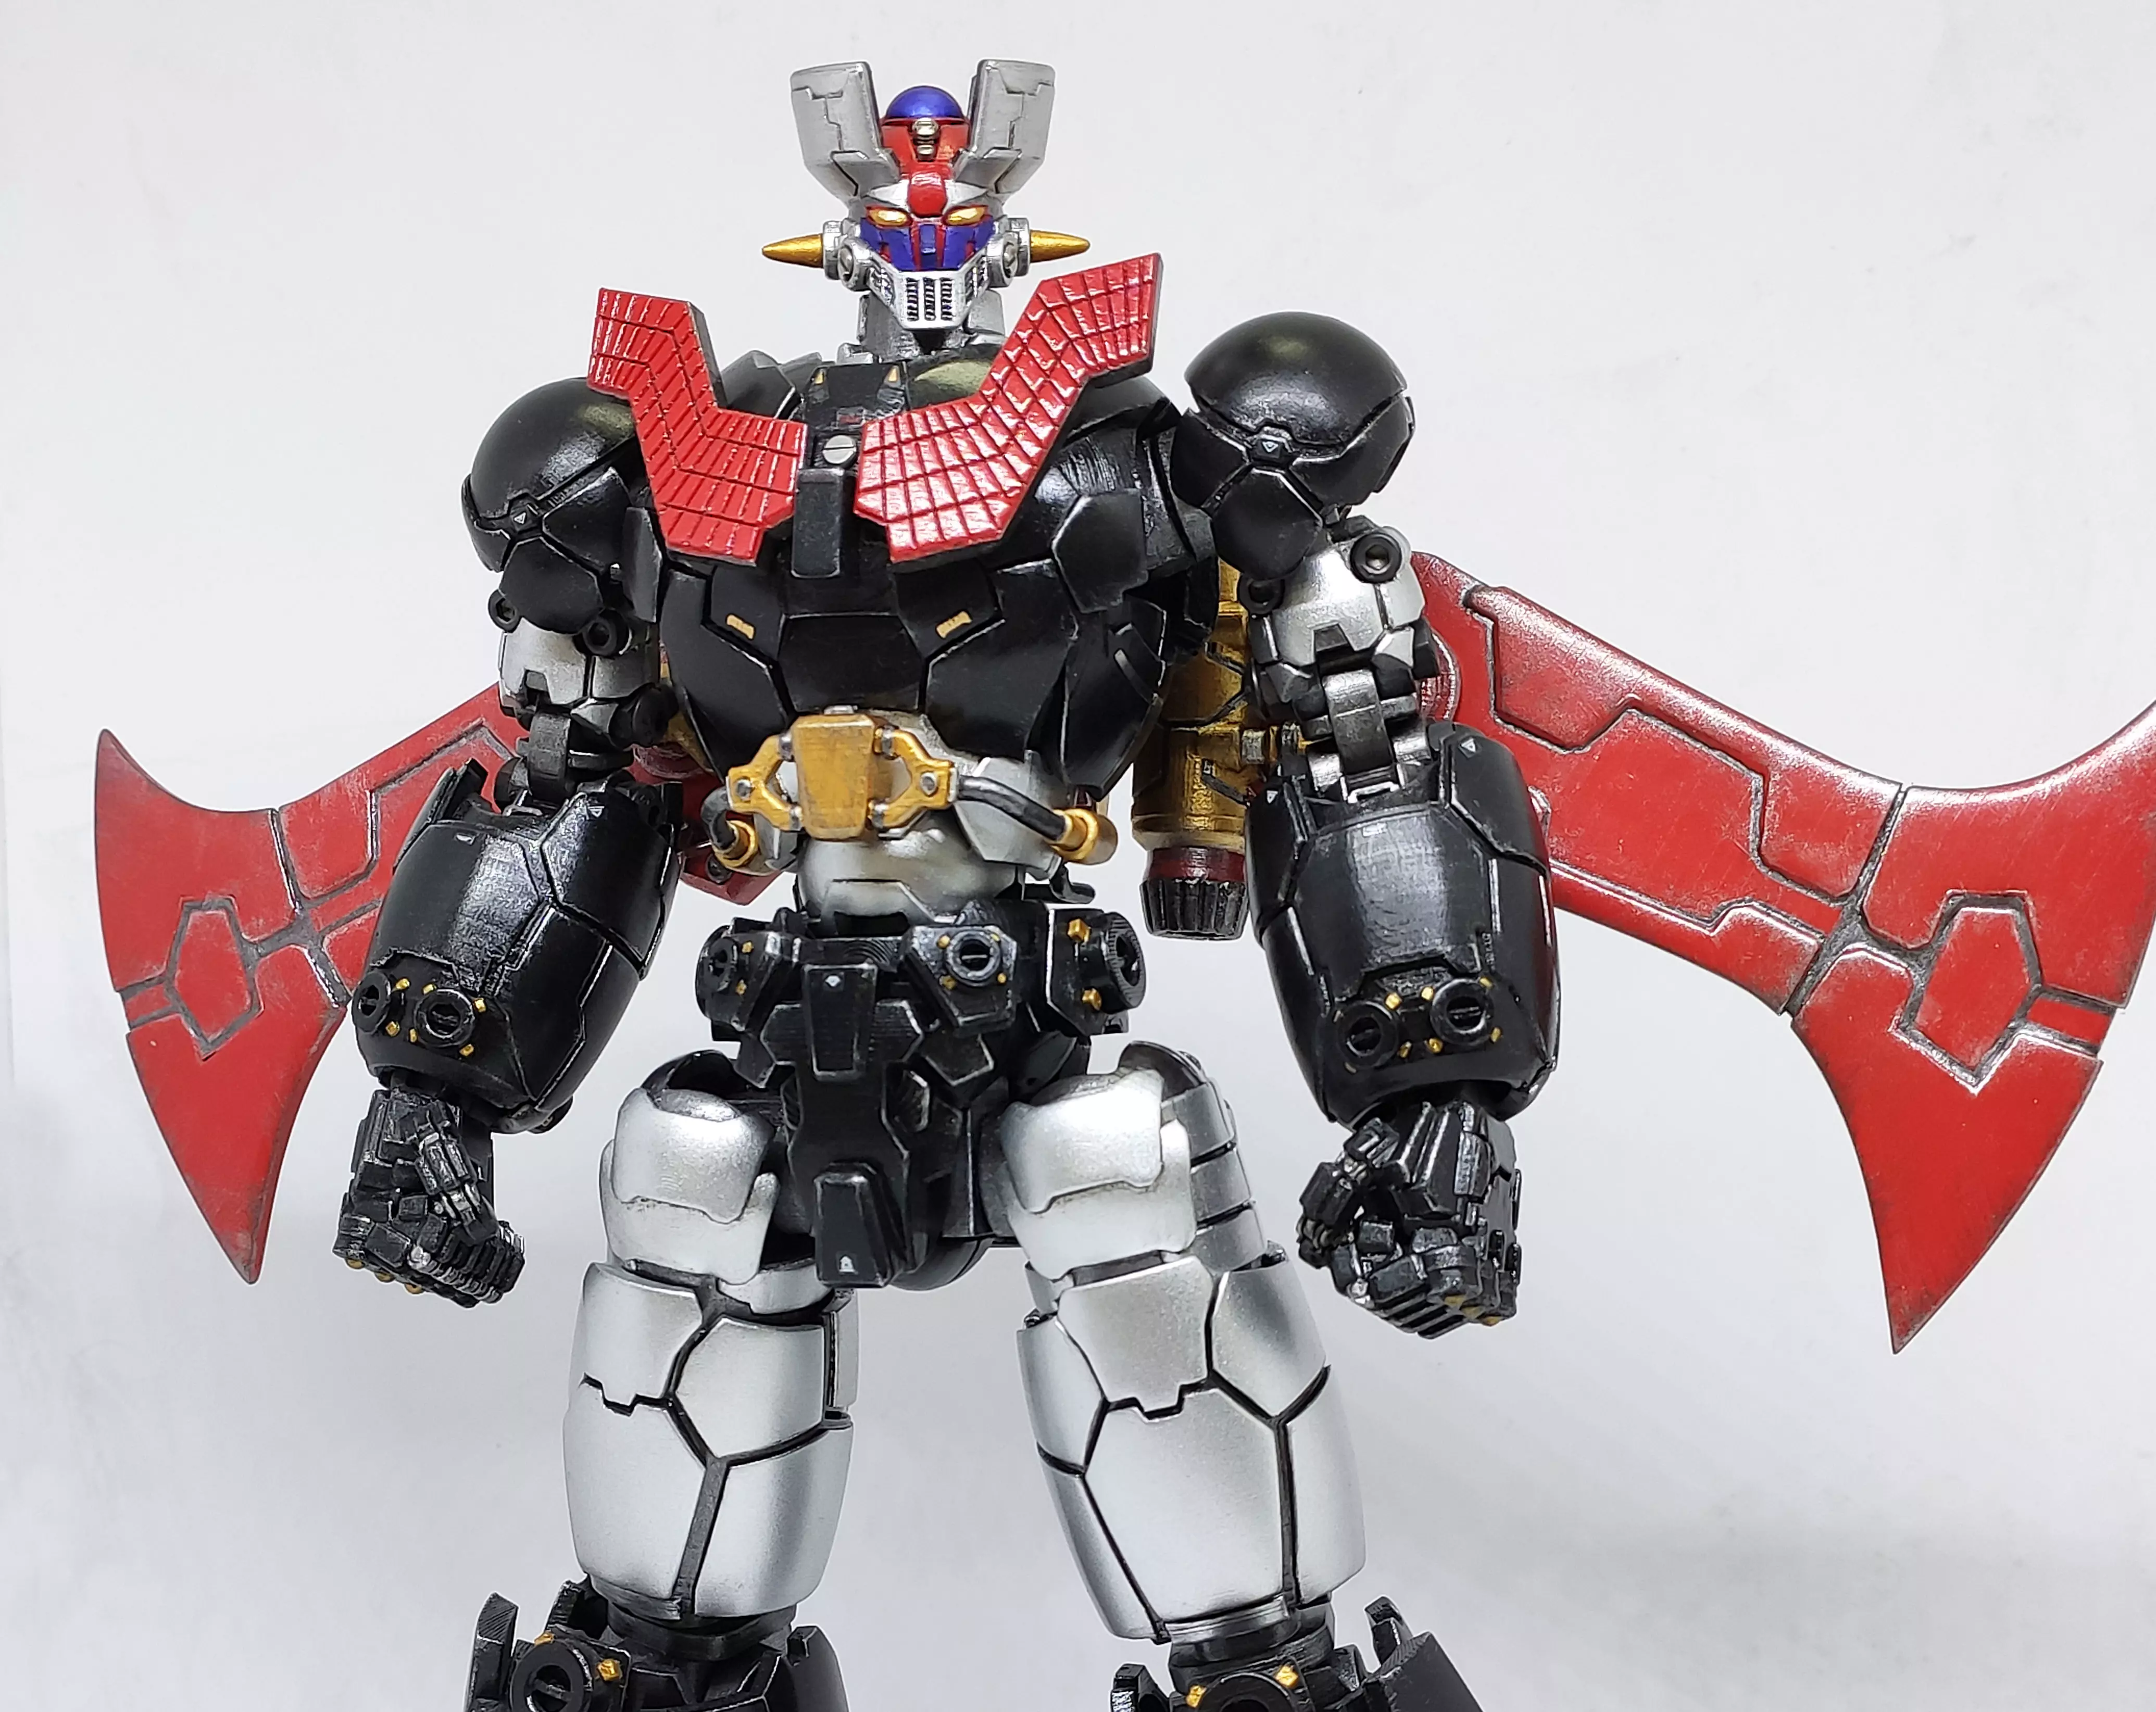
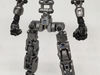
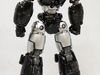
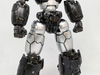
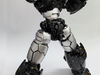
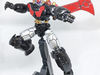
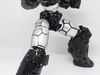
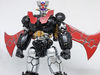
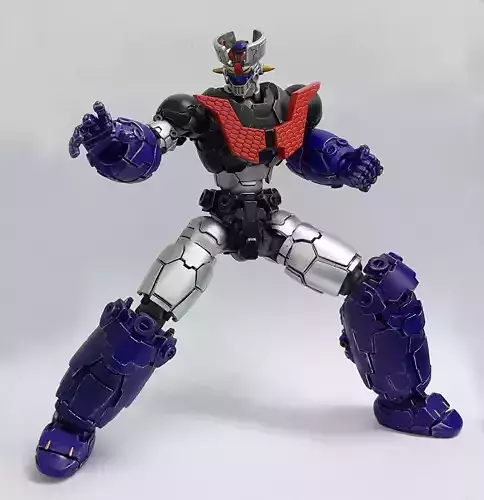
This model looks really good. The armor either snaps on with each other or connects to the inner frame via peg and slot. I used M3 and M4 bolts and nuts. Just don't overtighten it as you'll lose articulation. My only complaint is that the inner forearm frame A6 doesn't have a slot for the forearm armor (E5&E6) to connect to. So I edited A6 and put a slot on it. Also edited/extended the hand peg so the bolt/nut on the wrist doesn't hit the forearm armor. Other than that, great model.
Muy detallado, felicitaciones
I took some pictures of the forearm armor and the inner forearm frame and emailed it to you.
The inner forearm frame is different from the pictures posted. It doesn't have a slot to connect the peg of the forearm armor.
What's the difference between this and the other Mazinger Z, besides the Scrander ? I see a screw in the middle of the torso and smaller chest plates. Was anything else upgraded?
What's the difference between this and the other Mazinger Z, besides the Scrander ? I see a screw in the middle of the torso and smaller chest plates. Was anything else upgraded?
Hello can we split the metal part of torso from black chest plate.. I tried separating in max but it's not grouped.. purpose is for ease of painting. thanks.