LICENSE:
This model is provided for personal use only
You are allowed to:
- 3D print the model for personal use
- Share images of the printed or otherwise manufactured physical product on social media
You are not allowed to:
- Modify or create derivative works
- Resell, share, or distribute digital files and printed or otherwise manufactured physical products to others
- Use digital files and printed or otherwise manufactured physical products for any commercial purposes
For any questions, please contact me via private message.
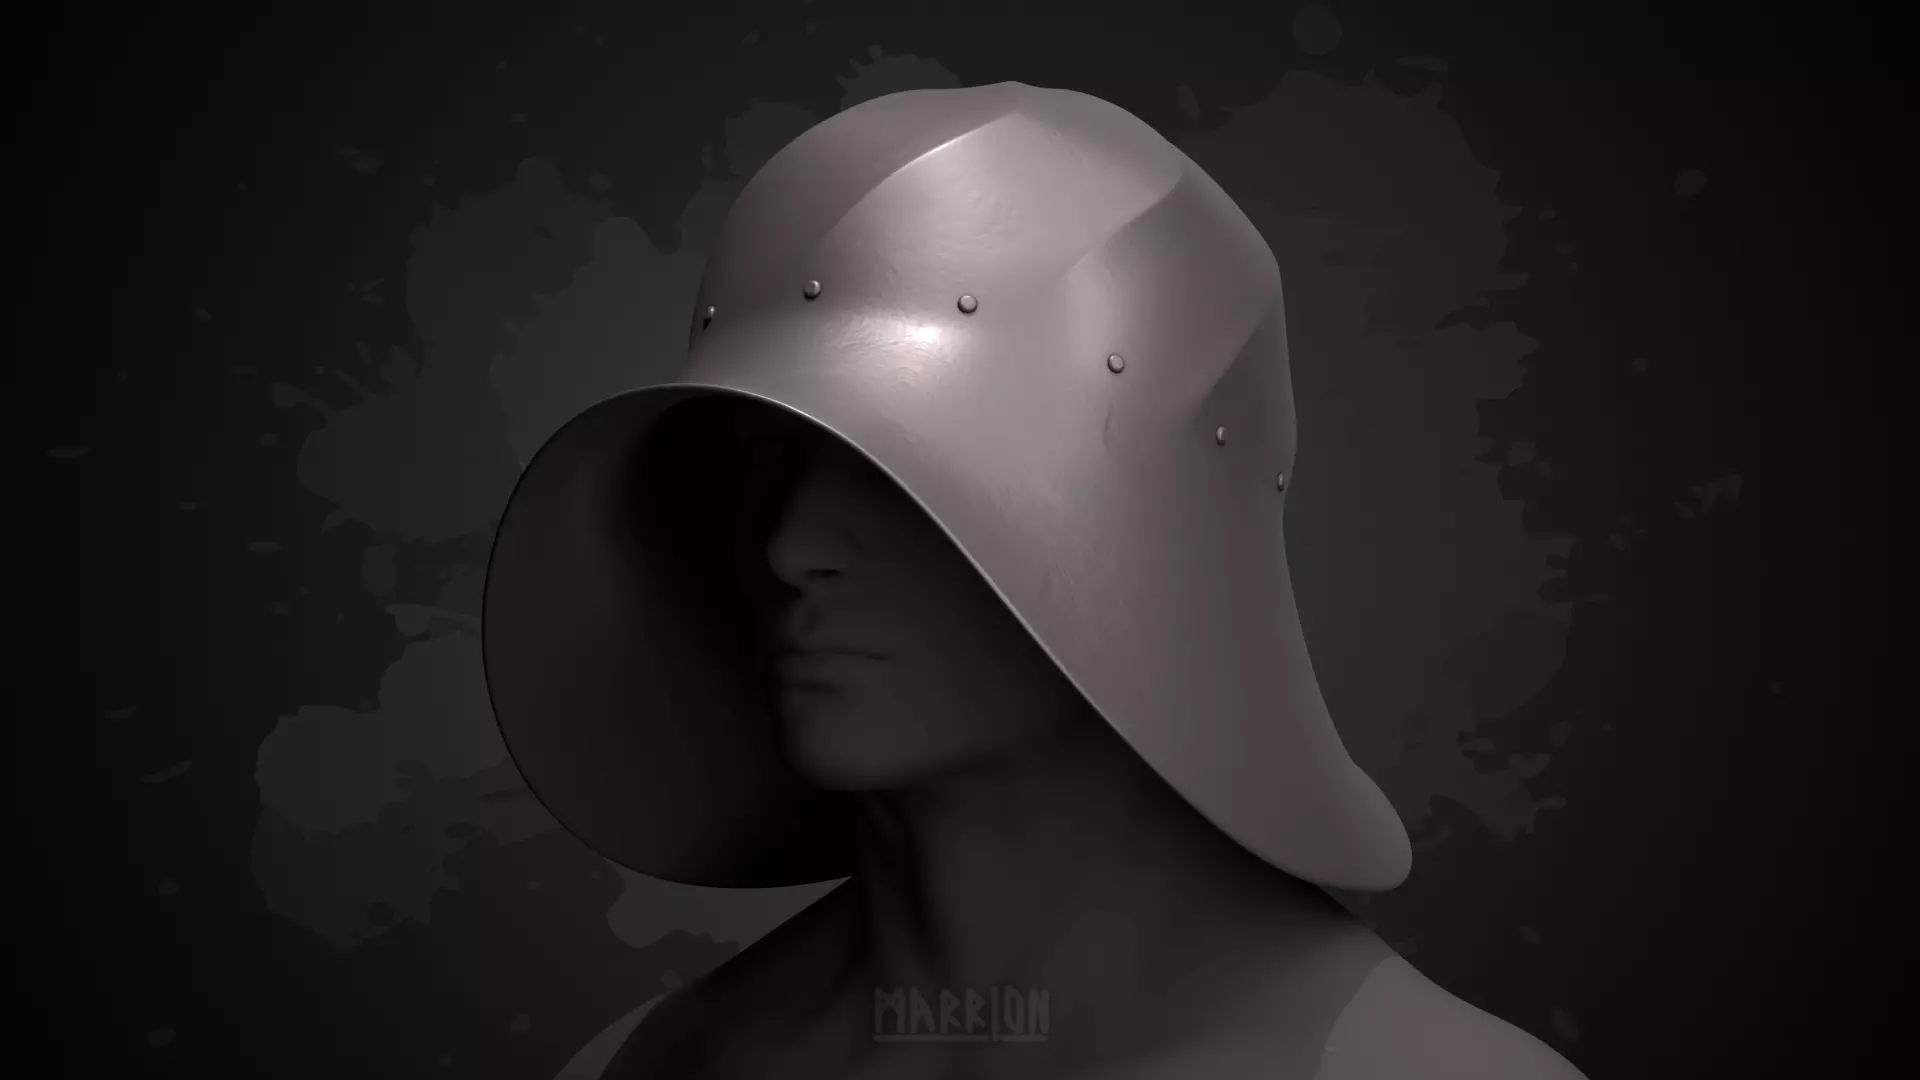
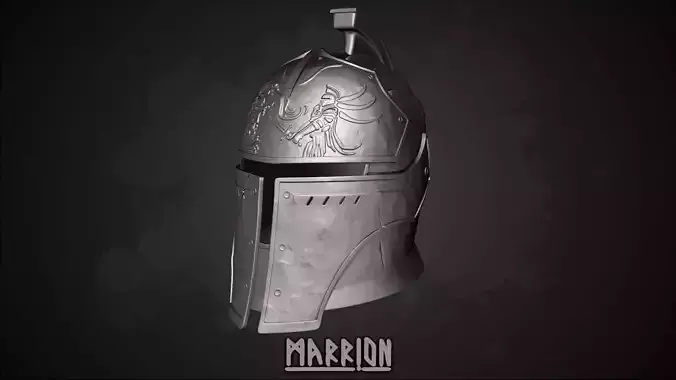
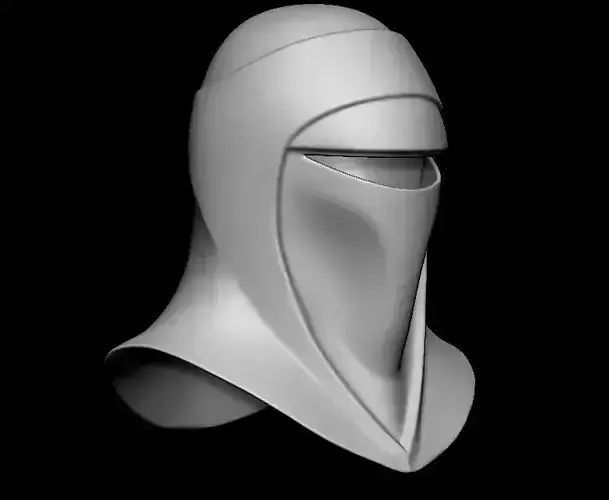
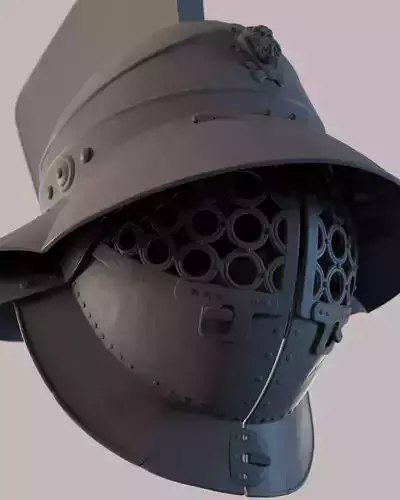
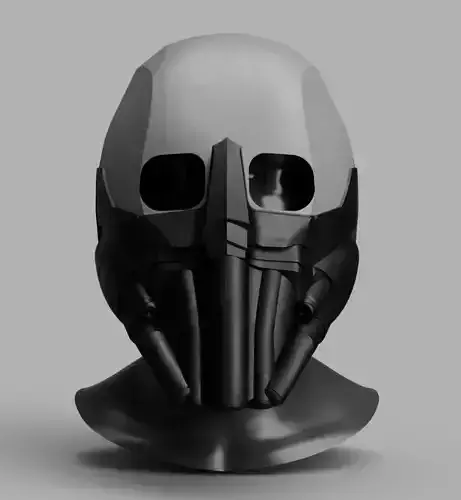
This helmet was carefully designed with a focus on both historical aesthetics and practical 3D printing. Special attention was given to clean geometry, logical part separation, and surface detail to ensure a high-quality final result.
OVERVIEW:
This 3d model includes multiple variations to suit different needs:
- Smooth or weathered surface
- Cut (for smaller printers) or uncut version
- Multiple rivet options
- Each archive is self-contained and includes files in .stl, .fbx, .obj, and .blend formats:
- Helmet model
- Rivets (if applicable)
2 test pieces:
- size test ring - to check fit before full printing
- cut test piece - to evaluate joints, tolerances, and gluing
PRINT VOLUME COMPATIBILITY
- Uncut version: requires at least 400×400×400 mm build volume
- Cut version: fits printers with 200×200×200 mm build volume
SIZE & FIT
The helmet is designed for a 60 cm head circumference (shown on renders).
To ensure proper fit:
- Your printer should be well-calibrated
- Material shrinkage should be taken into account
A test ring is included in every archive.It represents a cross-section of the helmet and allows you to:
- test the size
- adjust scale if needed
IMPORTANT:
Make sure to account for padding (helmet liner, cap, etc.).It is recommended to test fit with any additional layers you plan to wear.
PRINTING RECOMMENDATIONS:
For best surface quality:
- orient parts at 45-90° angle
- keep the outer surface facing upwards
- use sufficient supports to prevent deformation
Assembly (for cut versions):
Temporarily assemble parts using tapeGlue parts one by oneAlternatively, apply glue from the inside if suitableTake your time during assembly - this step directly affects the final appearance.
3D MODEL VARIATIONS:
Uncut - Smooth Surface:
uncut_smooth_helmet_with_built-in_rivets
uncut_smooth_helmet_with_holes_for_rivets (3 mm holes)
uncut_smooth_helmet_without_holes_and_rivets
Uncut - Weathered Surface:
Same options as above, but with sculpted surface detail simulating aged metal:
uncut_weathered_helmet_with_built-in_rivets
uncut_weathered_helmet_with_holes_for_rivets
uncut_weathered_helmet_without_holes_and_rivets
Weathered version works especially well with patina and painting techniques due to its textured surface.
Cut - Smooth Surface:
cut_smooth_helmet_with_built-in_rivets
cut_smooth_helmet_with_holes_for_rivets
cut_smooth_helmet_without_holes_and_rivets
Cut - Weathered Surface:
cut_weathered_helmet_with_built-in_rivets
cut_weathered_helmet_with_holes_for_rivets
cut_weathered_helmet_without_holes_and_rivets