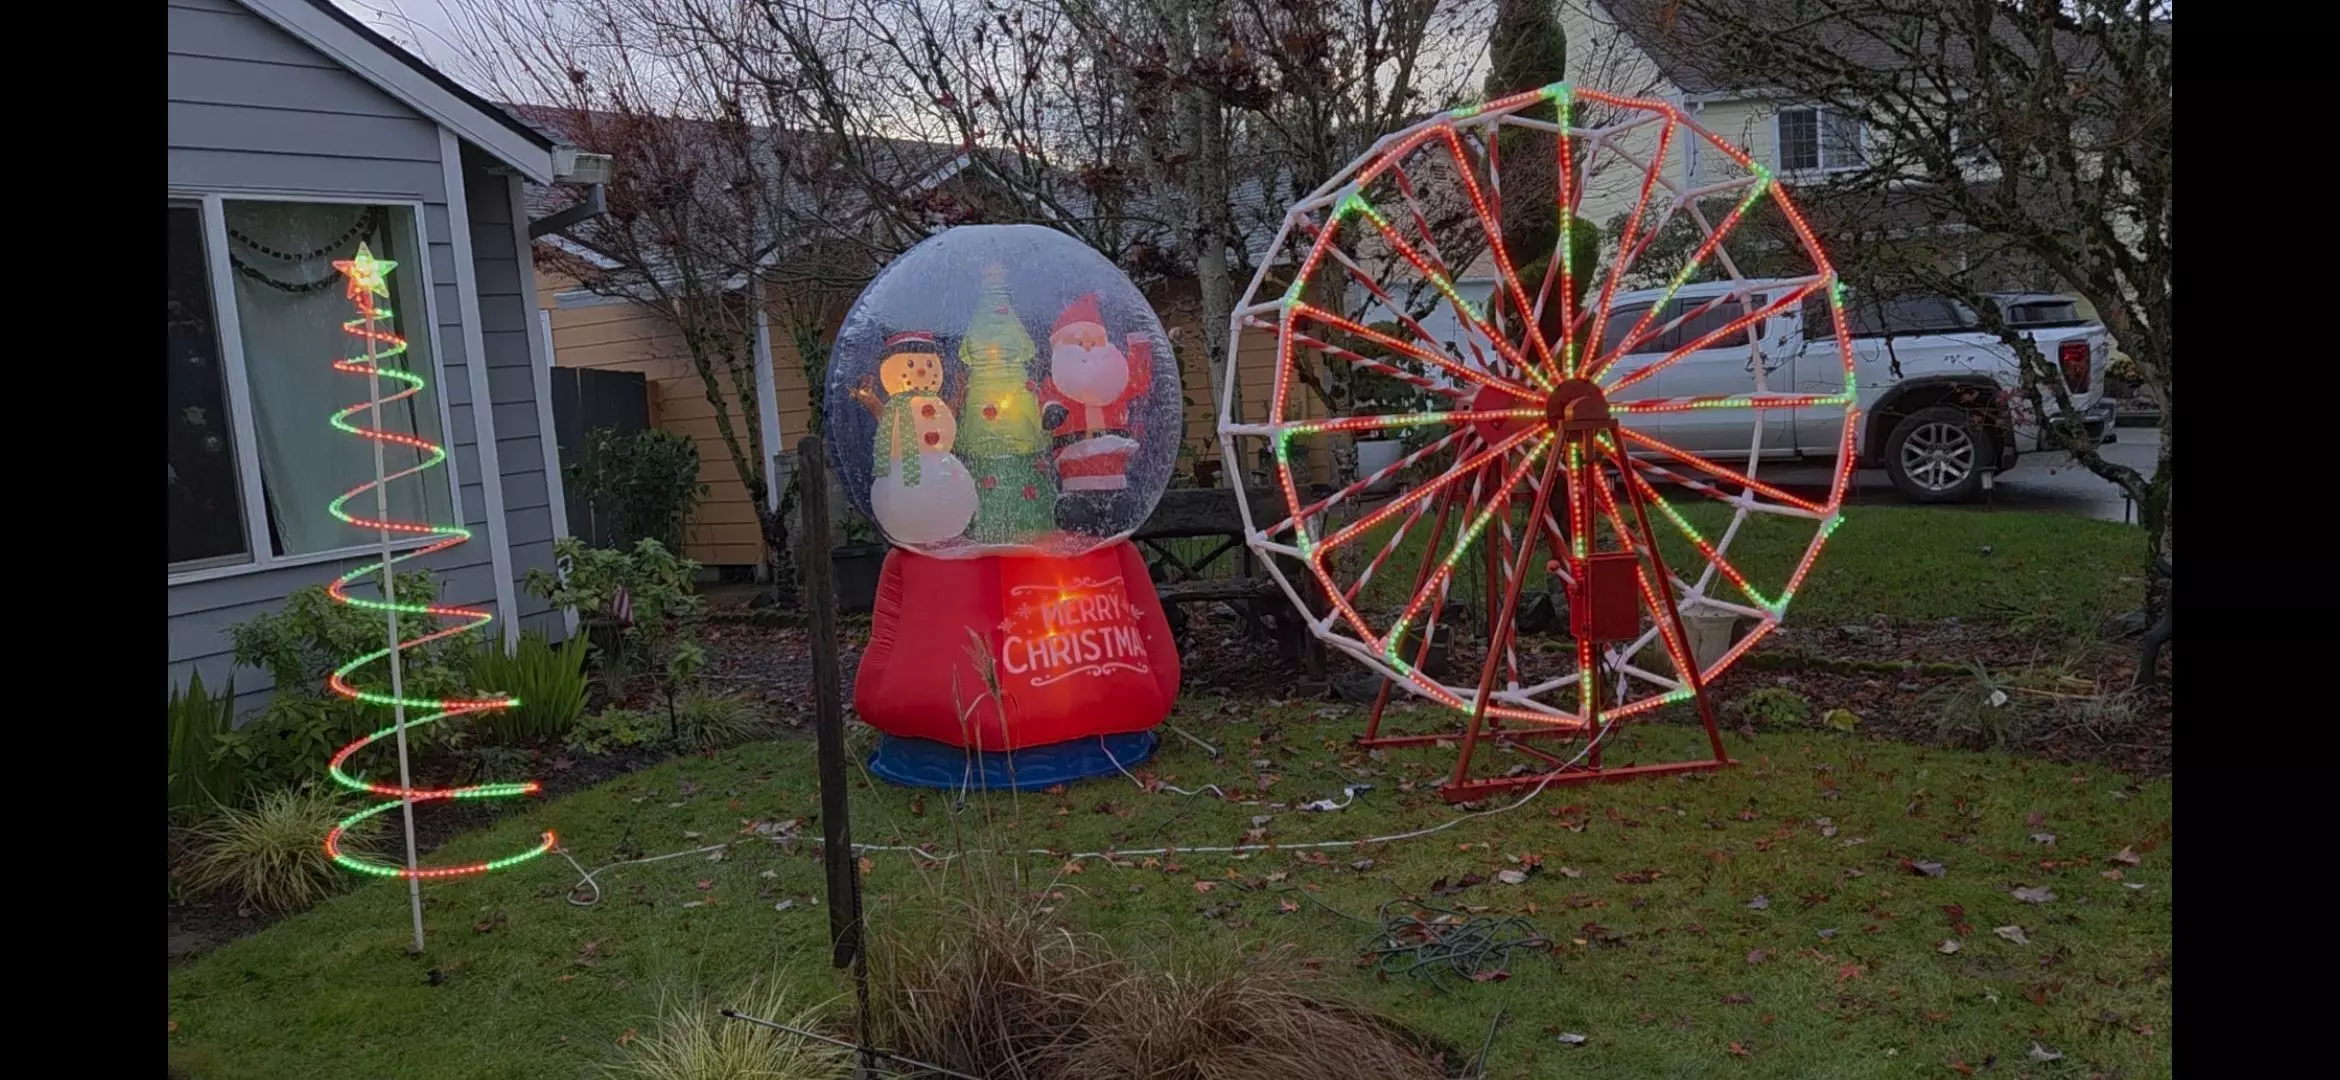
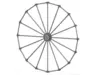
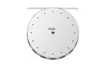
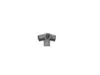
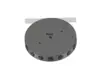
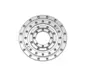
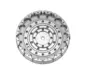
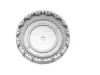
This is a 3D-printable Ferris Wheel–style pixel display designed specifically for addressable LED pixel lighting projects (WS2811 / WLED-compatible). I used seed pixels with a 2cm spacing. The data rings are designed to be wired so that every other pixel string was on the same data ring, meaning that there are 2 channels with alternating spokes for more animating options.The design features radial spokes made of 3/4 inch PVC with a 3D printed central hub, making it ideal for animated lighting effects such as chases, rotations, spirals, and patterns that benefit from a circular layout. It is well-suited for holiday displays, yard art, interactive light installations, or permanent outdoor props.This model was designed with real-world wiring, mounting, and assembly in mind, not just visual appearance.Key Features
- Radial spoke design optimized for addressable pixel strings
- Central hub allows for clean wire routing
- Works with WLED, xLights, Falcon, Dig boards, and similar controllers
- Designed for 12V WS2811 pixel strings (other voltages possible with user modification)
- Modular design allows scaling and customization
- Suitable for static or rotating installations (motorization optional)
What is included:-stl for the 2 center hubs. Designed to fit on Bambu X1C. It is 256mm in diameter, so I recommend pulling off the flow calibration lines as it is printing. You will also need to use slim tree supports due to the size of the print. The hubs need 1/2-20 heat inserts to connect it to the hub to axel connector. The hub to axel connector is included as a .dfx to be cut out of metal. I sent it to sendcutsend to have it cut, but you could also just make your own using the dimesions. I welded a 1/2-13 nut to it to connect it to the allthread axel, but you could also just use a nut on the outside of the hub and on the outside of the hub to axel connector if you don't have a welder.-stl for the outer connector. This is designed so that you just have straight cuts and no bending of the pvc required.
- stl for power hub, positive, negative, and 2 data rings. The rings are designed to have an 8-32 brass screw and nut in each hole. Copper foil tape is used (https://a.co/d/3LhebWn) on the side with the counter-sunk holes. I had to cut the tape in pieces and overlap. Then the screw is threaded in through the tape. The hole size is just small enough that the screw should thread into the plastic. The nut it used on top to hold the wire for the pixels. I used heat shrink ring connectors. the whole power hub is connected to the center hub through 1/4-20 screws through the negative ring. I recommend using hot glue to hold in each ring and to seal the power hub to the center hub. Each pixel string slot has a keeper that slides in to seal it from water. I also recommend using hot glue on this. I put a small bead on each slot of the keeper and then slid it in. The lid is meant to be kept on with heat inserts and screws, but I found it more effective to heat press in 1/4-20 screws with the head cut off. The cut off side gets heat pressed in with a soldering iron or similar tool. There is also a file for a lid gasket, which I made out of TPU. But I alsro recommend sealing it afterwards on the outside with hot glue, just to be safe.
What you will need to buy/make:
- 32 of 3/4 pvc spokes. The length will depend on how tall you want it to be.
- 32 of 3/4 pvc between spoke connectors. The length will change depend on the length of your spokes. So cut your spokes first and then figure out the length in between spokes.
- 16 Cross pieces of 3/4 pvc. The length will depend on how wide you want it to be.
- 2 pillow block bearings with 1/2 inch center bore
- Axel: I used all-thread with 1/2-13
- Slip ring power connector. I used a 6 wire, 2 positive, 2 negative, and 2 data.
- Sturdy Base. Due to the size of the ferris wheel, I don't recommend making this from PVC. I used some scrap angle iron, 2" square tubing, and 1 inch round tube.-Seed pixels. I used 2cm spacing, but 2.5 spacing would work better for wiring short pigtails to connect to the rings.-Pixel Controller. I used a dig quad and meanwell power supply. I only used 2 channels of the dig quad, so I had 2 other channels to use for nearby props. I used the installed WLED program to control it.-Motor, Chain, and sprokets. I used a 12v, 5rpm motor (https://www.amazon.com/dp/B07F8WDFZV?ref_=ppx_hzsearch_conn_dt_b_fed_asin_title_2&th=1) with a #35 Roller Chain sprocket (https://www.amazon.com/dp/B0FRSYSRPB?ref_=ppx_hzsearch_conn_dt_b_fed_asin_title_2) on the motor side and a #35 65T Sprocket on the shaft of the ferris wheel (https://ebay.us/m/1hcRSW). This combination made it rotate about 1 rpm, which was about right, but a little on the slow side at max speed. (See attached video).-1/4-20 Heat inserts