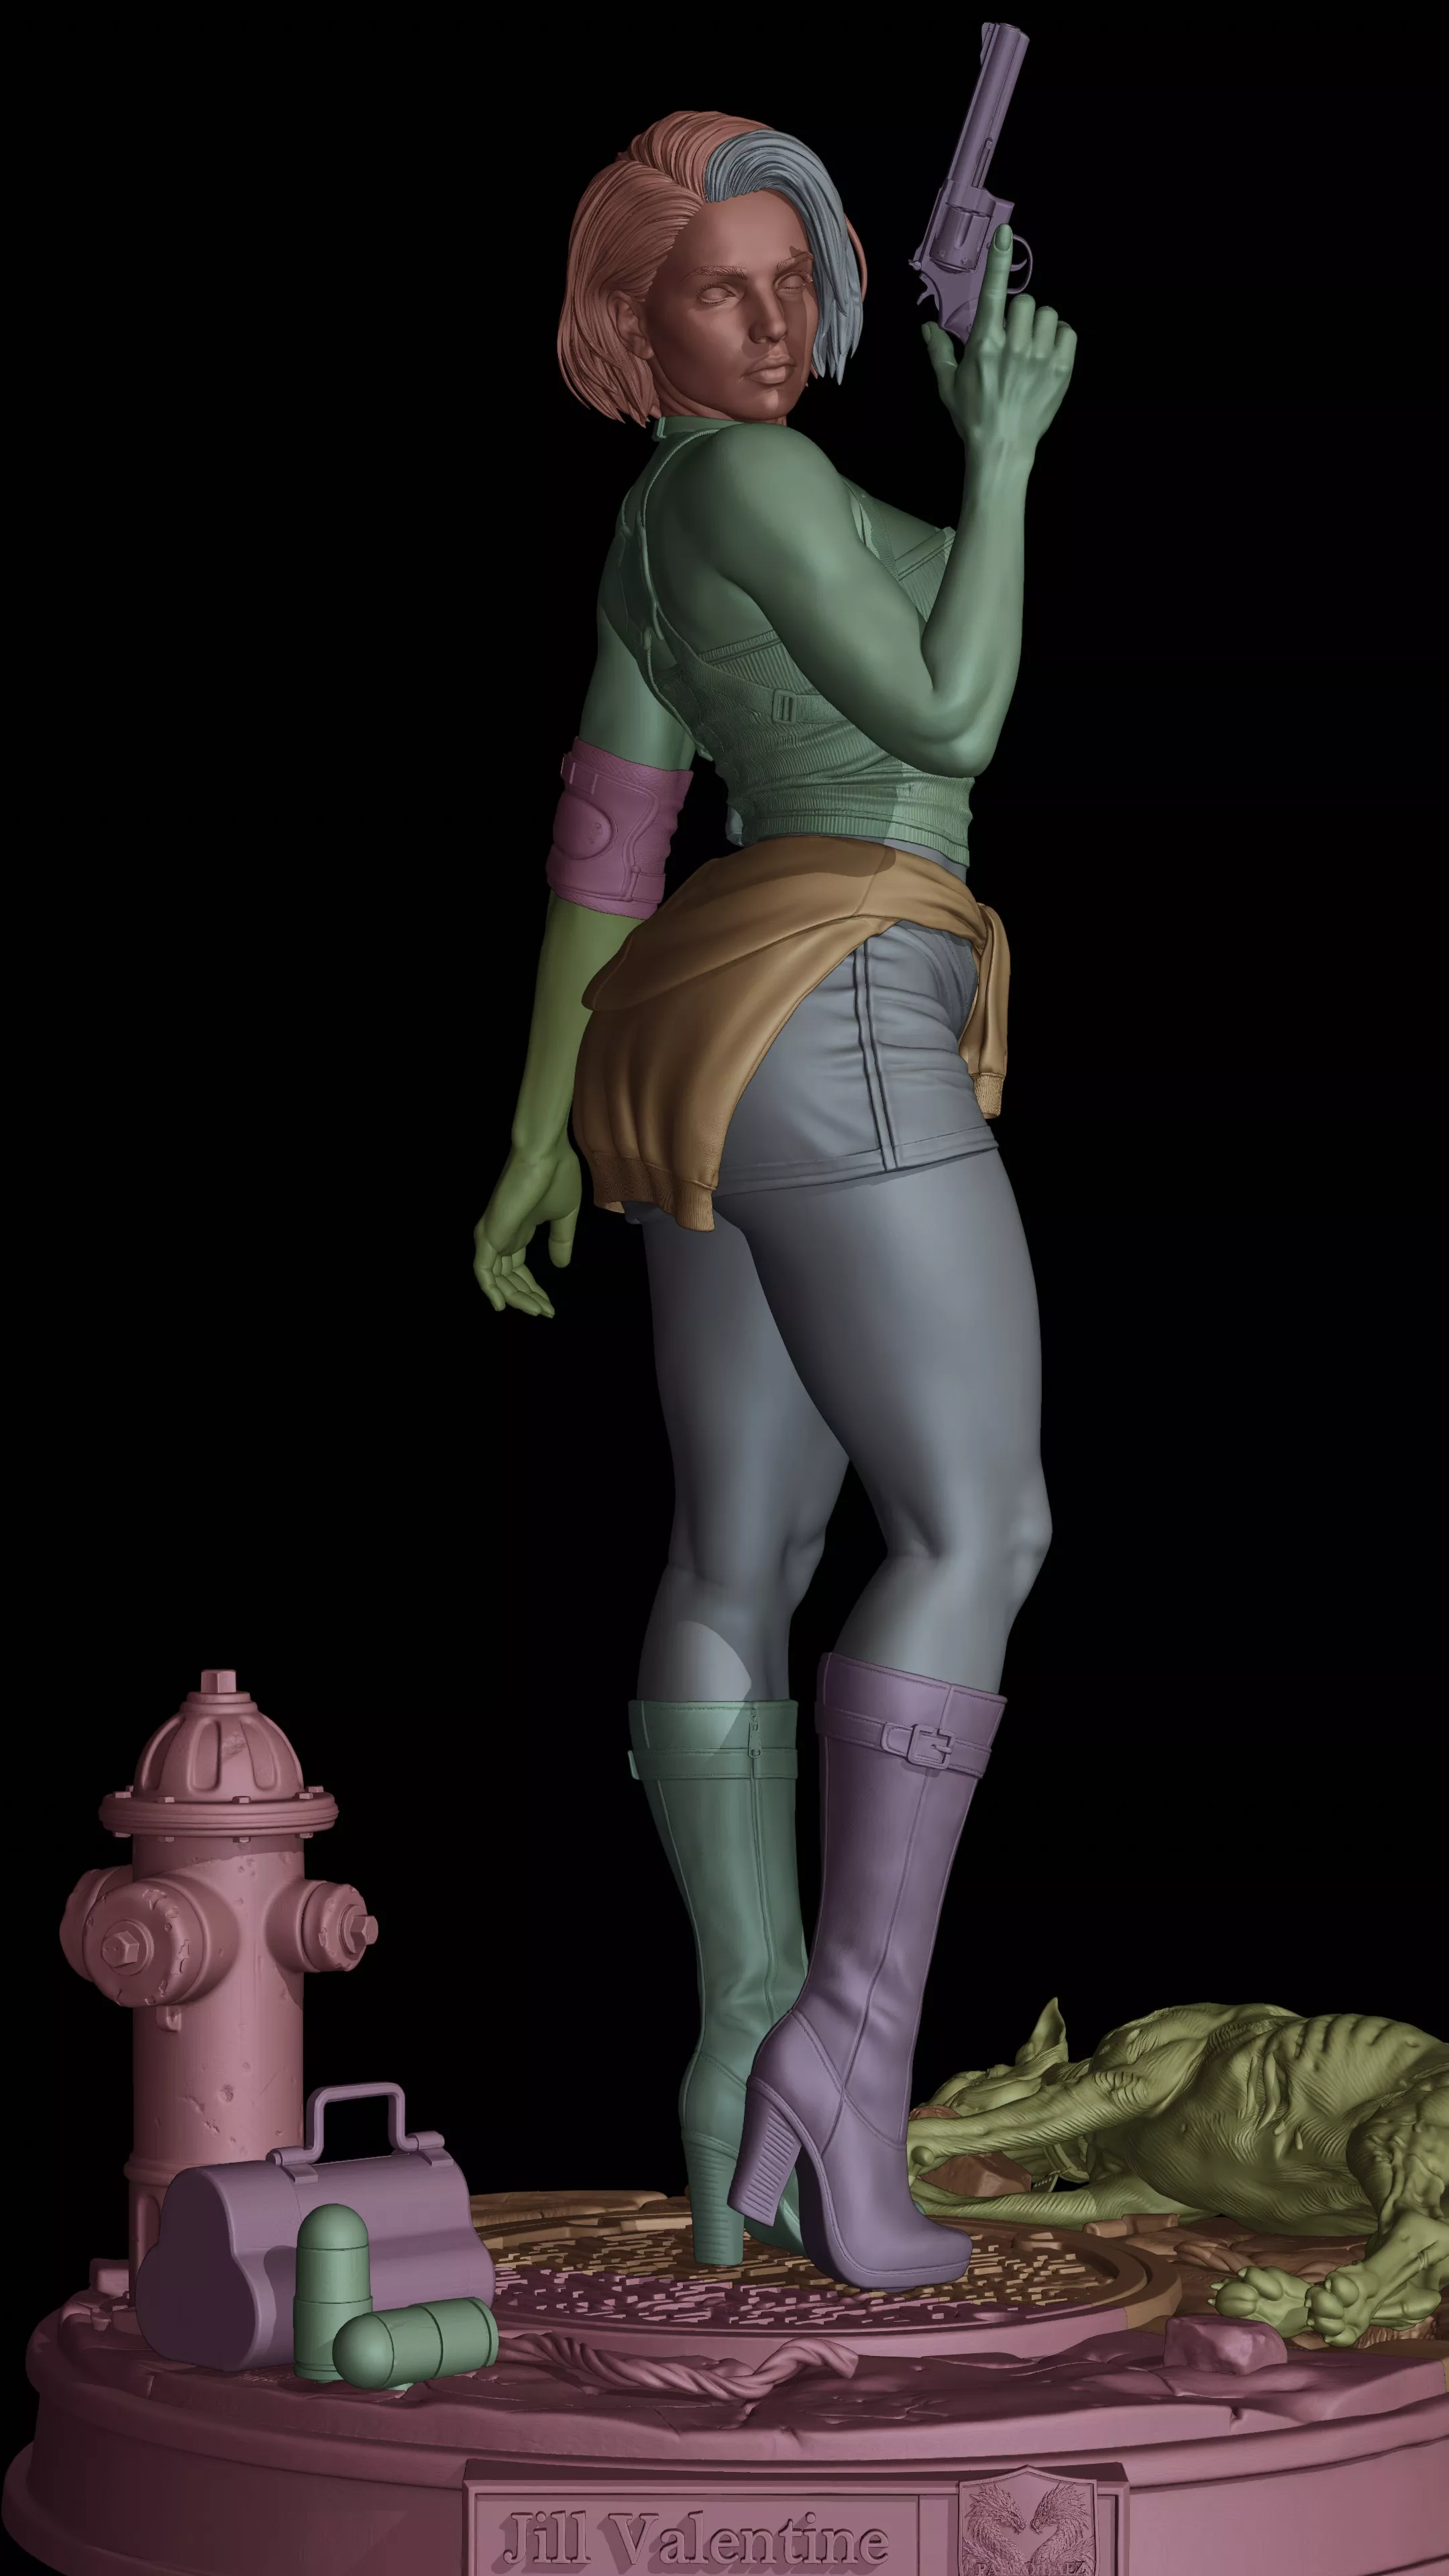
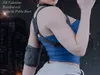
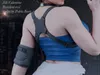
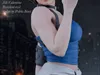
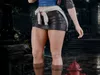
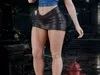
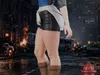
A highly detailed collectible diorama inspired by Jill Valentine’s iconic classic appearance in Residual Evil 3. Sculpted with collector-grade aesthetics and engineered from the ground up specifically for resin 3D printing, clean assembly, and effortless painting.
Key Features & Modularity
This package includes interchangeable parts allowing you to build multiple display configurations (Tactical Full Version or Classic Light Version):
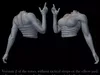
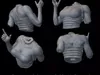
2 Interchangeable Upper Torsos:
Version 1 (Tactical): Features the shoulder harness, holstered side handgun, and elbow pad socket.
Version 2 (Clean / Light): Smooth tube top without tactical straps or elbow pad, showcasing clean muscle anatomy.
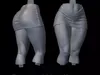
2 Interchangeable Lower Body Variants:
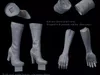
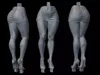
Variant 1 (Combat Boots): Classic knee-high tactical boots with heavy-duty mounting blocks.
Variant 2 (High Heels): Stylized stiletto heels with reinforced connection blocks for maximum structural stability.
Painter-Friendly Engineering:
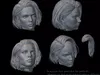
Separate Front Hair Strand: Paint the face, eyes, and hair independently without messy masking.
Detachable Waist-Tied Sweater: Independent piece sculpted to fit over the hips seamlessly, allowing the skirt and white sweater to be painted separately.
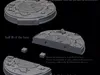
Complete Raccoon City Diorama Base:
Full 1-Piece Base: Ready for large-format resin or FDM printers.
Split Base (Half A & Half B): Optimized for standard build plates (e.g., Mars / Saturn / Mono series). Includes separate floating dowels (alignment keys) to allow flat, obstruction-free sanding before joining.
Diorama Props & Accessories:
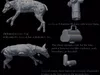
Defeated Zombie Dog (Cerberus) with custom torso mounting key.
Classic urban fire hydrant.
R.P.D. / STARS grenade ammo crate (paintable as explosive, acid, flame, or freeze rounds) and loose 40mm grenades.
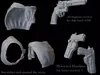
.44 Magnum revolver with precise cylinder, barrel, and grip knurling.
RECOMMENDED 3D PRINT SETTINGS & PRODUCTION GUIDE
Recommended Printer Type & Material
Figure, Hair & Accessories: MSLA / DLP / SLA (Resin 3D Printer) is strictly recommended to capture micro-textures, hair strands, facial expressions, and precise keyed joint tolerances.
Recommended Resin Material: ABS-Like Resin is highly recommended over standard brittle resins. It provides the optimal balance of high-detail reproduction, impact resistance, and slight structural flexibility. This ensures that thin areas (such as high heels, gun barrels, and slender hair locks) and connection pegs do not snap during assembly or post-curing.
Diorama Base: Can be printed in Resin (for maximum ground and rubble detail) or FDM / PLA (0.12–0.16 mm layer height with 15–20% infill).
Slicing & Print Parameters (Resin)
Layer Height: 0.03 mm – 0.05 mm (0.03 mm recommended for head, weapons, and detailed accessories).
Scale: Sculpted at premium collectible scale (~1/8 scale, easily scalable up to 1/6 or 1/4 without loss of fidelity).
Hollowing & Infill:
Head, Arms, Weapons, and Small Accessories: Print 100% Solid to ensure maximum structural integrity and durable connection pegs.
Torsos & Lower Body: Can be printed solid or hollowed (minimum wall thickness of 1.8 mm – 2.0 mm). Always place drainage and suction relief holes on hidden contact surfaces.
Diorama Base: Hollow with 2.0–2.5 mm wall thickness, internal lattice support, and suction relief holes underneath.
Supports: Medium supports with heavy anchors on the bottom of key pegs, boot soles, and hidden connection seams. Avoid placing support contact points directly on the face, chest fabric texture, or outer skirt seams.
ASSEMBLY & FINISHING INSTRUCTIONS
Dry Fit First: Always test-fit all parts before applying paint or glue. Clean any support remnants or slight resin blooming inside female sockets using a hobby knife or needle file.
Assembling the Split Base (Half A & B):
Sand both flat mating surfaces on a level surface with 400-grit wet sandpaper for a seamless joint.
Insert the two loose alignment dowels into Half A, test fit Half B, and secure the joint using medium cyanoacrylate (super glue) or 2-part epoxy.
Painting Order Strategy:
Paint the face and the detachable front hair piece separately before gluing them together.
Paint the lower body/skirt and the waist-tied sweater separately for clean, crisp color separation with zero masking.
Paint the elbow pad and left arm independently before sliding the arm into the pad socket.
Final Bonding: Use standard Cyanoacrylate (Super Glue / CA Glue) or 2-part Epoxy adhesive for permanent assembly.