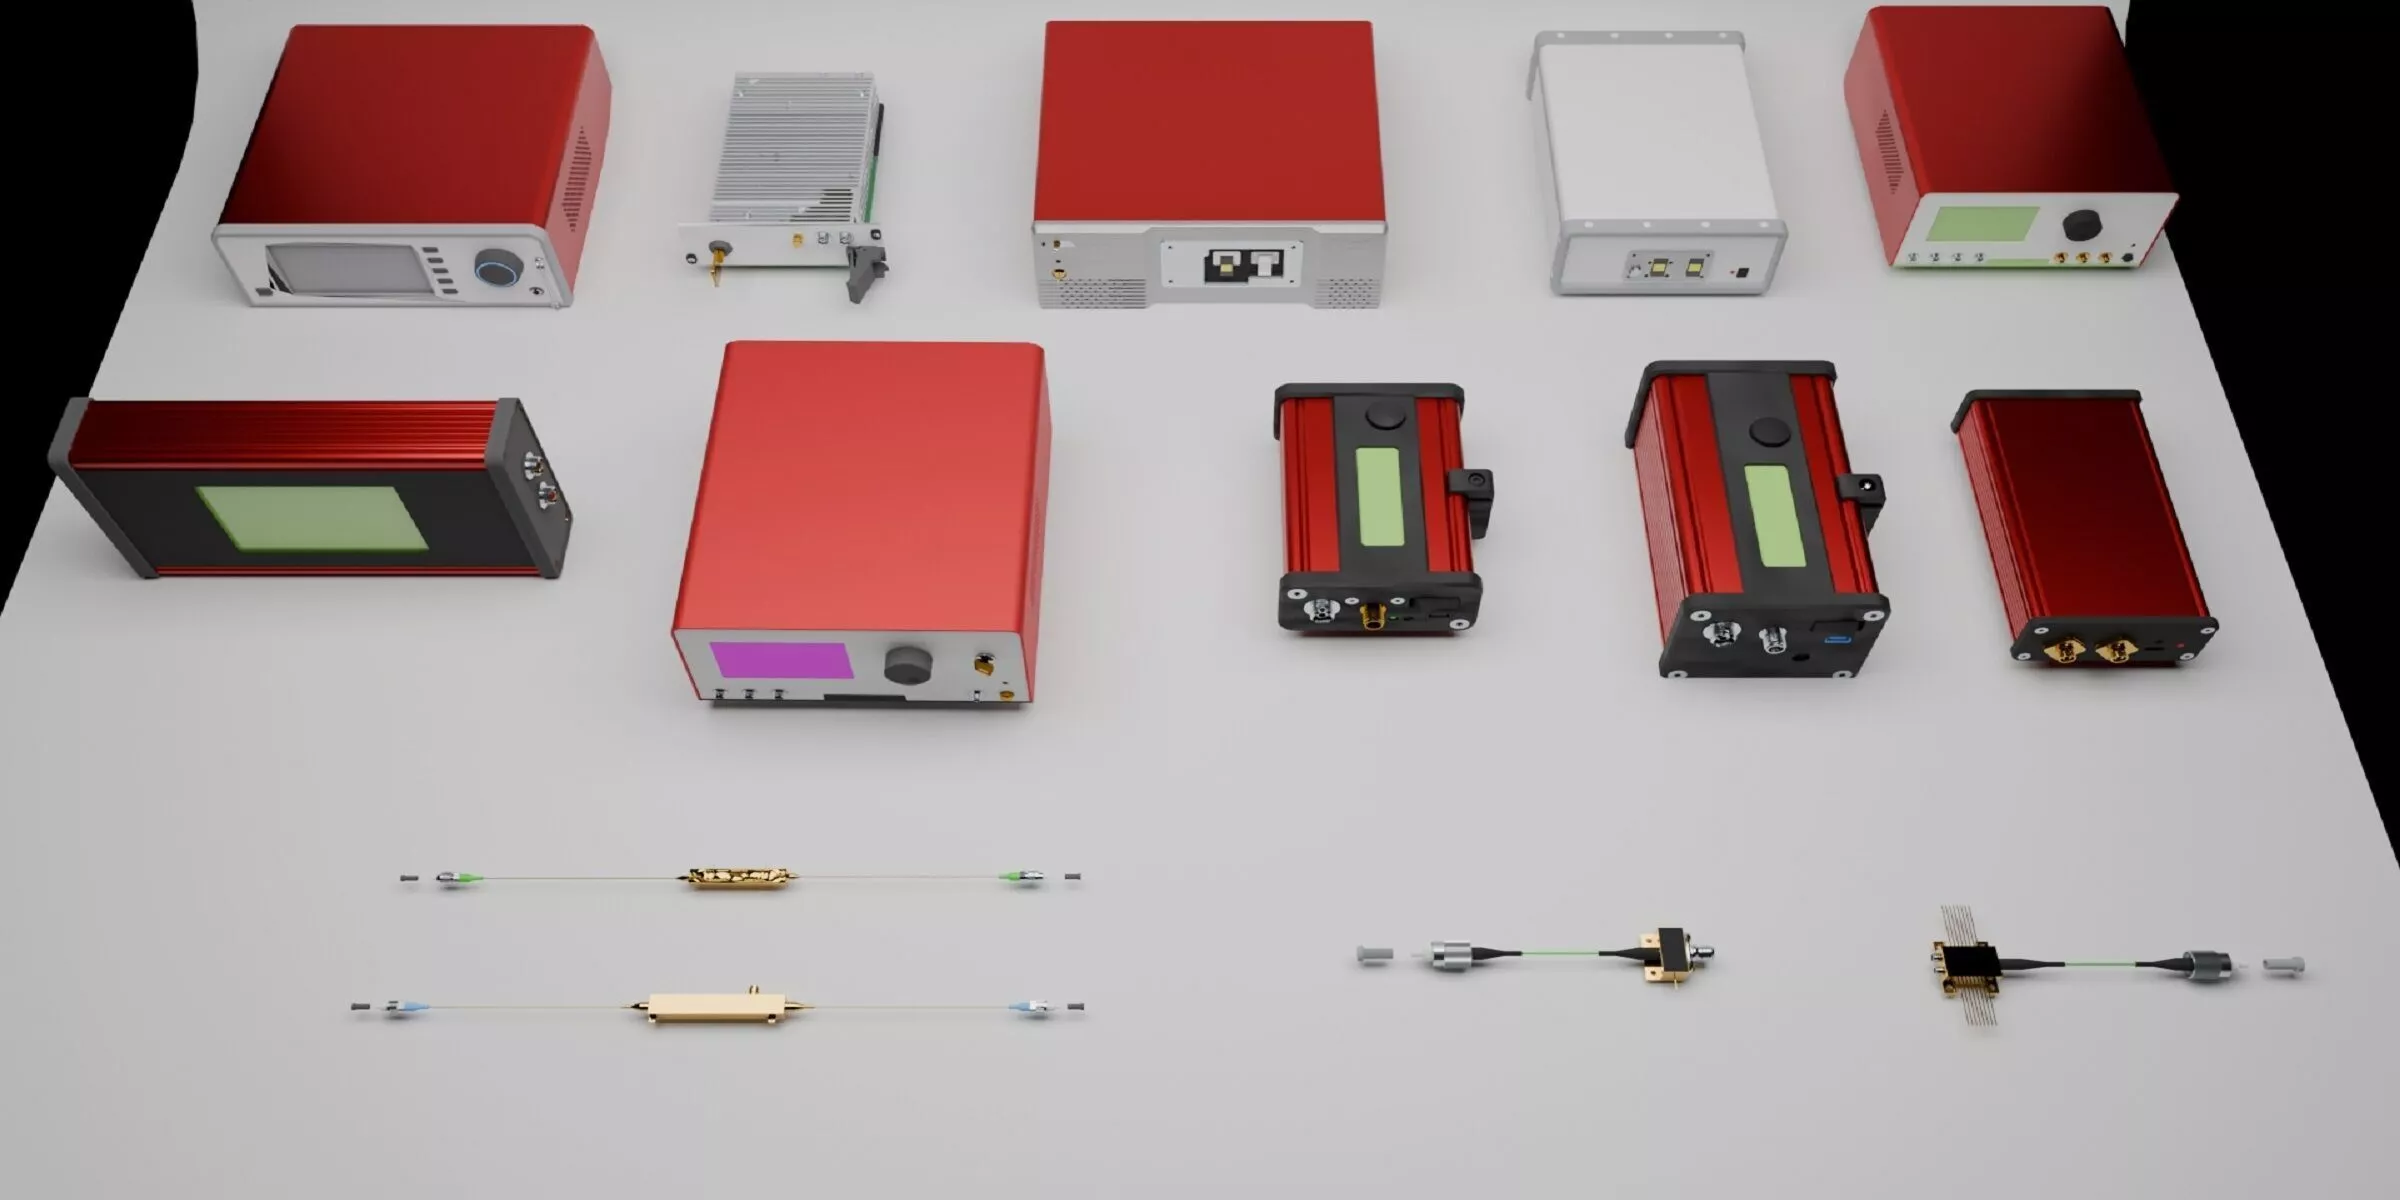
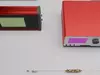
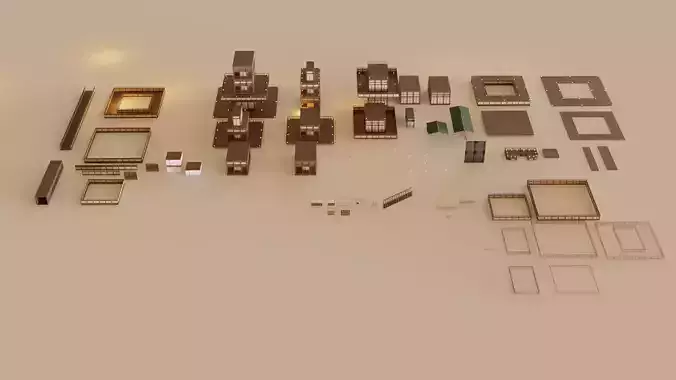
This official documentation covers file contents, hardware asset catalogue, software compatibility, operation guide, mesh‑material settings and best‑practice workflow for your Optoelectronic Laboratory Equipment Blender Asset Library, accessible for all prospective buyers and end‑users.1. Package OverviewThis asset collection is specially designed for optics‑engineering, photonics and laser‑research practitioners to build photorealistic optical‑path laboratory scenes for journal paper illustrations, group‑meeting presentations, project renderings and experimental schematic artwork.All laboratory instruments are modelled at a 1:1 realistic scale, with fine‑scale mechanical details including adjustment knobs, fiber‑optic interfaces, cable ports and built‑in display panels. 2. Complete Asset Inventory (13 Core Optoelectronic Devices)2.1 Transceiver DevicesDigital reference transmitterUltrafast detector moduleFiber‑coupled photodetectorHigh‑speed optical‑receiver moduleUltrafast optical receiver2.2 Modulator and Drive HardwareIntensity modulatorPhase modulatorBenchtop electro‑optic modulator driverBias‑voltage controller2.3 Measurement & Analysis InstrumentsFourier‑transform spectrometerWavelength meterDigitally‑tunable band‑pass filter2.4 Optical AmplifierFiber amplifier3. System & Version CompatibilityNative file format: .blend Blender project source fileMinimum supported software version: Blender 5.0 or all newer official releasesNo third‑party add‑ons, plugins or external texture resources are required. All mesh geometry, surface textures and material parameters are self‑contained within each asset file.4. Mesh and Material SpecificationOptimized medium‑poly geometry: sufficient surface detail to satisfy top‑tier academic publication standards, without excessive polygon count that lags preview and rendering speed.Fully‑unlocked editable material parameters. Users are permitted to tweak roughness, metallic value, transparency, panel screen colour and surface gloss. Two common visual styles (photorealistic laboratory look and clean minimalist schematic style) can be quickly switched.5. Step‑by‑Step User Instructions1.Unzip your downloaded asset package to your local folder. All thirteen laboratory devices are stored as independent .blend documents.2.Launch your compatible Blender build. Open the instrument files you require.3.Copy‑paste your chosen hardware models into your main optical‑scene project.4.Arrange fiber routes, bench layout and device placement to construct your custom experimental light‑path setup.5.Adjust material properties, add laboratory lighting and carry out your final render for thesis figures, presentation slides or research demonstration graphics.6. Usage Tips for Photonics Researchers1.Keep each optical component separate when arranging your layout, to make later‑on layout adjustment convenient.2.Lower material metallic‑roughness values if you need clean‑looking schematic‑style diagrams.3.Enable soft laboratory‑style diffused lighting to bring out premium‑quality realistic renders for journal‑standard illustrations.7. TermsAll assets are permitted for your non‑commercial and commercial academic‑research rendering work.