Join the official M-Jet facebook group! https://www.facebook.com/groups/623045356071128
Full documentation, manual, part list, drawings: https://drive.google.com/drive/folders/1JcEGcyh6E7lrhXk4kT1SKNdzvIaI_VNe?usp=drive_link
Hardware and electronics kit by RCPrinter: https://rcprinter.com/products/m-jet-30-pump-build-kits
Note: This is not a physical product. After purchase, you can download computer files which you can use to manufacture your own parts on a 3D printer.
M-Jet 30 includes:
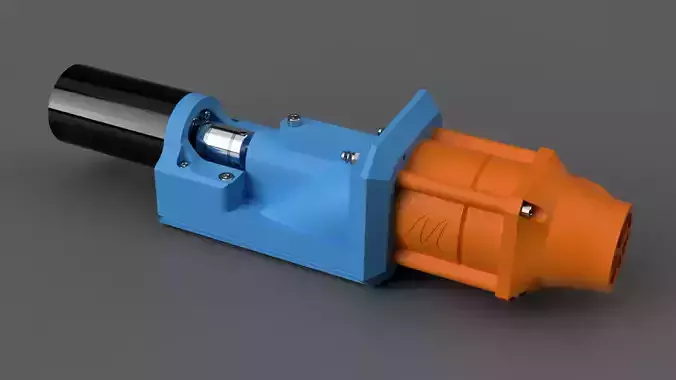
STL files for all parts of the assembly, designed to be FDM 3D printed, mostly with no supports.
STEP file for most of the assembly except for the pump (the pump is only included in the STL format).
You can 3D print it and assemble it with help of the manual, link above. You need to buy all electronics, screws and other necessary parts yourself - part list is in the manual, too.
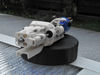
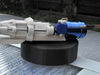
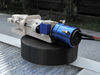
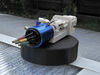
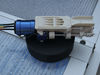
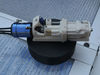
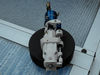
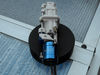
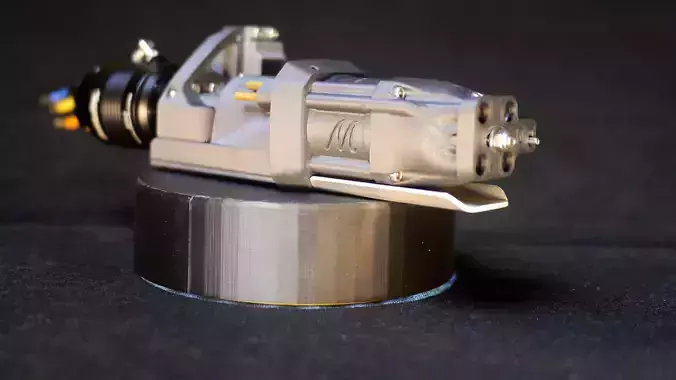
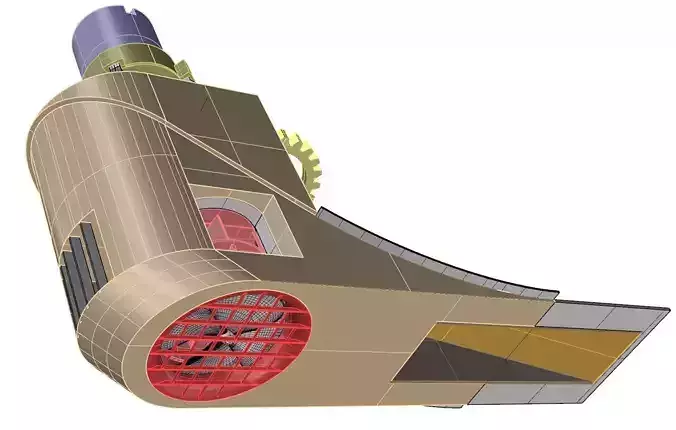
The M-Jet 30 is a 3D printable jet pump for RC jetboats. It is a good match for hulls of size 35-55cm. The newest version of the M-Jet 30 introduces all key M-Jet features:
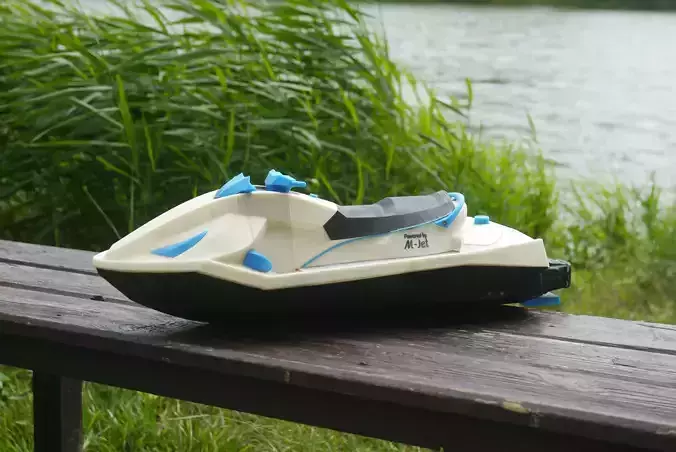
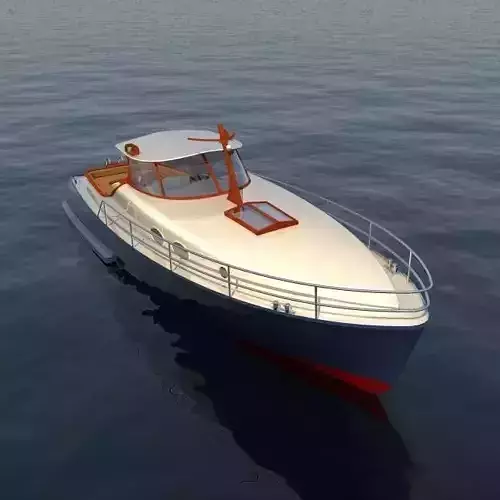
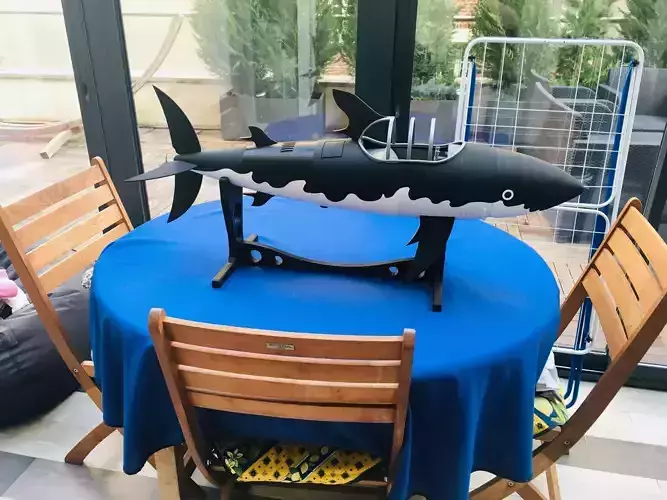
The M-Jet 30 is compatible with the following hulls:
Ragnarok: https://www.cgtrader.com/free-3d-print-models/hobby-diy/other/ragnarok-3d-printable-rc-jetsprint-boat
Valkyrie: https://www.cgtrader.com/free-3d-print-models/hobby-diy/other/valkyrie-3d-printable-rc-jetski
The M-Jet 30 has the same internal pump geometry as the Supersprint and utilizes most of the same hardware and electronics.
You don't need the M-Jet 30 to build the Supersprint, and you don't need the Supersprint to build the M-Jet 30. These are separate systems.
Performance:The M-Jet 30 achieves 5.3kg static thrust at 18.5m/s exit velocity, consuming 1315W from battery. This data comes from a static thrust test.
Update log: till Septemer 2024 old M-Jet 30, since September 2024 new M-Jet 30.
Update 10. 5. 2020: Two parts of the steering assembly, Ball and Servo coupler, were changed for better strength and grip on the steering shaft.
Update 4.11.2020: These parts have been further reinforced.
Update 18.1.2021: The M-Jet was renamed to M-Jet 30.
Update 14.9.2021: A new folder Mods_for_M-Jet_30 was added to the files, including a single blade impeller design mod. It requires more testing on this pump, but was found to dramatically improve efficiency on a different pump.
Update 13.11.2022: The model description was slightly updated.
Update 18.1.2023: STL file for a single stage impeller (to make the pump work without first stage) was added into the mods folder. Steering shaft will not work properly and the impeller hub does not have the correct size, but it can be an interesting experiment for you to test.
Update 3.6.2023: STEP file of the whole pump was added with the M-Jet_30_STEP_file folder.
Update 11.05.2024: Modified parts (housing, ball and servo_coupler) that use threaded inserts instead of inserted M3 nuts were added into the M-Jet 30 folder. Threaded inserts are a preferred option instead of the older nut solution. Thanks to rc3dprinter for suggesting this modification.
Update 05.09.2024: Brand new M-Jet 30 has been released, introducing all important M-Jet features developed over time. The new M-Jet 30 replaces the original M-Jet 30. The original M-Jet 30 stays available as old_M-Jet_30.
Fix 06.09.2024: Due to some issues, the M-Jet 30 has been reuploaded.
Fix 11.09.2024: Wrong dimension of the steering shaft (112mm) has been corrected to 110mm in the manual.
Fix 05.10.2024: Based on a report, KV selection for 28xx motors was designed too high and could lead to damaging the motor. Recommended KV for 28xx motors was reduced in the manual. No other changes.
Update 16.11.2024: A motor mount with ESC holder for Bash Jet or other boats where this configuration is useful, was added to the mods folder. Thanks Bart for creating and sharing the design!
Update 30.11.2024: A new version of the ESC mount for a Hobbywing 150A forthe Valkyrie by Bart was added into the mods folder, thank you for your work.
Update 12.05.2025: A new TPU shaft seal design by Fabien was added into the Mods folder. This can be used instead of the regular oil seal. Full watertight seal was achieved in a test run.
Reupload 03.07.2026: Reuploaded to be in a single folder.