1/12
All paid tier Patreon Members get 20% off all Etsy items and files ($1/month).or Join Patreon 3d Member tier and get all my files soon as you join ($10)! (its a no brainer) :)Want to print and sell my files? You can with the 3D Merchant Tier ($20)My Patreon = WhiteysWickedWorkshop
Other than my Patreon Page this functional rocker switch was never offered before. Get it while you can!
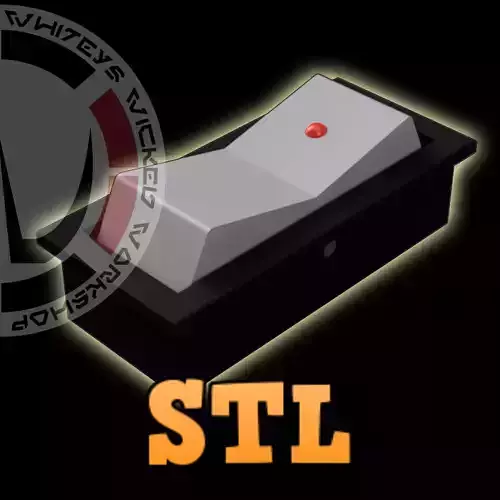
Whiteys Wicked Workshop Functional Rocker Switch with LED!Others Rocker switches are posers, this is the real deal!
Included:
- Files to print a Rocker Switch and Housing.
Dimensions:This was designed to be the same size of the original Star Wars rocker switches on the Millennium Falcon.
- Switch Dimensions: 55mm x 25mm x 24mm
- Hole Insert Dimensions: 52mm X 22mm
- Lip around top of switch is approx. 2mm
Assembly Instructions:
- Print out all the parts (Resin Recommended).
- Spray paint color(s) selected if different from Resin.
- Let Dry
- Spray with Satin Clear Coat to protect.
- Let dry before handling
- Add the micro switch into the housing by snapping it into place.
- Hot Glue a 3mm LED with Resistor into the Rocker Switch from underneath. I usually add the LED and make sure its sticking out of the rocker face a little bit. Then push some Hot Glue around the edges but do not let it build up or stick out of the rocker switch or you will have problems with the switch once assembled. If you have problems you can usually clean up some of the hot glue with wire cutters etc.
- Feed the LED wiring in through the top side of the housing to make the wires come out the back.
- While doing the above step, Place the Rocker switch into the housing, Keep in mind LED side should be facing the 1 of the switch
- Align the holes.
- Push a piece of 3D Filament into the holes to hold the Rocker Switch in place.
- Place it on your cockpit or favorite prop and wire it up!
Enjoy!
Please let me know of any issues.
Please do not share this file.
Please do not print and sell this item.
Please do not print and make a mold with the purpose of selling this item.
This is for Personal use only!
For the Children! :)
Whitey!
REVIEWS & COMMENTS
accuracy, and usability.


