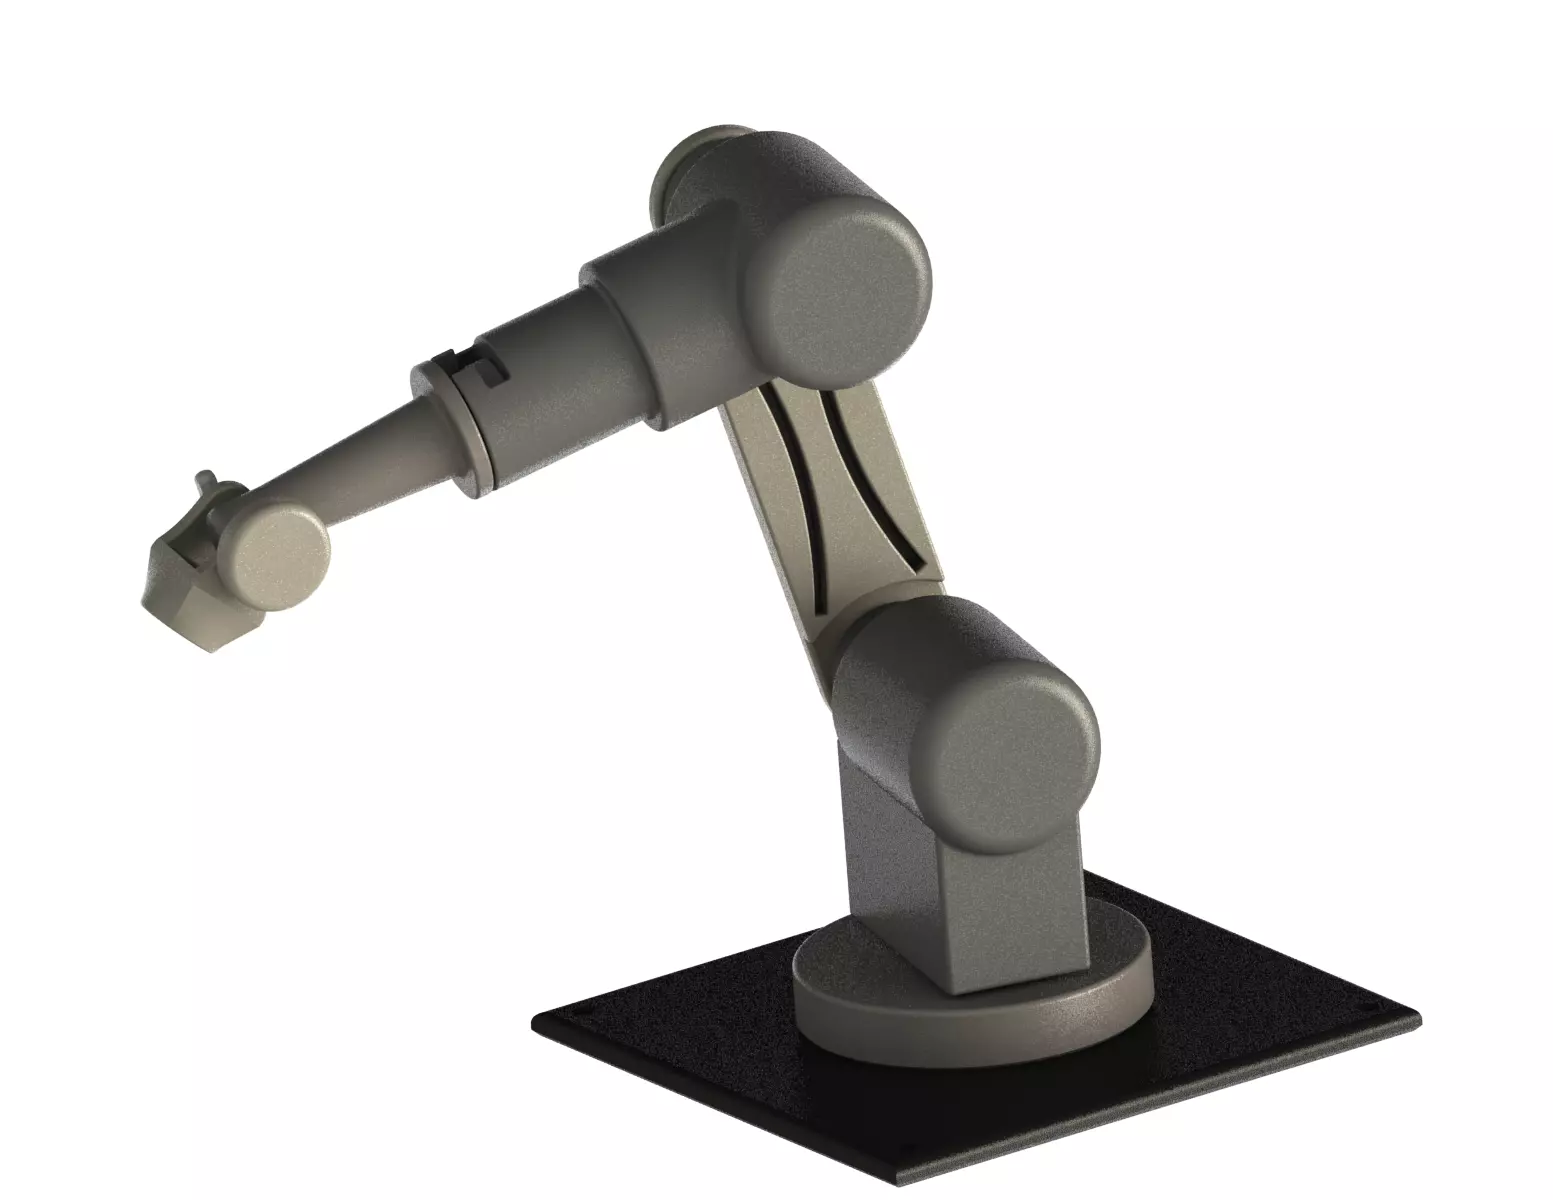
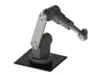
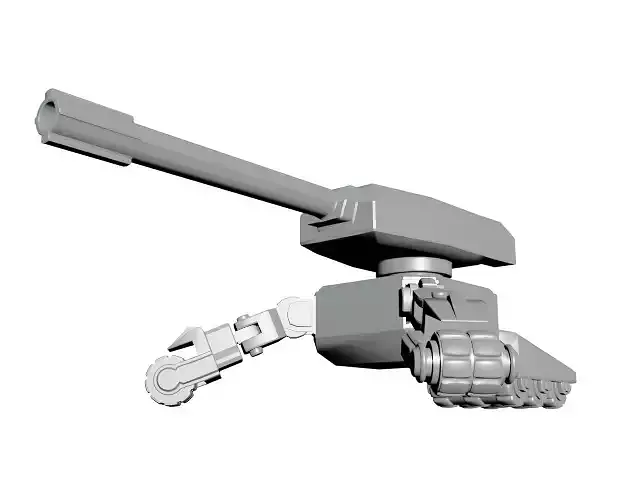
This is a free demo module of the unique bayonet locking mechanism from my flagship project — the Fully Articulated Industrial Robotic Arm (100% 3D Printed).
This assembly is engineered based on industrial quick-release systems. It uses a custom T-shaped locking pin to securely hold various end-effector attachments. Download this model to:
Run a Tolerance Test: See how your 3D printer handles precision engineering clearances (0.2-0.3 mm).
Feel the Mechanics: When printed correctly, the key locks into the grooves with a satisfying, tactile mechanical click.
Test the Structural Strength: The parts are specifically sliced and oriented so the plastic layers resist bending and torsion, guaranteeing maximum strength.
Love how this mechanism works? You can purchase and build the complete Robotic Arm here: [https://www.cgtrader.com/3d-print-models/science/engineering/industrial-robotic-arm-fully-articulated-fdm-model]
Print SettingsMaterial: PETG (Recommended), PLA, or ABS.
Perimeters/Walls: 4 to 6 walls for maximum strength.
Layer Height: 0.2 mm.
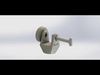
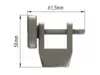
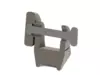
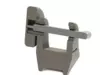
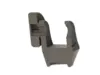
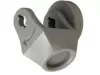
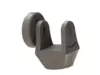
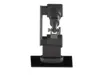
Printing Guide (Orientation is Critical!)Part 1: 8_Top_pr (Lock Mount / Wrist)
Orientation: Flat on the side cheek — follow the arrow indicator on the model! This guarantees perfect concentricity for the holes and a clean internal lock profile without warping.
Supports: Enable supports ONLY between the two ears. Use a dense Support Interface (Support Roof at 80-100%) for a clean surface. Note: Absolutely no supports are needed inside the actual locking mechanism!
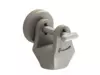
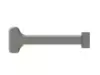
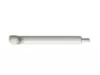
Part 2: 9_keypin_pr (T-Lock Pin)
Orientation: Strictly horizontal (resting flat like a T on the bed). This is mandatory to ensure the part doesn't snap under torsional stress when twisting the lock.
Supports: Tree Supports under the round shaft.
Strength: Use 100% infill or max out the perimeters (8-10 walls) to make the key practically solid. A Brim is highly recommended to prevent bed detachment.
Engineering Assembly Tip:Right off the build plate, the mechanism might feel a bit tight. Apply a tiny drop of silicone lubricant to the locking lugs of the T-key and twist it inside the mount 10-15 times. The plastic will break in perfectly to the internal grooves!
Explore My Profile!If you like this design, check out my profile for more high-quality 3D-printable accessories and educational toys! Don't miss my Professional TIG Welding Torch WP26 Style Engineering Accuracy . Your support helps me continue creating professional-grade, engineered models for the community!