ABOUT THE PROJECT
1 - yes there is both functional and nonfunctional versions included in case you don't wish to mess with electronics
I have also included a little pdf book if you want to print it out to use for easier assembly :)
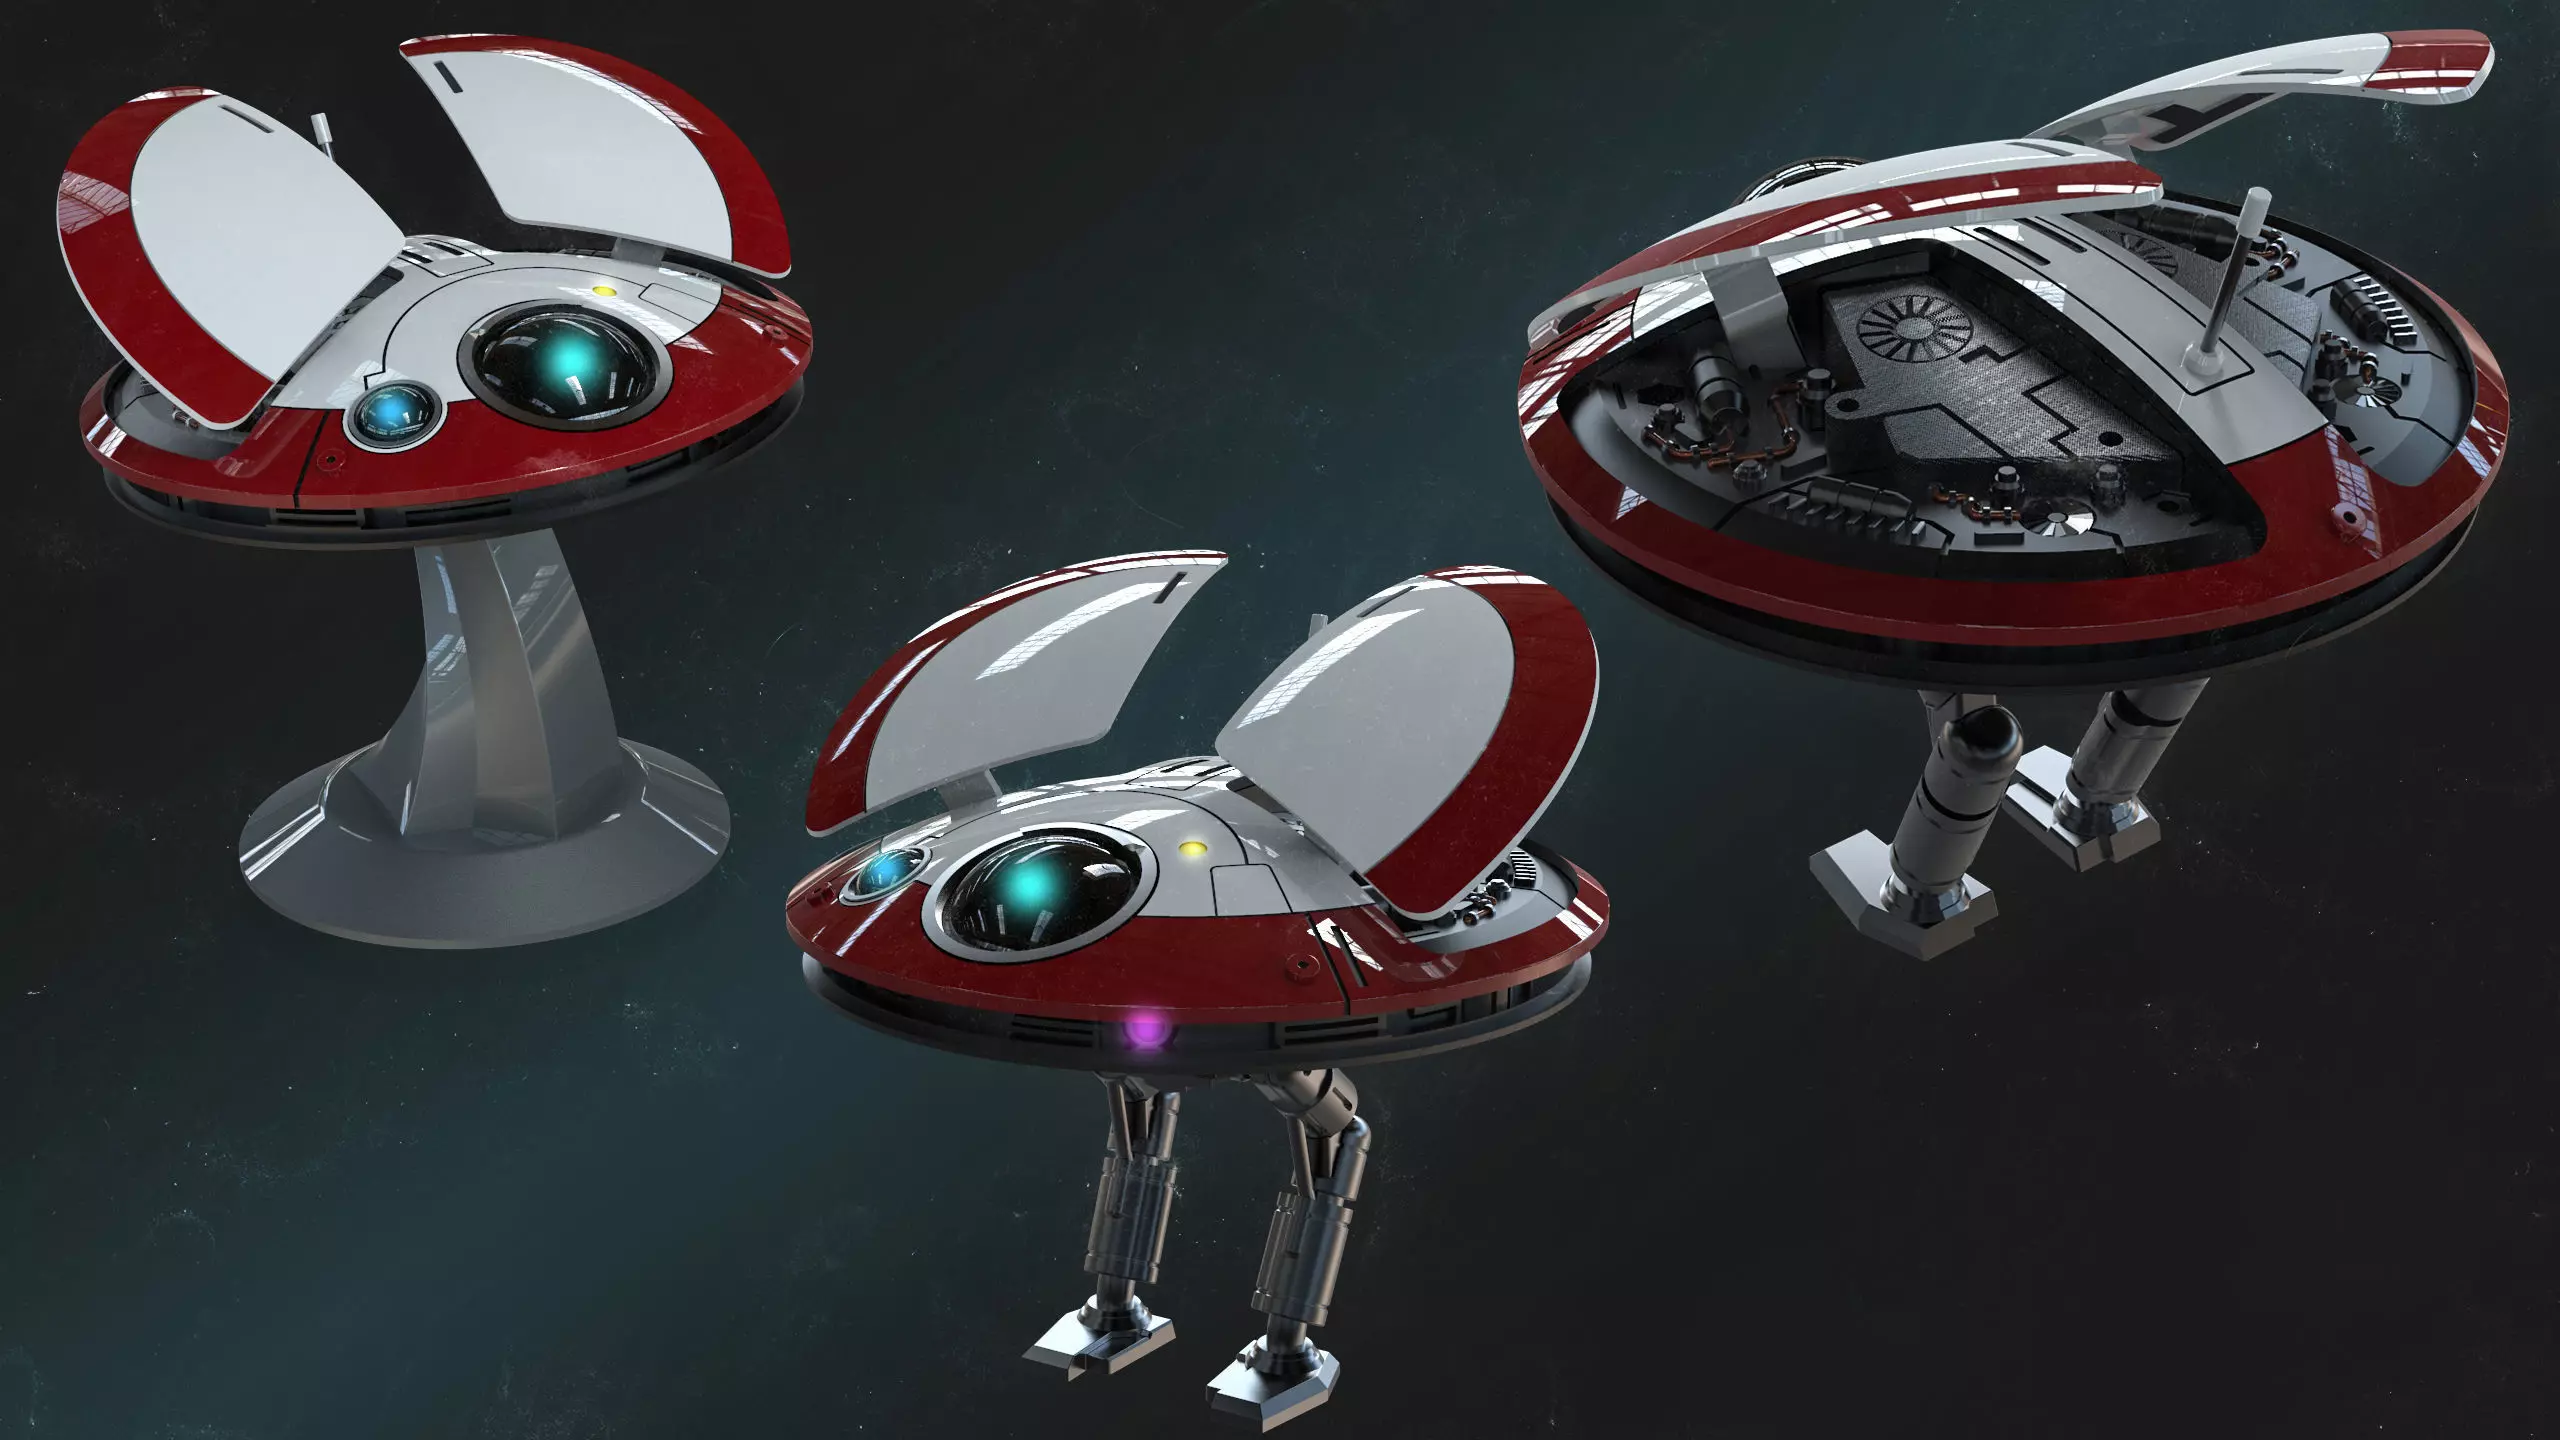
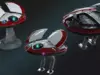
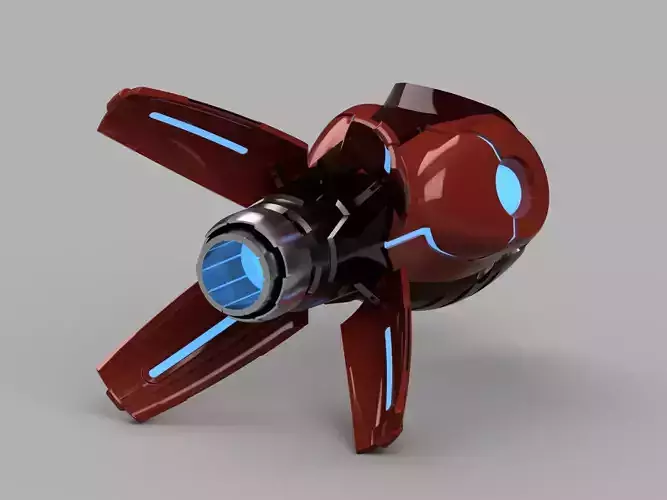
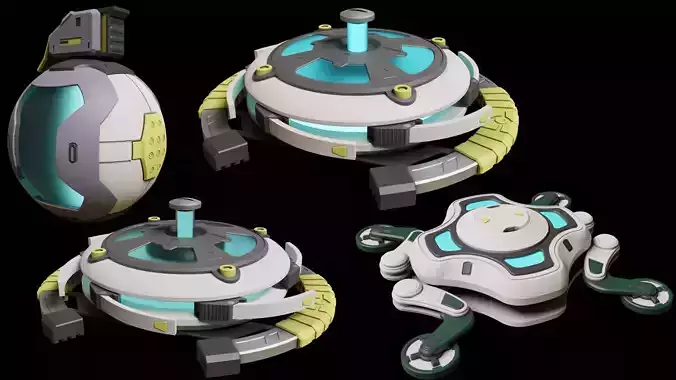
2 - the entire build is split up in 3 segments : top portion, lower portion and legs/stand
3- all servos are attached to the top portion by using either servo cover parts that also act as a mount and the eye servo cover part.
4 - all parts are connected with m3 screws or with glue
5- flap hinges use m2 screws, they are a bit smaller 6 - servo mounts also use m2 screws
7 - 5x2 mm magnets are used to switch between legs and stand
8 - version with flap on the lower portion is included if you want to add a on/off switch of your choice 9 - there is a space for total of 4 led's - their sizes are in the build manual
10 - the eye can move left right and has a space for led. - The eye is moved by using a 90 degree bevel gear and m3x10 mm screw - i recommend you use a bit of glue to hold it in place, the eye has to move feely left and right but not up and down
11 - the code will be worked on, for the time being i wanted to give you the files so you can start the prints. Since the code will be open source please if you beat me to it, i would kindly appreciate if you can share the code so we help the entire community with it
12 - the chassis is held up with m3 screws and nuts so you can access electronics at any time
13 - there is room inside for arduino nano, and some micro power bank and perhaps some small speaker - it is yet to be tested 14 - total of 3 servos - 2 for moving flaps individually and 1 for the eye
15 - copper wire or rods are used to help move flaps ( 2mm in thickness)
16 - you can use the same thickness rod for the antenna
Join our community and find out more at:https://www.facebook.com/groups/3282336185171090
or follow me on instagram:https://www.instagram.com/mysterymakers_3d/