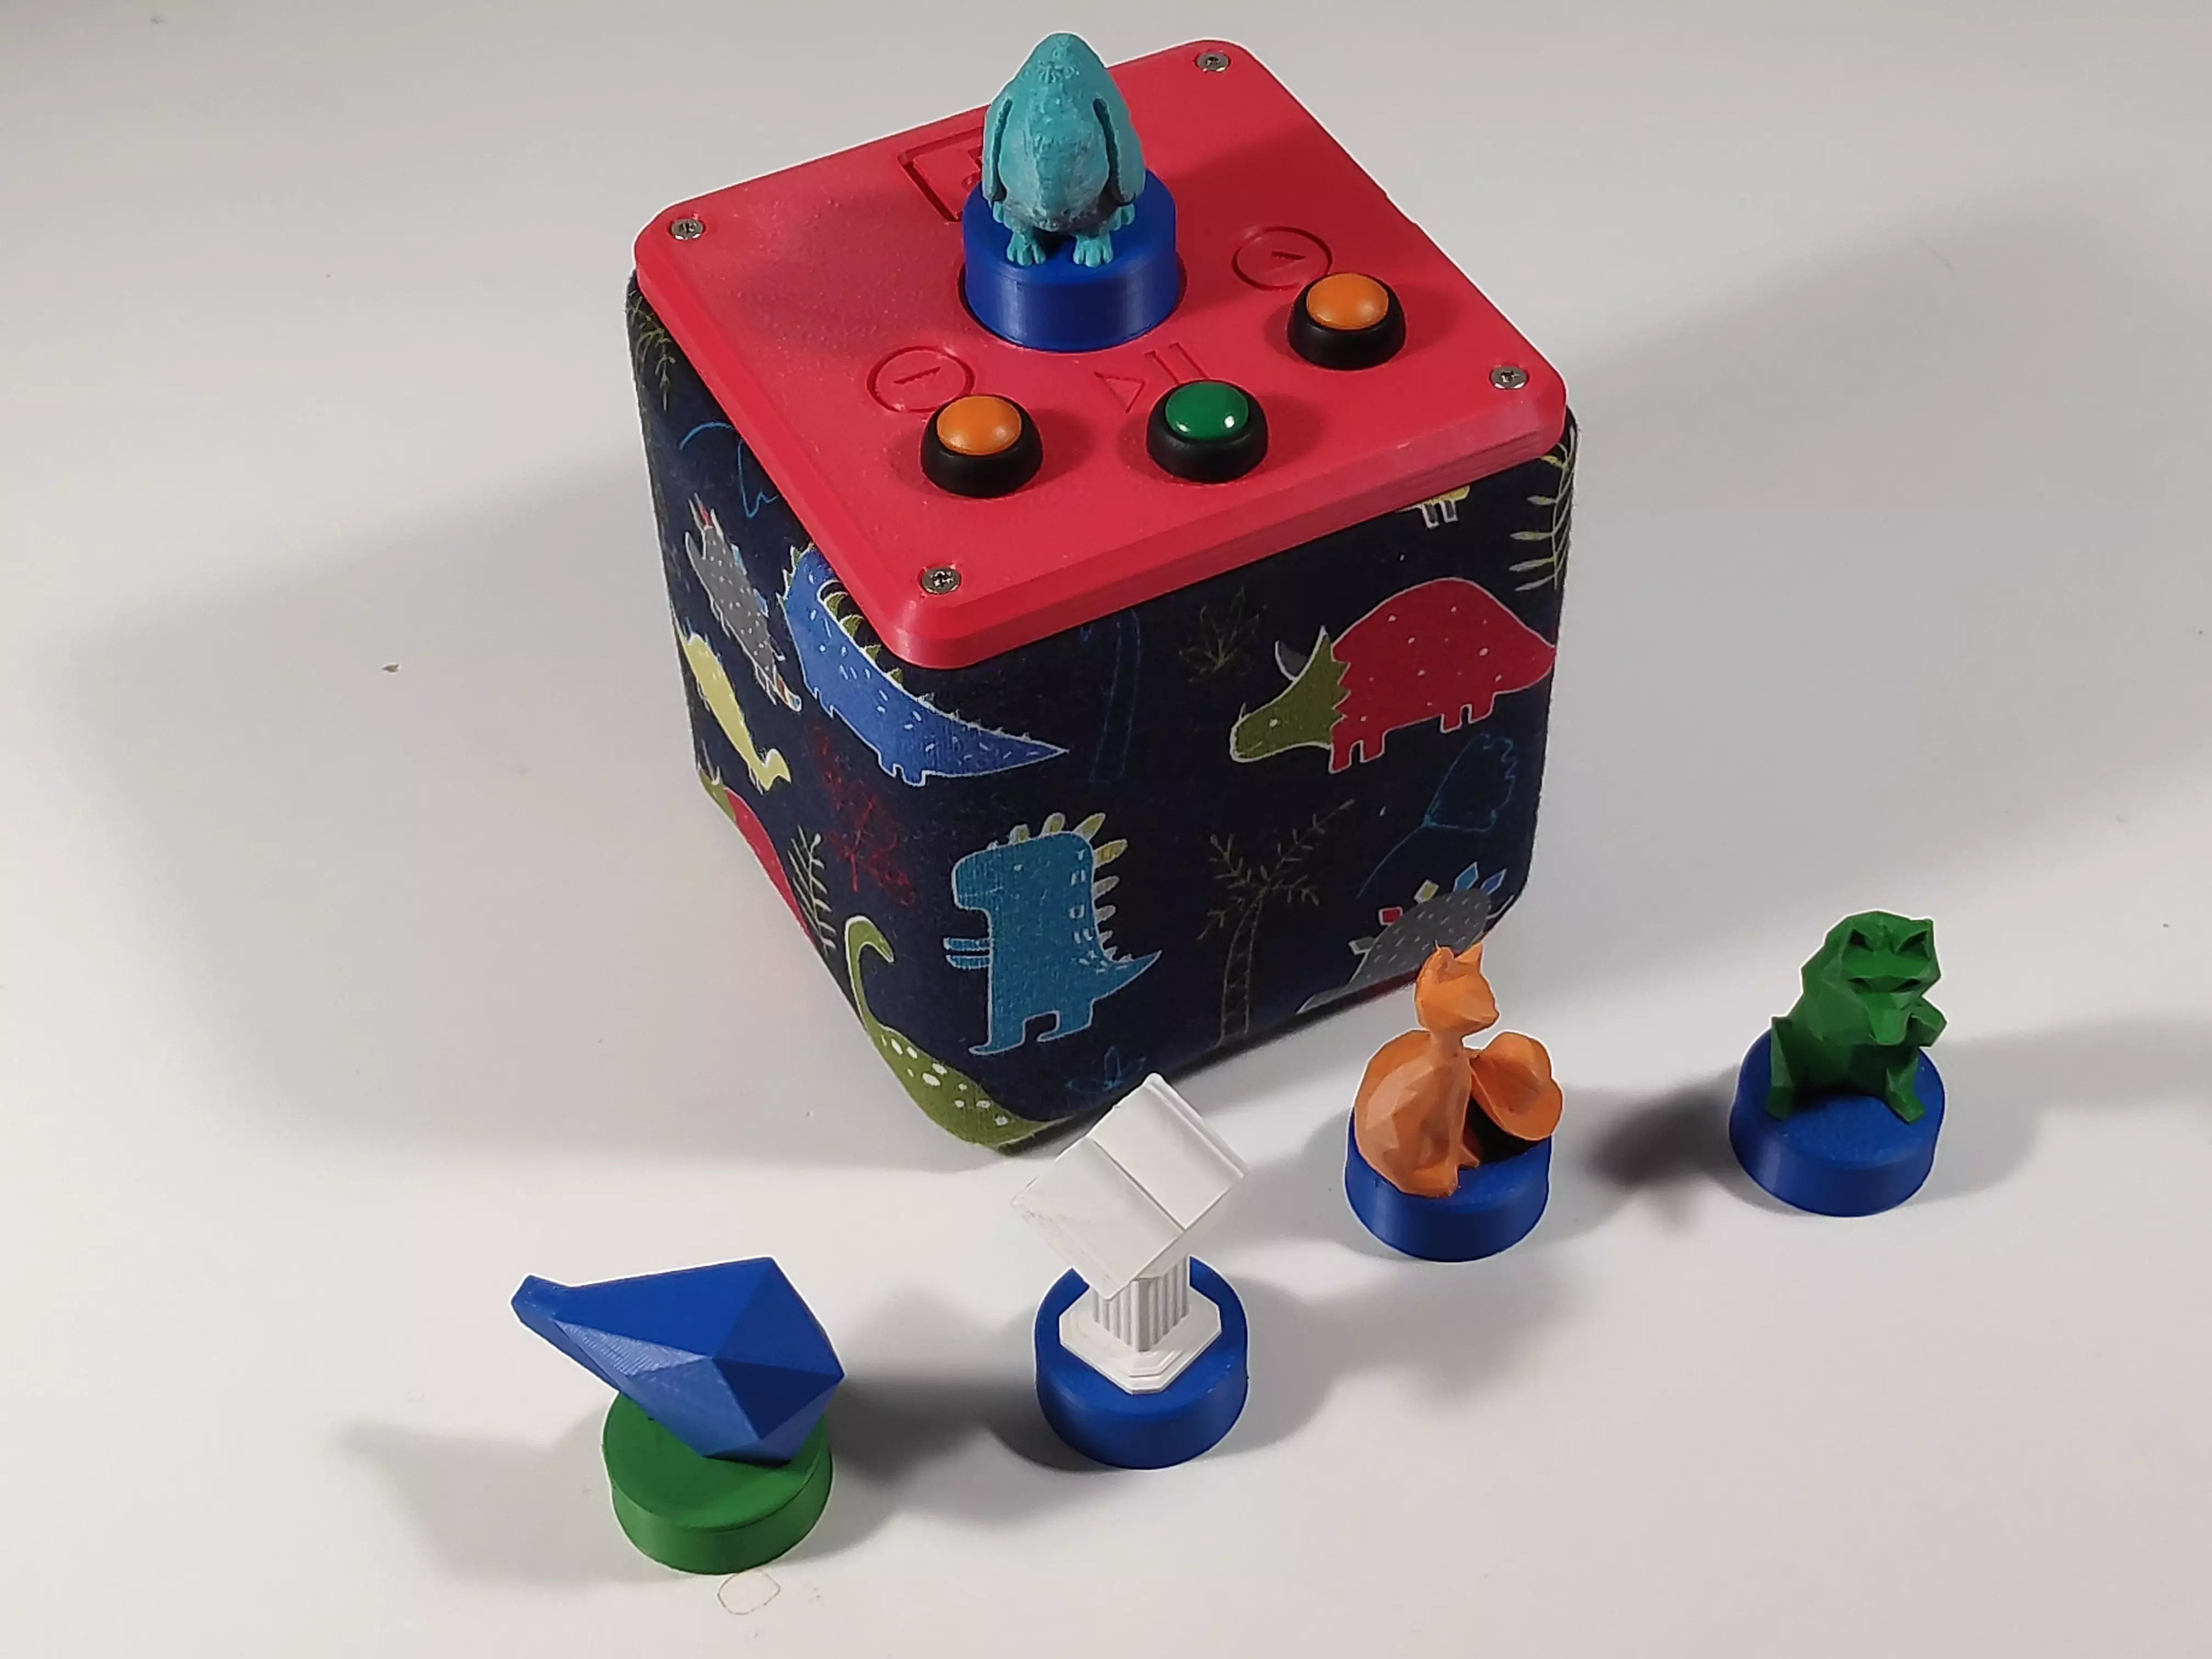
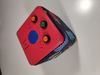
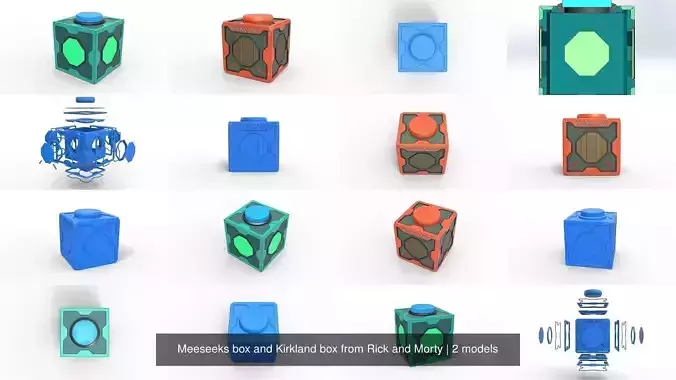
This is my personal take on building an enclosure for the wildly popular tonuino project.
https://github.com/xfjx/TonUINO
Parts you will need to assemble it:
- 8x M3 x 20 countersunk screw ( feet and main assembly )
- 4x M3 x 10 pan head screw ( speaker )
- 3x 3.5x16mm wood screws
- 3x CLW1099 12mm Switches
- TP4056 usb charging module
- Visaton FR 10 HM 20w ( or comparable ) speaker
- AZDelivery tonuino kit
- 2x 18650 liion batterys
- 3 20mm countersunk neodym magnets
- DC-DC Boost converter for much longer battery lifetime ( https://www.amazon.de/dp/B07YWKN9NW/ref=sr_1_6?__mk_de_DE=%C3%85M%C3%85%C5%BD%C3%95%C3%91&dchild=1&keywords=5v+stepup&qid=1591113248&sr=8-6 )
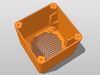
Assembly of the main Body:
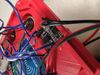
- build a dual 18650 battery by soldering two in parallel together
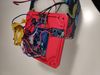
- hotglue sd reader and charging module into place
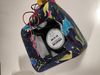
- solder wires to the speaker and put it at the bottom of the box and screw it tight
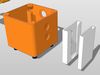
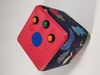
- insert magnets into the side of the box, wrap it with cloth if you like
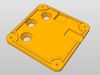
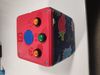
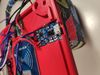
- insert the buttons into the lid
- glue down the Rfid reader with double sided adhesive tape as shown in the pictures
- wire everything according to the guide using the charging module to regulate the power supply
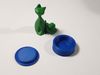
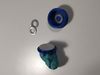
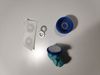
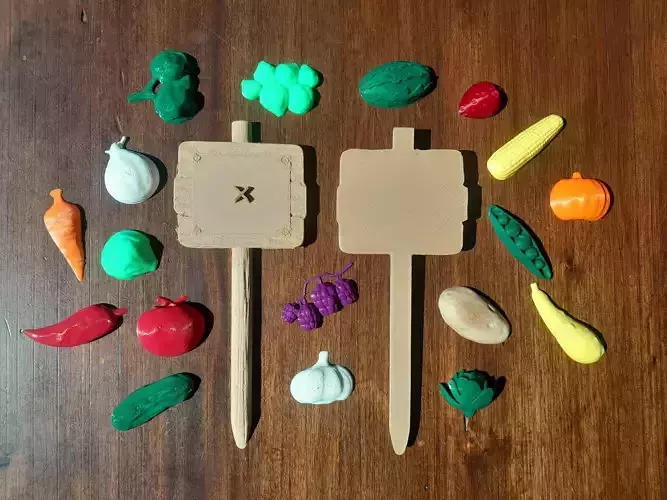
Assembly of the figurine stands:
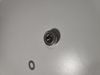
- glue down a 15mm dia washer into the base of the stand
- stick a self adhesive rfid tag to the bottom of the tiny lid
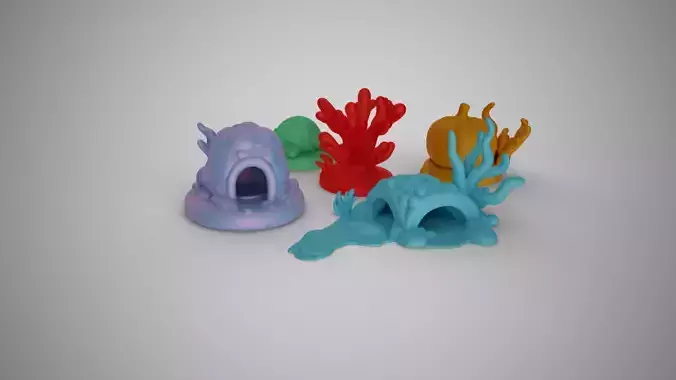
For figurines to use with the stand use thingiverse, theres a huge selection suiting anything one would want to put on the tonuino.
Update 02.06.2020:
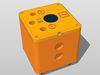
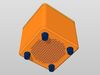
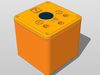
- added base with cutout for On / Off Switch https://www.amazon.de/mmtrade-Kippschalter-einrastbare-Selbsthemmung-Wippschalter/dp/B083Z2ZJ5G/ref=sr_1_5?__mk_de_DE=%C3%85M%C3%85%C5%BD%C3%95%C3%91&dchild=1&keywords=5x+Kippschalter+rund&qid=1591108927&sr=8-5
- added base with cutout for On / Off Switch and without magnet slots for card holder
- finally added the card holder