Summary
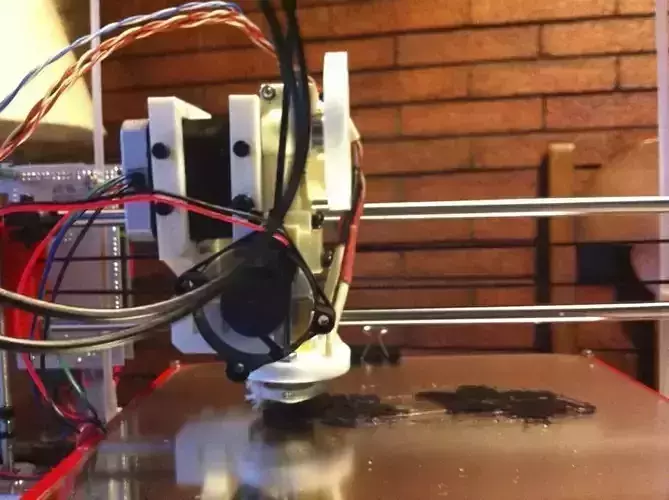
This thing is the end result of an ongoing project to manage the wires coming off the ThingOMatic Heated Build Platform. I needed to print objects which were near the maximum size of the TOM build envelope, and found that when printing at the corners of the platform the cable would frequently become pinched between the build platform or Y stage and the TOM enclosure, stalling the servos and ruining the print. I also didn't like how the cables would rub against the Y stage smooth rods and pully sometimes, and wanted to do something about a strain relief for the HBP connector.
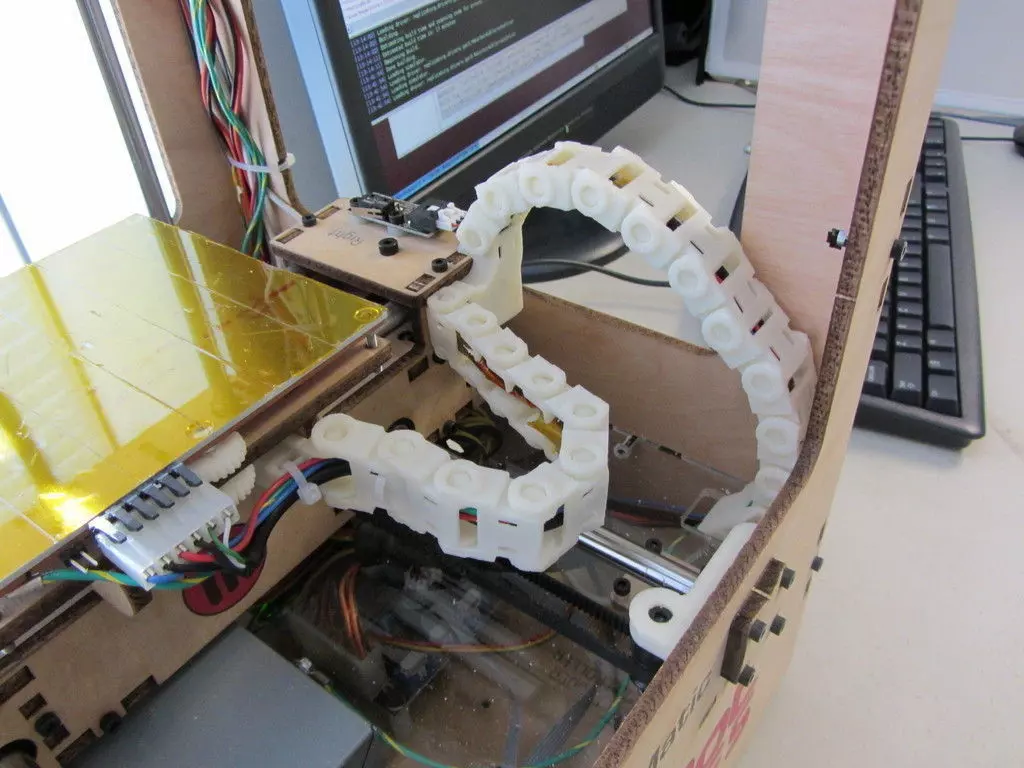
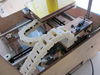
This Thing is the result, a system of parts which completely encloses the cable and forces it to move in a predictable path that stays out of the way of the build platform and Y stage, and also acts as some degree of a strain relief for the build platform and Y axis endstop connectors. With this Thing my TOM can print objects filling the entire print volume reliably.
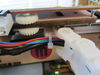
The chain link is anchored in three spots. The X stage end anchors to the wooden rib on the right side of the build platform. This will require a small hole to be drilled for a bolt to hold this piece in place. A zip-tie is used here to secure the HBP cable.
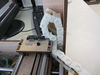
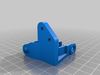
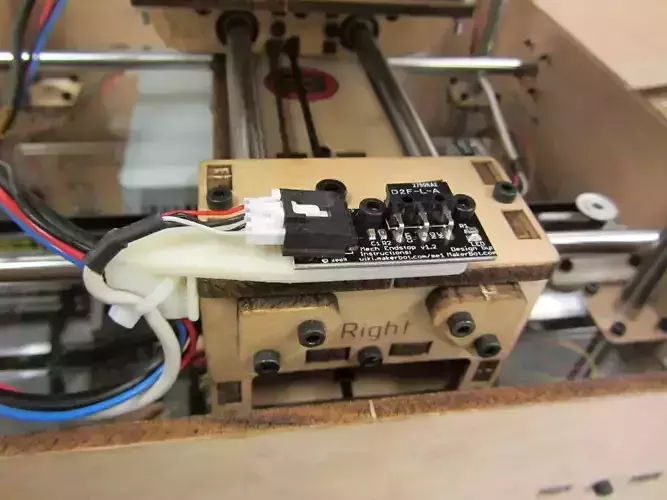
The centerpoint piece attaches to the right side of the Y stage. This requires removing one of the rod endcap plates and attaching the printed part in its place. This is the most annoying part of the installation as you have to partially dissassemble the end of the Y stage to get this piece in place.
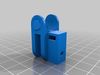
The baseplate anchor is the easiest to install, it just snap-fits into the square hole in the corner of the clear plastic plate.
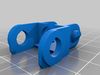
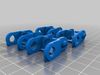
The cable links snap together, and can be installed after you have the anchor pieces in place. I use 9 links between the build platform and the midpoint anchor, and 10 between the midpoint and the baseplate anchor, but you may find different numbers work better for you depending on how long your cables are. Each chain link has slots where you can zip-tie the wires in place if you desire, although I haven't found that to be necessary. These chain links may also be useful by themselves in other applications where you need to control the movement of a moving cable bundle.
This Thing can be attached to an existing TOM without having to disconnect any cables in the process.
Instructions
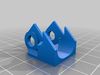
Print out one baseplate anchor, one midpoint anchor, one X stage anchor, and five of the four chain link piece (for 20 links in total).
Clean up the parts. File out the holes in the chains and the sliding surfaces until the chains flex smoothly when snapped together.
Press a single M3 hex nut into the slot in the base of the X stage anchor. Make sure it lines up with the hole through this piece.
Put the X stage anchor in place on the rib and mark the hole location. Remove the anchor and drill a small hole in that spot. Put the X stage anchor back in place and use a singe M3x16 machine screw to hold it in place. Use a zip-tie to anchor the HBP cable to this piece.
Take apart the right side of the Y platform, and remove the endcap from the front rod. Tuck the HBP cable into the groove in the centerpoint anchor, then attach the centerpoint anchor in place of the smooth rod endcap you removed. Reassemble the right side of the Y platform. Optionally, zip-tie the HBP cable and the Y axis endstop cable to the centerpoint anchor, using the two slots provided.
Snap together 9 links of chain between the X stage anchor and the centerpoint anchor. Note that the chain link closest to the centerpoint anchor has to be installed in the opposite direction from the others in order for the cable to be able to make the 90 degree turn.
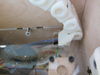
Place the baseplate anchor around the cable coming off the Y stage. Place a chain link on the other side of the cable, and then snap them together so that the cable is going through the anchor and the chain. Press the anchor down into the hole in the base plate as far as it will go, then tilt it towards the front of the machine and then move it as far forward as it will go. See photo for what it should look like.
Snap chain links onto the cable as needed, using 9 or so in total, with the last one also snapped onto the centerpoint anchor.
Now with the steppers unpowered, move the X and Y axis back and forth between their travel limits, and make sure the cable chains do not snag or rub on anything at any point during their travel. You may need to adjust things a bit until it all moves smoothly.