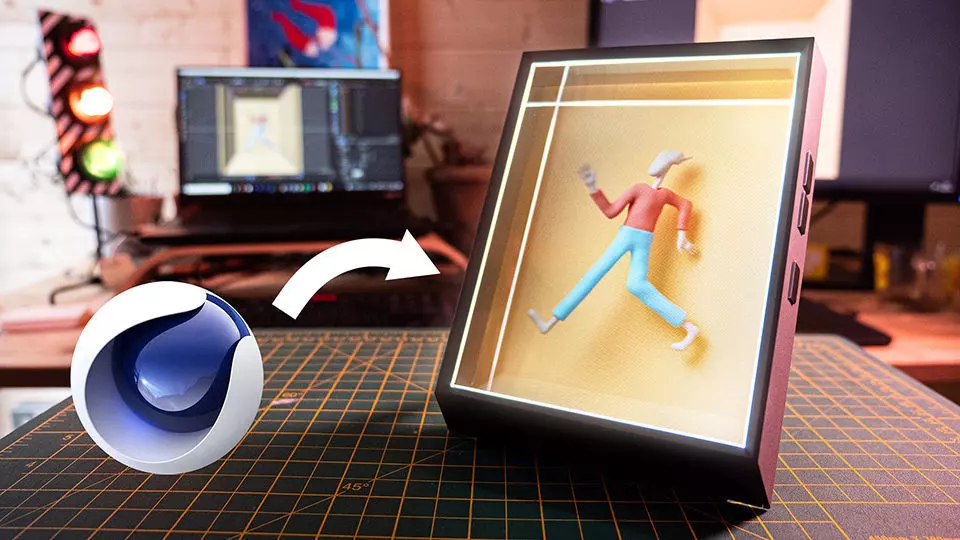
These files are my Cinema 4D camera setup rig and my After Effects quilt render. The After Effects file might be less useful, but at least it shows how I made it. These are intended more as learning reference to help you make your own setup rather than an actual tool that lets you do it automatically. But the Cinema 4D file should work if you just drop you scene in and render all the takes.
Here's a tech spec of how to make quilt renders with Cinema 4D in case you want to make your own:
- The default high-quality quilt uses 45 views of the scene where the camera moves over a horizontal line from a left-most to right-most viewing position.
- The cameras should be parallel pointing forwards and in a straight horizonal line not an arch.
- The horizontal field of view for the cameras should be set to 13.5°.
- The camera sweeps over a range of different viewpoints its viewing frustum is corrected at each viewpoint, by adjusting the Film Offset X in the camera attributes. Start with a range of 150% to -150% I'm not sure if this is an exact science so you can adjust from there (for reference there should be a difference of 40° between first and last camera, but again don't use rotation, use the film offset but you can use a cameras rotated between 20° and -20° for reference, in my experience 150% (or 149.4% to be precise) film offset is equivalent to 20° in rotation).
- The convergence point of the cameras should be the centre of your focal point for the scene. A way to check this is to sweep through the camera perspectives and check that the scene appears to rotate around a central point.
- If you set your camera film offset difference to the above then the distance between your cameras will be correct when the convergence point is in the middle of the scene.
- You then need to combine the 45 view renderings into a single quilt image. (I use After Effects to help automate this)
- The layout is pretty straightforward: left-most view in the bottom-left, continuing filling rows all the way to the top-right for the right-most view.
- For a 4096x4096 quilt you’d use view images of 819x455 pixels each (4096/5 by 4096/9). This is the default when importing into Holoplay studio. I used the opposite, 455x819 9:5 because it seemed like the images were less distorted but I didnt test this to see if this is actually the case. Either way it's easy to change the row and column ratio in Holoplay Studio.
- You might have to play around a bit with where to place your 3D content relative to the scene scale and camera horizontal spacing. That said if you use 40 degrees as a baseline for the difference between your first and last camera film offset (you can use a rotated camera as reference to get your percentage for the film offset), apparently that is the correct amount of depth for the screen.
- Good luck and enjoy your holograms! (then go and work out a better way using some plugins and realtime rendering haha)


