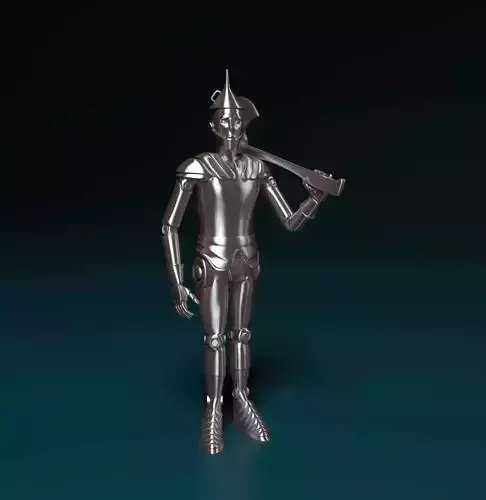
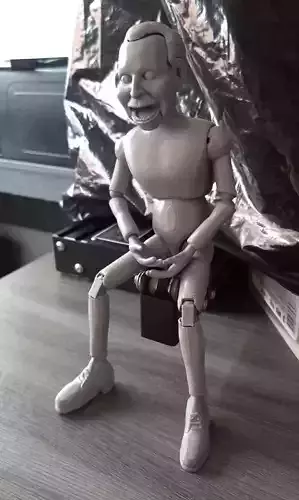
The Tin Woodsman stands appoximately 14 inches when assembled. Designed to be used as a marionette, the Tin Man is fully articulated and easy to assemble. Easily print replacement parts in multiple materials to enhance visual design and style. The design is based on the Tin Man depicted in the Frank L. Baum books and book covers. The model includes simple ball joints in the hip and shoulder areas. This allows for a broader range of motion. The main body, neck, head, shoulder, and hip areas can be easily assembled without additional screws or connectors. M3 screws are necessary for the assembly of the forearms, wrists, knees, and feet. The M3 screws should be at least 10 to 12 mm in length, if using screws.
The Tin Man's hands have been designed to hold the Oz wood axe, designed to be printed in two parts, allowing for the use of multiple materials, enhancing the visual style.
Necessary Print Parts
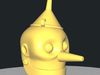
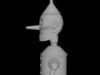
- 1 Head
- 1 Neck
- 1 neck Collar
- 1 collar pulg
- 1 Body
- 1 Body Bottom Cap
- 4 ball joint locks
- 2 ball Shoulders
- 2 ball Thighs
- 2 forearms
- 2 knee calf
- 2 feet
- 1 hand Lft
- 1 hand Rgt
- 2 arm ball Joint
- 2 hip ball Joint
- 1 Axe Head
- 1 Axe Handle
Assembly Instruction / Steps
- Thread ball joints through ball joint locks, with lock threads facing the ball.
- Screw the ball threads into shoulder or thigh top.
- Set ball into body opening and screw ball lock into the body shoulder or hip indentation until tight.
- Thread the threaded end of the neck through the collar, so that the threads protrude out through the narrow end.
- Twist the head onto the end of the neck thread.
- Thread the collar plug into the bottom of the collar to to lock the neck in place.
- Twist the collar into the top of the body, above the shoulders.
- Twist the Body bottom cap onto the bottom of the body.
- Use M3 scews and nuts to attach forearms to upper arms, hands to forearms, calves to thighs, and feet to calves.