Printing & Assembly Guide
Thank you for downloading this model!
Parts IncludedShadeBasePrintingRecommended Print Settings
Both the Shade and Base are designed to be printed using the default profile for a 0.4 mm nozzle. No special print settings are required.
Base (Optional Texture)
For a more premium finish, you may enable Fuzzy Skin on the Base.
Important: Do not apply Fuzzy Skin to the mating/twist-lock interface where the Shade connects to the Base. Exclude this area using a modifier in your slicer to ensure the two parts fit together properly.
Material RecommendationPLA / PLA+White or translucent white PLA is recommended for the Shade to achieve the best light diffusion.Socket Compatibility
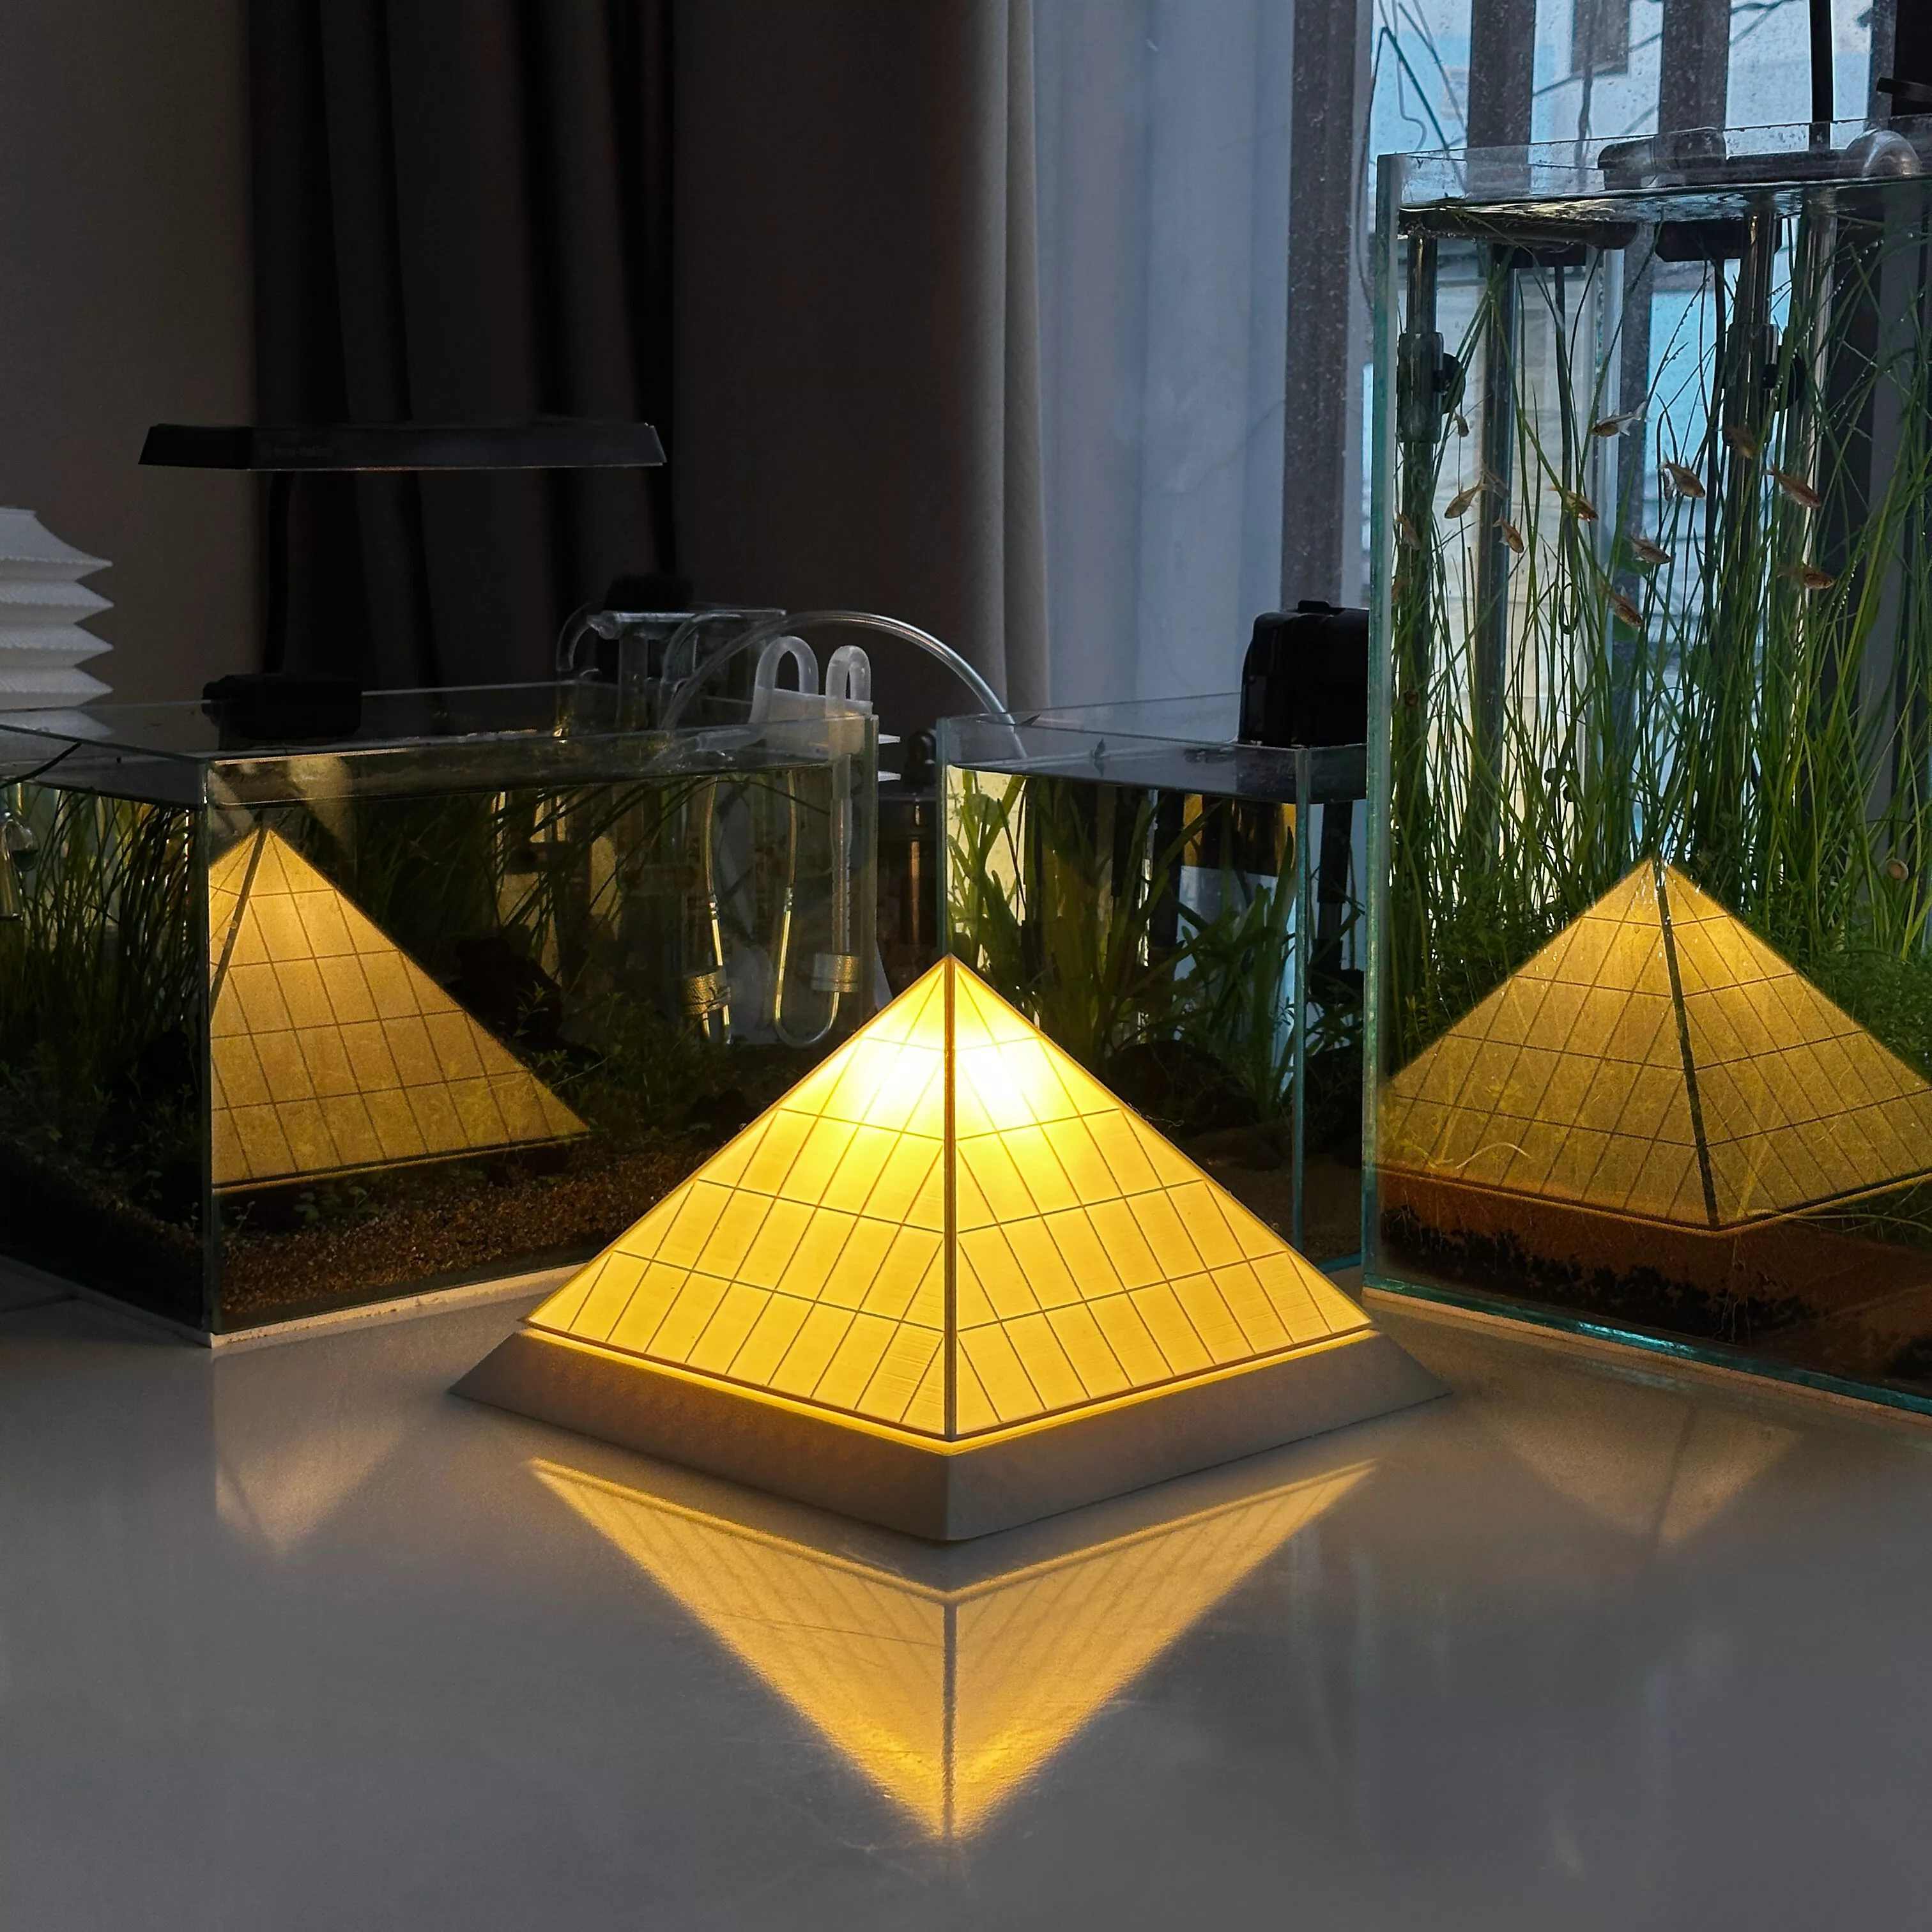
The Base is designed to fit the lamp socket shown in the product images.
If you would like the model customized to fit a different socket or hardware, feel free to contact me directly for a custom version.
AssemblyInsert the lamp socket into the Base.Secure the socket using its retaining ring (or the supplied hardware).Install the light bulb.Align the tabs on the Shade with the slots on the Base.Place the Shade onto the Base and rotate clockwise until it locks securely in place.
The twist-lock mechanism is designed to keep the Shade firmly attached while still allowing easy removal for bulb replacement.
NotesSlight variations in printer calibration may affect the fit. If necessary, lightly sand the mating surfaces for a smoother assembly.LED bulbs are recommended, as they produce less heat and are safer for PLA prints.
Enjoy your new Pyramid Lamp!