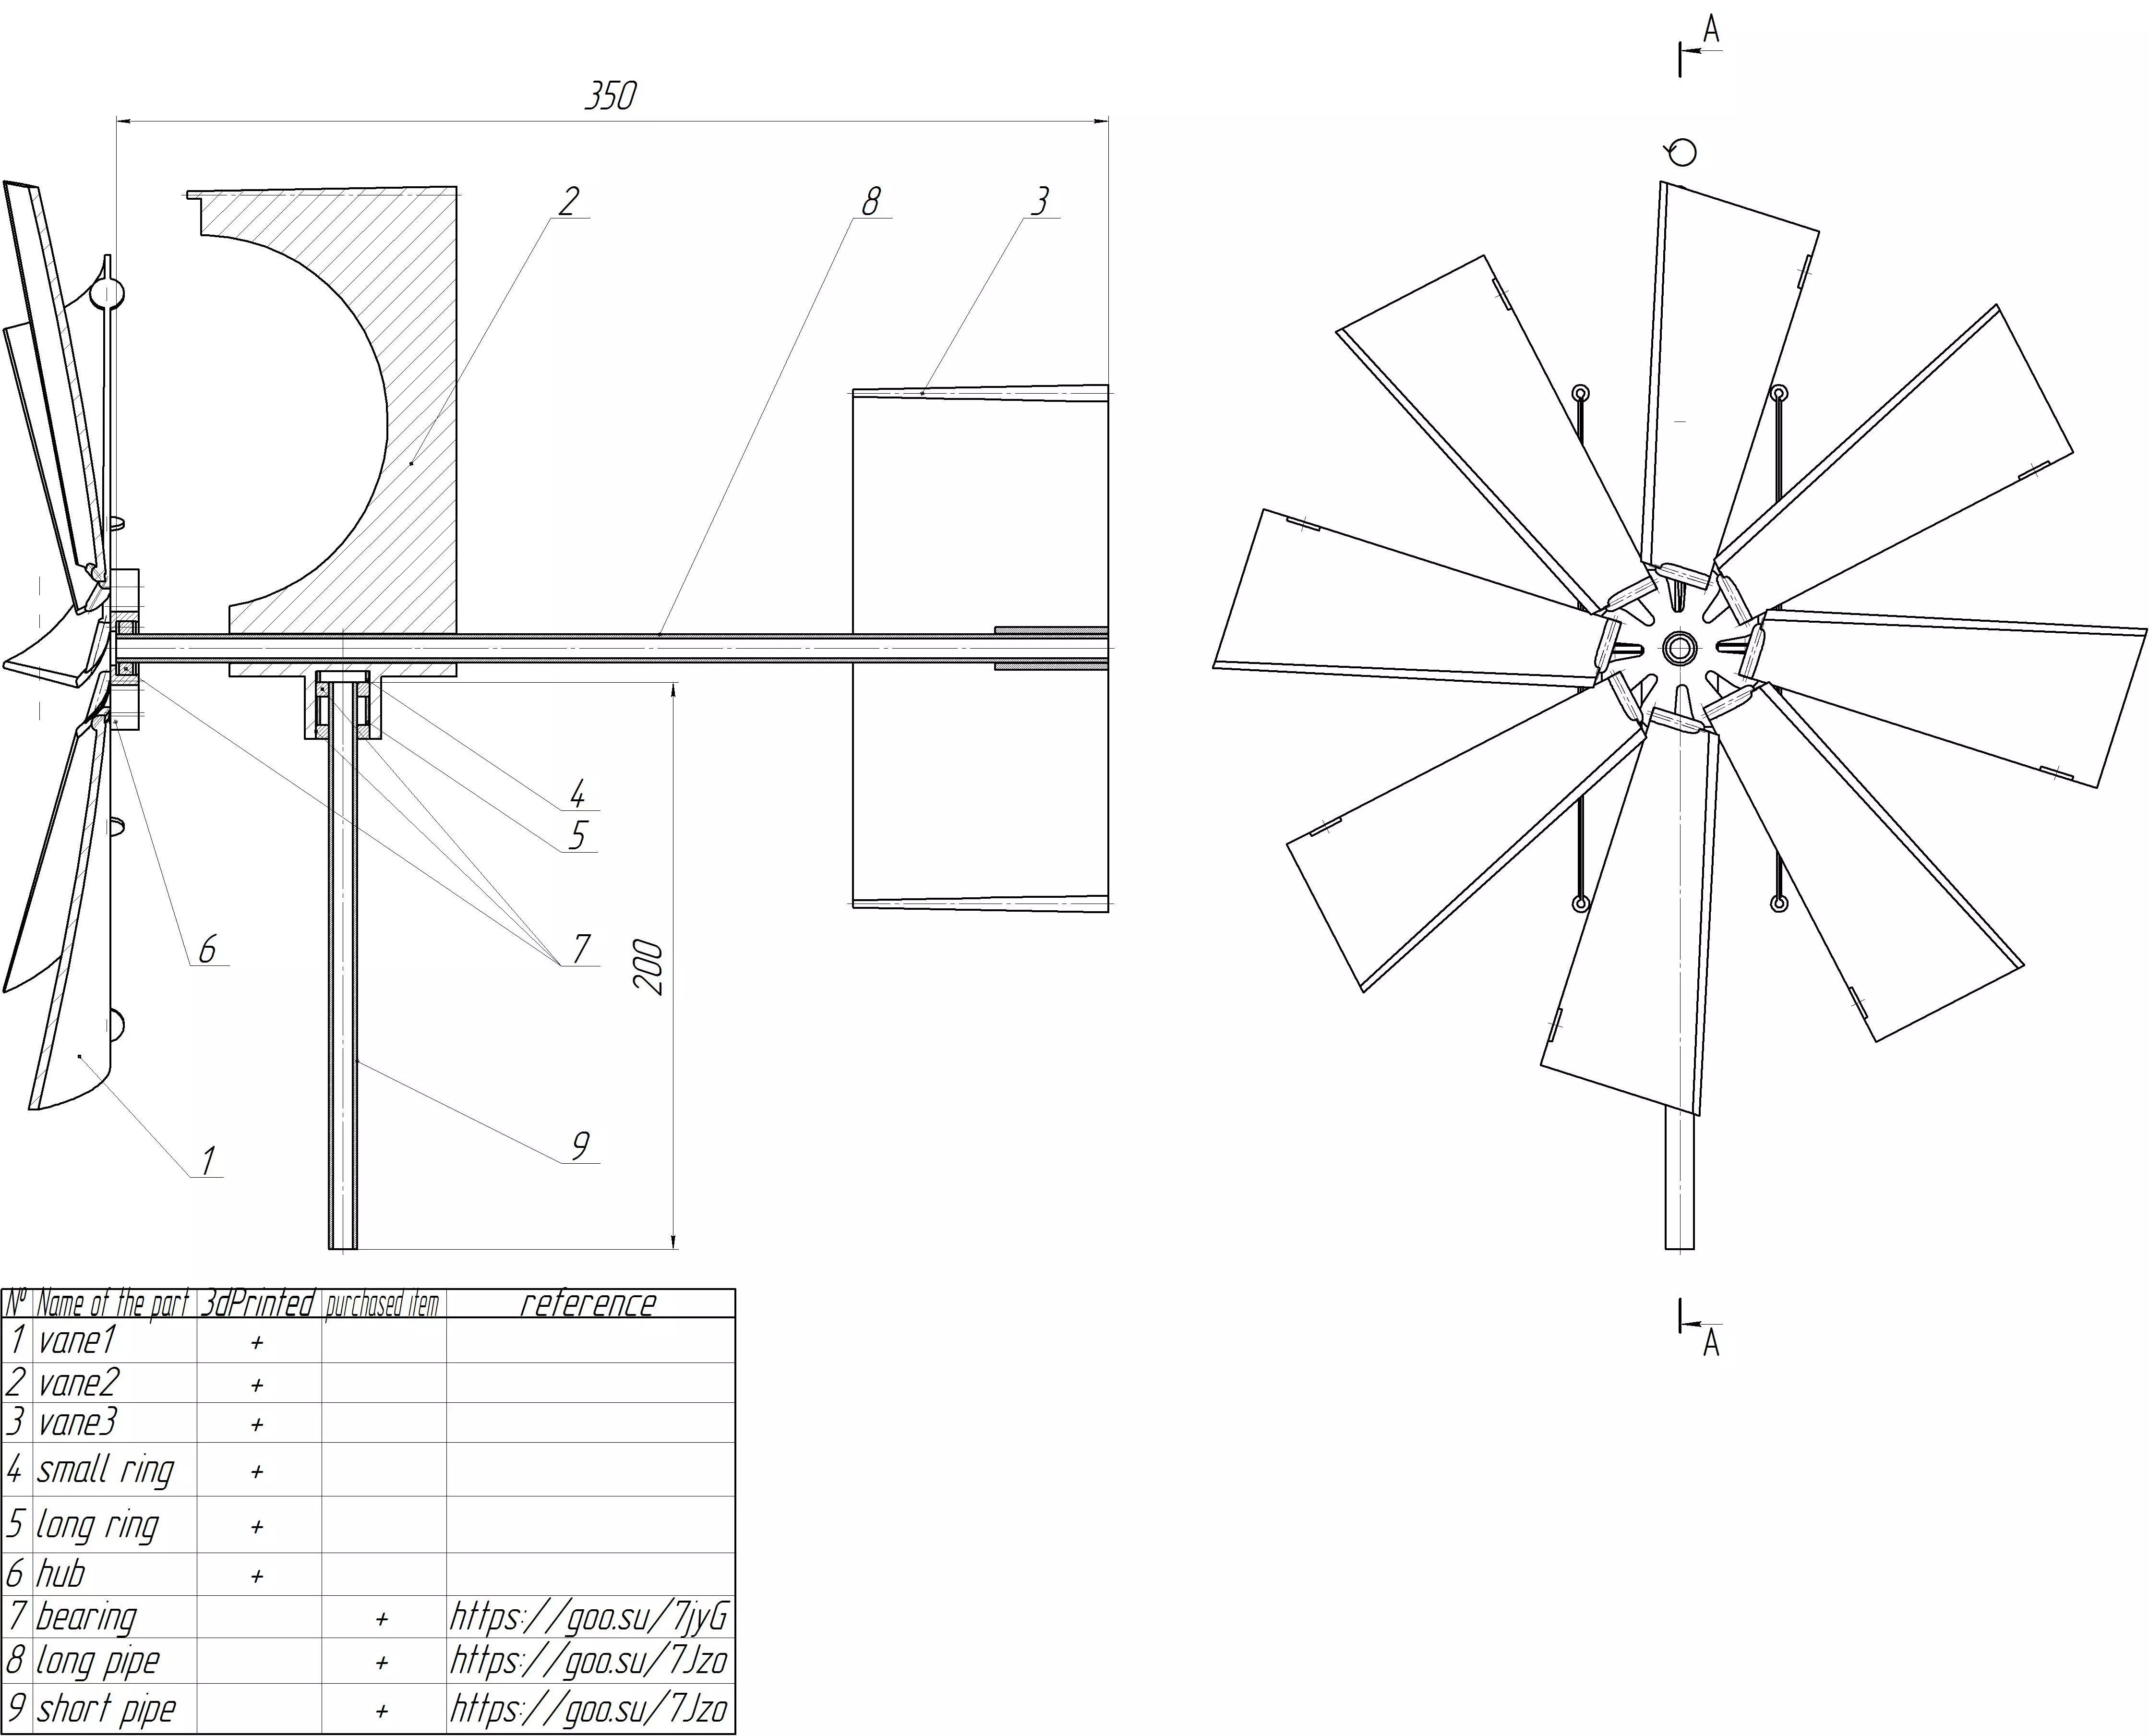
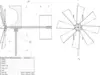
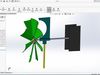
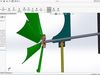
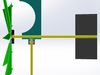
I bring to your attention the opportunity to feel like an engineer, to manufacture parts,and assembling them into a fully working device!This weather vane is powered by wind power, which makes the impeller blades rotate, and the rear part positions the product strictly on the incoming flow.Stage 1 printing of parts: I used PET-G material, nozzle with a diameter of 0.4 mm, printing modes for other materials may differ.Layer height 0.2-0.25 mmwall thickness 1.2mmbottom / top thickness 0,6mm,Print speed - 40-45mm / sFilling density - 50%Fluidity 99%Supports - from the surface (FOR ITEMS hab1 and vane 2) !!! The rest of the parts are designed for printing without supports !!!Nozzle temperature 230 СTable temperature 75 Сvane 1.1 has a technological bead that ensures better adhesion to the hanging table during the processprinting a paddle (after printing it can be cut off)The assembly of the device consists of 1. cutting the pipe into a 350 mm part and the part you need for installation on a stationary object.2.Fixing the 6800rs bearing for mounting hab1 on the pipe3.securing the bearing 6800rs, installing ring1, locating the 2nd bearing 6800rs, installing ring2
- Installing vane 1.1 - 8pcs in the holes hab1
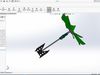
- Installation of vane 2 on a 350 mm pipe according to sketch dimensions6 fixing hab1 on the bearing p. 27.Installation of vane 3 on a 350 mm pipe according to sketch dimensions8.Fixing the assembled pipe section with bearings to the lower (perpendicular) hole of vane 2.
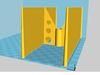
parts for 3d print
- Vane 1.1
- Vane 2
- Vane 3
- ring long
- ring short
- Hub
purchased parts
- loctite 406 (https://goo.su/7jZW)
- bearings 6800RS 3 units (https://goo.su/7jyG)
- steel pipe 1500mm, outside diameter 10mm (https://goo.su/7Jzo)