1/7
Purpose
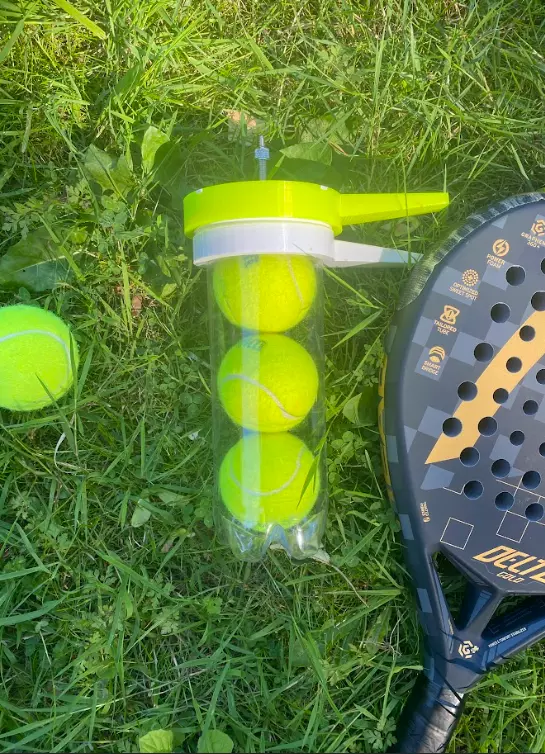
This pressurizer is designed to keep your padel balls under pressure after play. By preventing air from escaping the balls, they remain bouncier and better suited for consistent performance. This helps extend the lifetime of your balls and saves you money, as you won't need to replace them every week or two. (The pressurizer works on tennis balls as well)
Print Settings:
Infill (Top Pressurizer): 25%
Infill (Bottom Pressurizer): 25%
Reinforcement:
Use a 30 mm diameter modifier to apply 100% infill around the hole in the center of the top part.
Color Options:
If your printer supports multi-color printing, use the file named “White stripes” as a modifier to create the curved white lines—just like on a real padel ball.
Assembly Instructions
Prepare a bicycle tube.
You’ll need this to create an airtight seal. Use the included template to cut a circular piece around the valve.
Double layer if needed.
Add an extra rubber layer if the seal isn't tight enough.
Insert the valve.
Push the valve through the hole in the top part.
Note: The hole is sized for a 6 mm valve. If you’re using an 8 mm valve, drill the hole slightly larger.
Mount the bottom part.
Place the bottom section over an empty padel ball can (from the bottom upward).
Screw together firmly. Tighten the top and bottom parts.
Tip: Apply a bit of oil or lubricant if the threading is too stiff.
Pressurize.
Use a regular bike pump to add air until the can feels firm.
Leak test.
Submerge the assembled pressurizer in water. Look for bubbles.
If leaking, it's typically around the valve or where the two parts join.
Check that the rubber isn’t folded and that everything is tightly screwed together.
Safety Note
Do not overinflate the pressurizer. Excessive pressure may damage the can or the printed parts. Stay within safe limits—typically around 10–14 PSI for padel balls.
REVIEWS & COMMENTS
accuracy, and usability.


