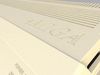
Commodore Amiga 500 was one of the first multimedia computer in 80s available for the mass customer, allowing to edit video, play 80s best games and be on a cutting edge computer technologies for some time.
The original Amiga 500 proved to be Commodore's best-selling Amiga model, particularly in Europe. Although popular with hobbyists, arguably its most widespread use was as a gaming machine, where its graphics and sound were of significant benefit.
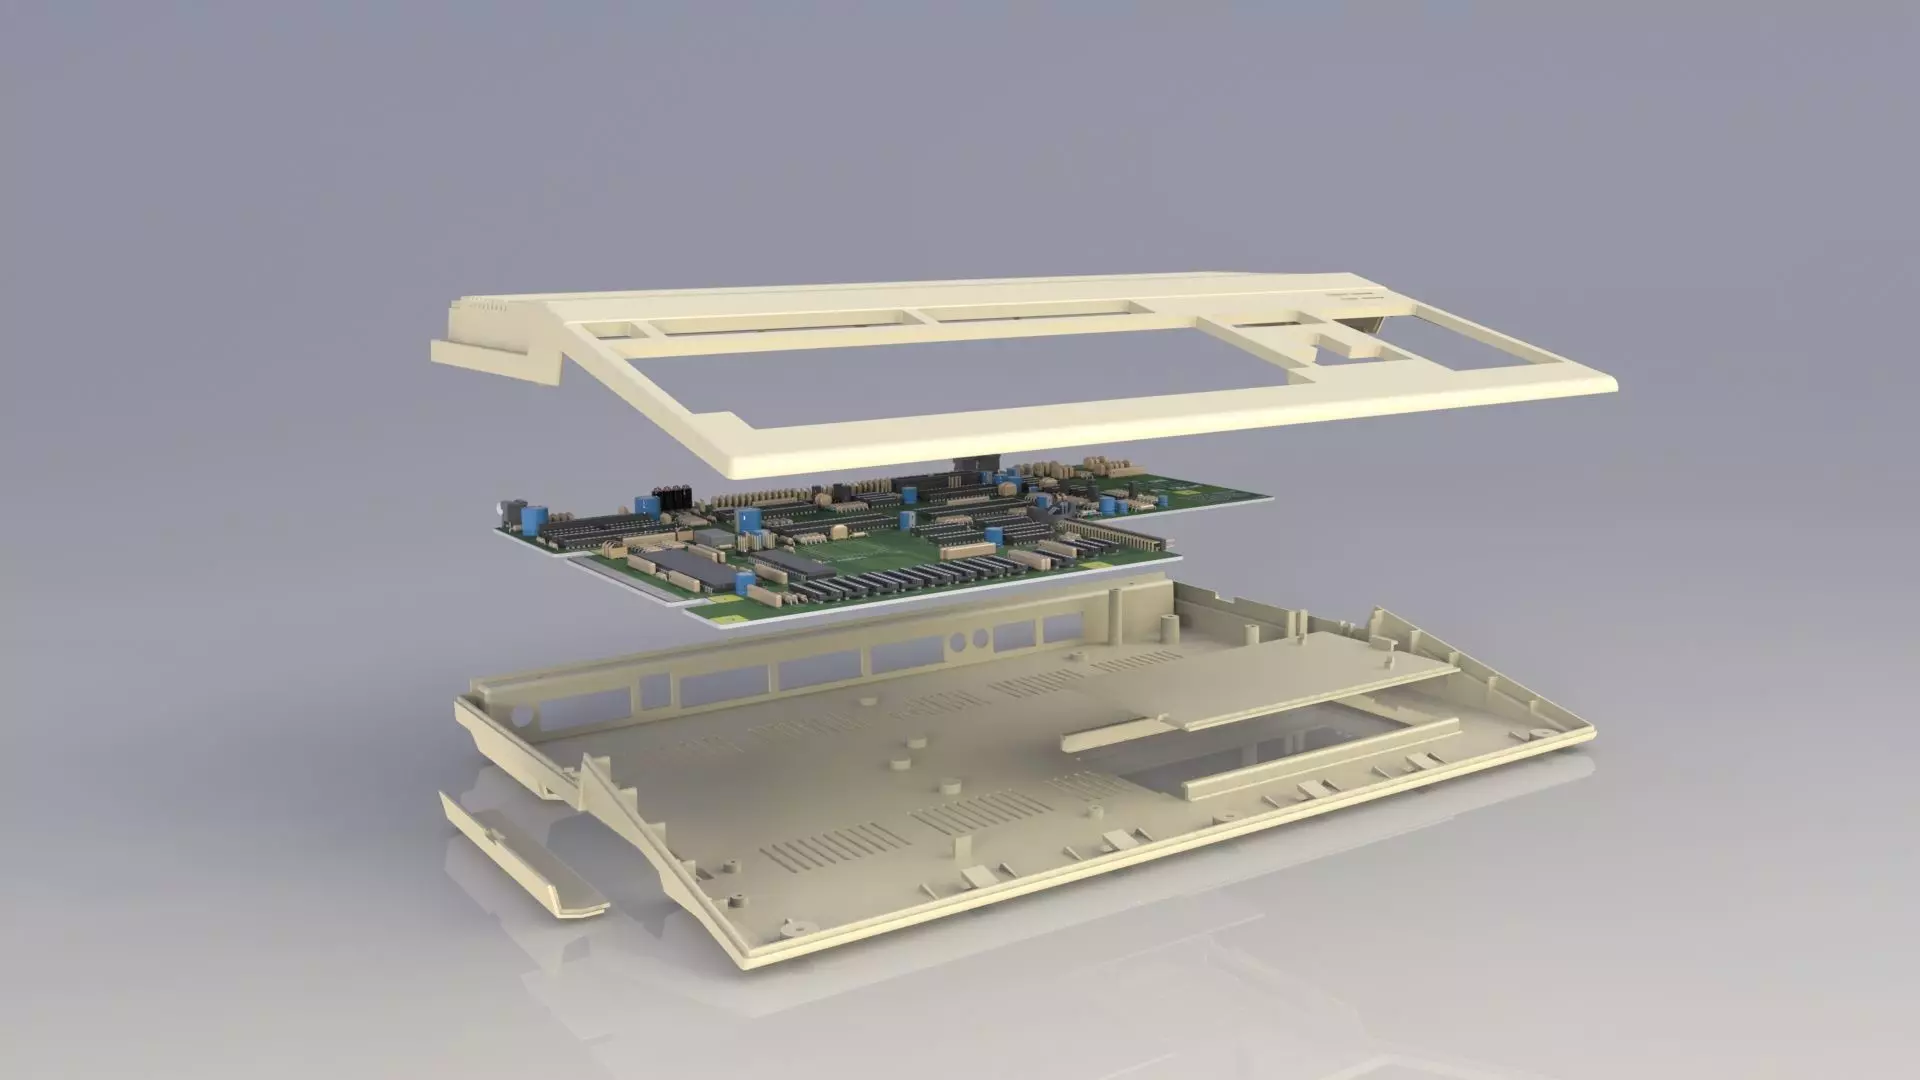
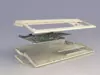
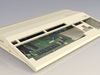
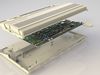
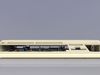
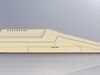
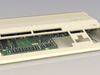
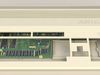
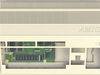
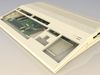
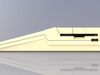
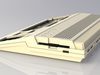
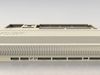
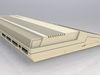
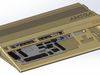
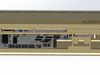
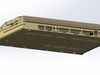
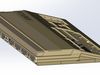
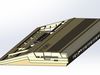
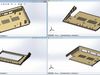
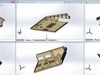
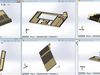
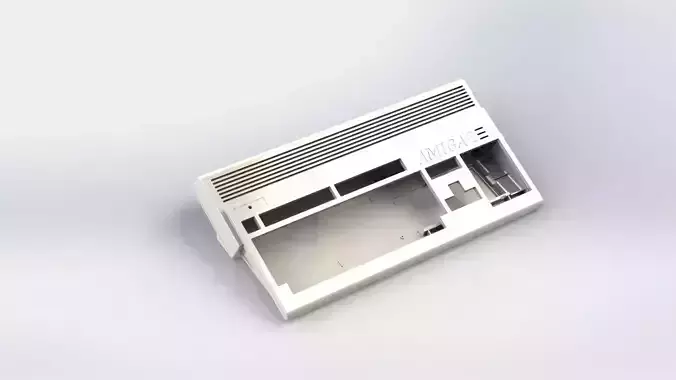
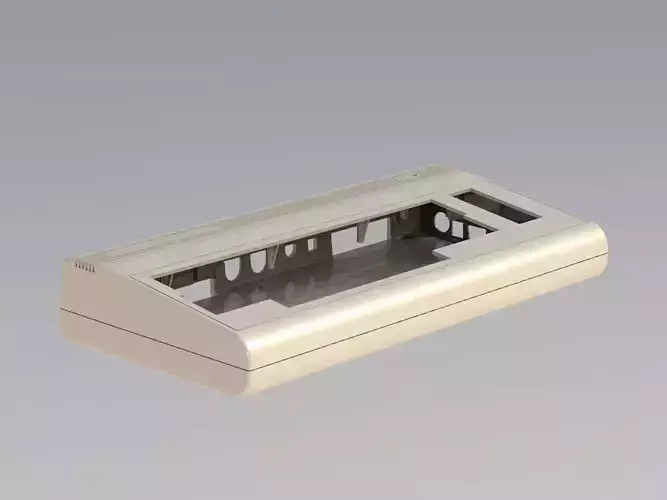
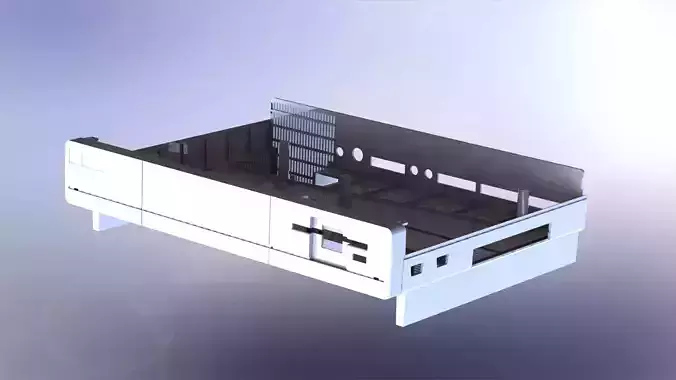
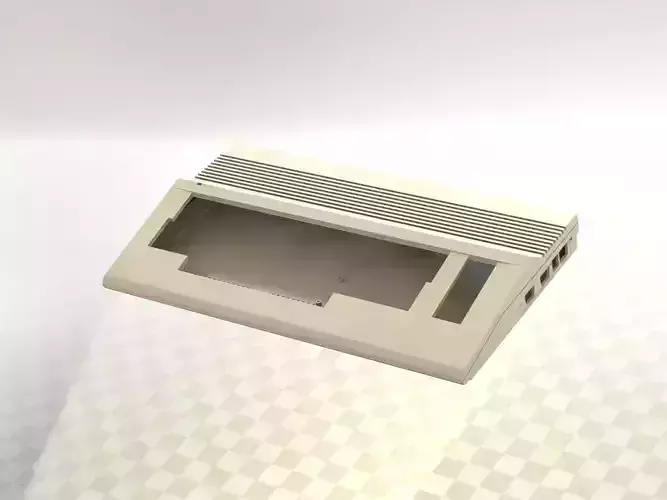
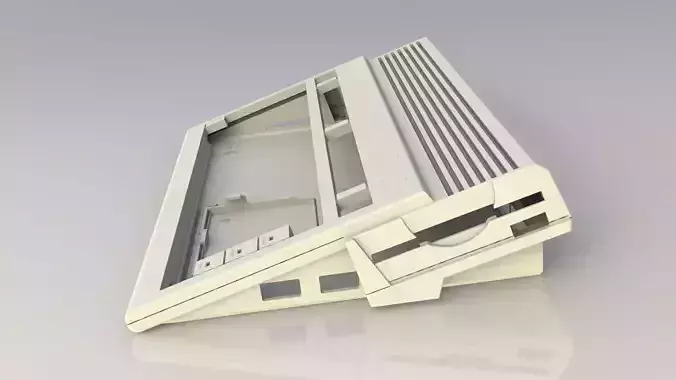
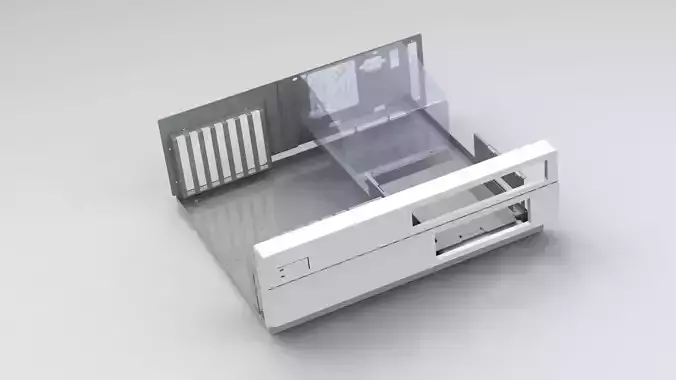
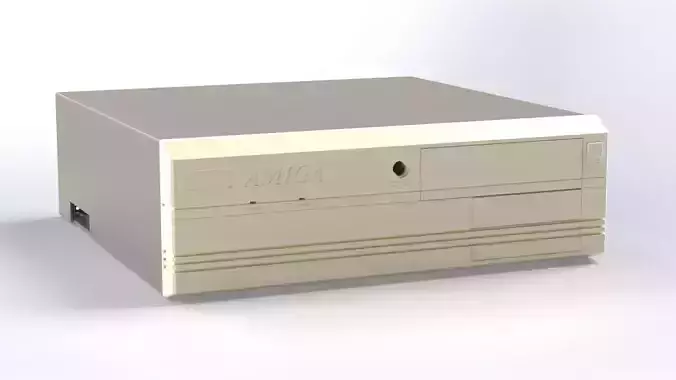
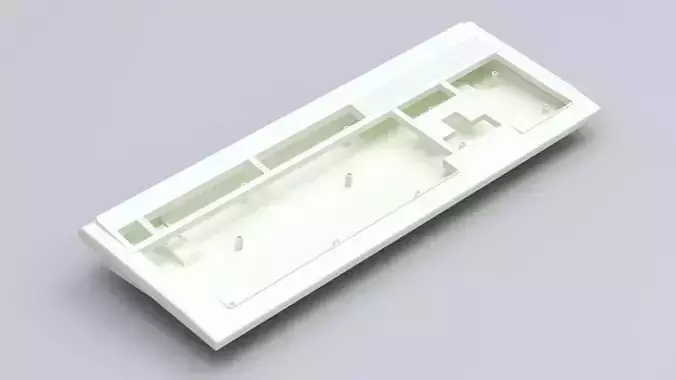
This is a 1:1 photorealistic full resolution and high detailed 3d print model of Commodore Amiga 500 enclosure. It is suitable for 3d printing or plastic molding. All sockets perfectly fit the original motherboard. You can use this 3d case to mod and improve your Commodore Amiga 500 computer or just to make a full-size emulator on Raspberry Pi and etc. The small printers 210x210 mms are also suitable for printing - just use 6 parts version. You can find a model split to 6 parts, which fit the 3d printer table, and a model for 400x400 printers(with 4 parts). Parts are connected using M2 screws, which are soldered inside the plastic. Also you can just glue the parts. Please note that motherboard fits only without shielding, so you need to add some other EMI protection. It works without it though.
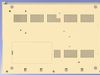
PCB used for test - Open Source Raemixx 500, used for reference. It is made by SukkoPera and is freely available on Internet on CERN OHL v1.2 license. Board files are not modified. You may redistribute and modify this PCB documentation under the terms of the CERN OHL v.1.2. PCB files are distributed WITHOUT ANY EXPRESS OR IMPLIED WARRANTY, INCLUDING OF MERCHANTABILITY, SATISFACTORY QUALITY AND FITNESS FOR APARTICULAR PURPOSE. Please see the CERN OHL v.1.2 for applicable conditions
Best filament and settings for printer: PLA, 0.2mm, with supports(recommended). Printer used for testing: Anycubic Chiron , Generic black PLA filamentIt is advised to print on an inner surface, not on panels and etc.
Files:
- SolidWorks parts SolidWorks parts for small printers STEP AP214,
- STL files The Solid Body models( SLDPRT, STEP) are included
- Trapdoor and expansion port files
- Legs for body
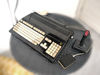
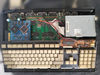
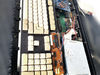
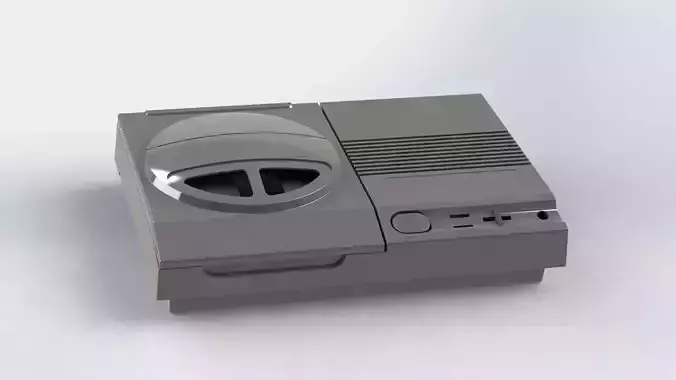
You can see the printed result on photo. It is my A500 motherboard with TerribeFire's TF534 accelerator installed, ready for use.