Modular Toy Biplane 3D print model
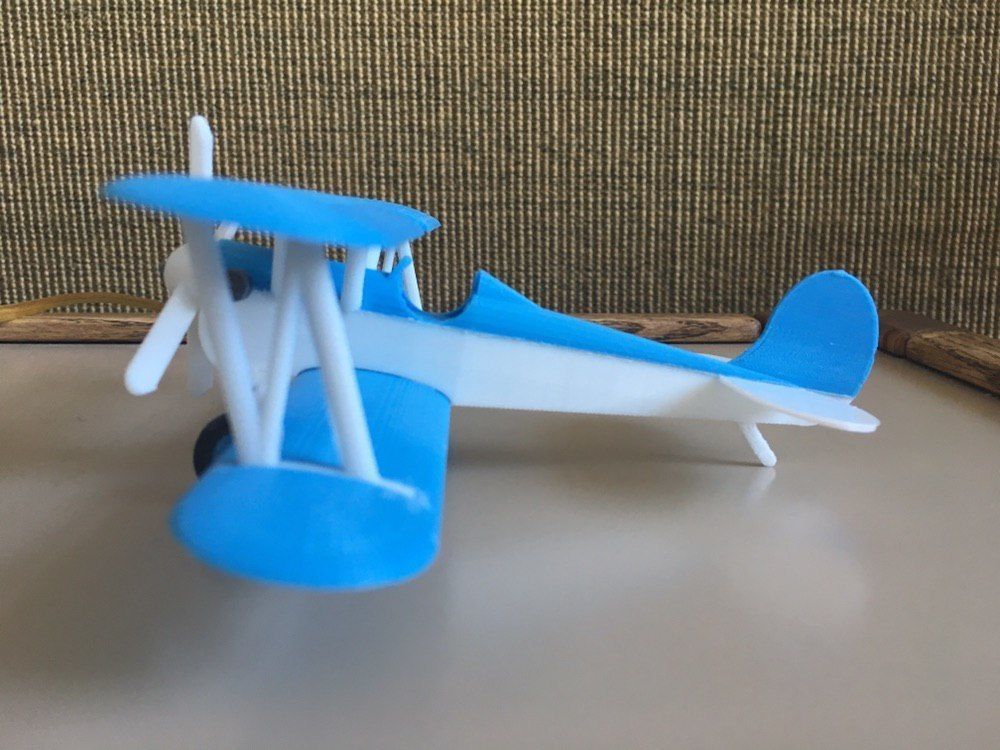
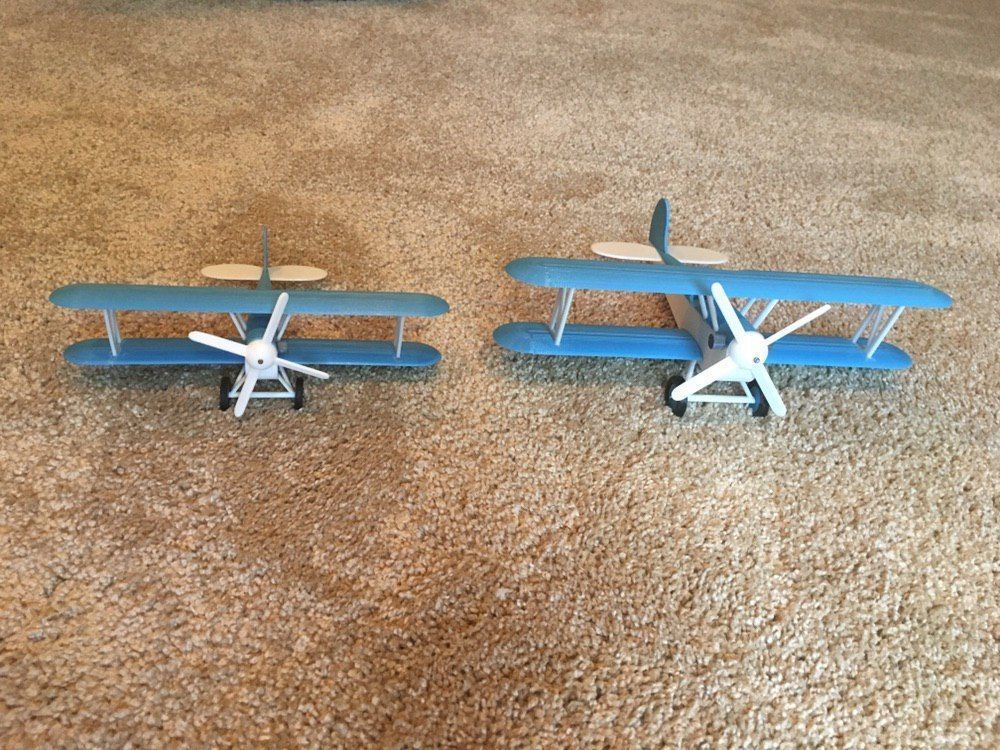
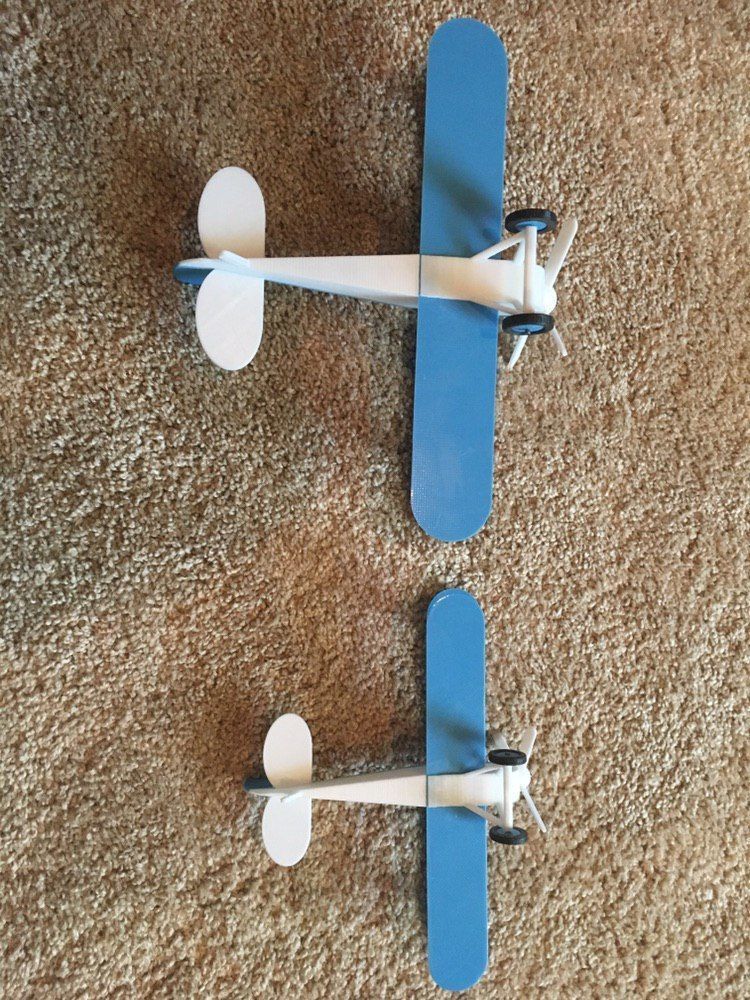
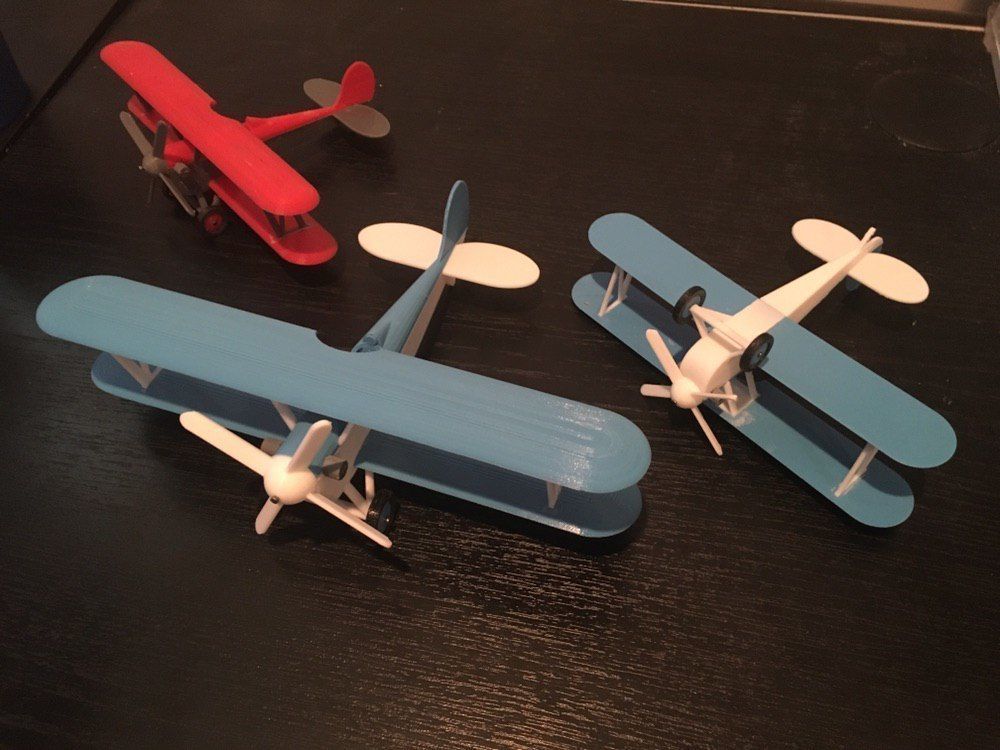
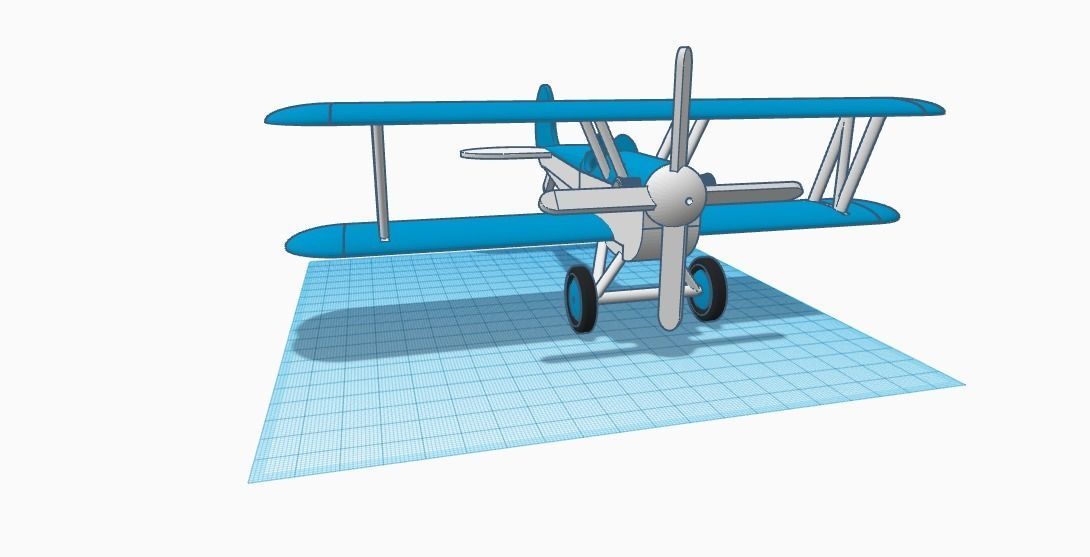
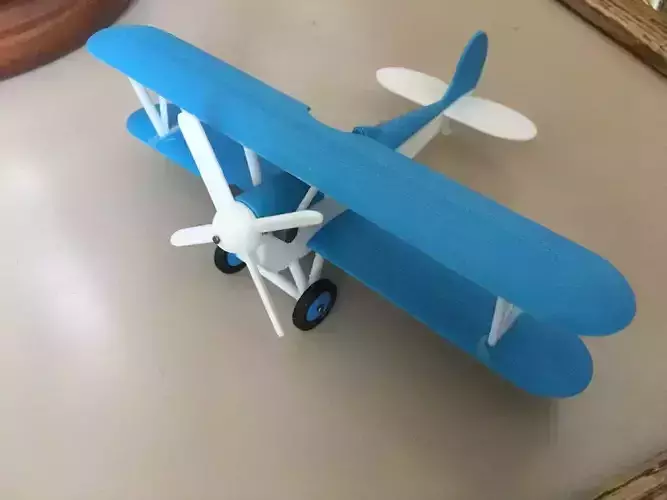
This is a toy that I've been designing and fine tuning for about a month, and I've finally decided to put this beauty up for sale for anyone to print. The wheels and propeller spin freely - you can hold the propeller up to a fan, vent, or strong breeze and it will whirl; I would not recommend throwing this model, but it is a sturdy design, regardless - I got it to lift off at about 30 mph out of the car window and the wings stood firm. When completed, The plane measures at about 8long with a wingspan of close to 10. You can also choose to print this design at 75% scale for a much cuter model (I actually prefer this size).
Required Materials:
PLA or similar filament (silver/pewter for the engine pistons is recommended; also, whatever other colors you want the plane to be - I like to print two-tone, but you can print it in one color or three or more colors. It is possible to paint it, but make sure to paint each part separately before assembling the plane)
Three 1/16 x 1.5 inch nails (for a 75% print, smaller nails will be needed. I used the nails my dad has for his beekeeping frames, but that's all I know about them)
Something to cut a couple of the nails with (most good pliers have a snipper behind the hinge)
Gel super glue (one small tube should be enough)
Black TPU or similarly flexible filament (not actually required, but to get the best results for the wheels this is preferred. A small sample should be enough)
Print Recommendations:
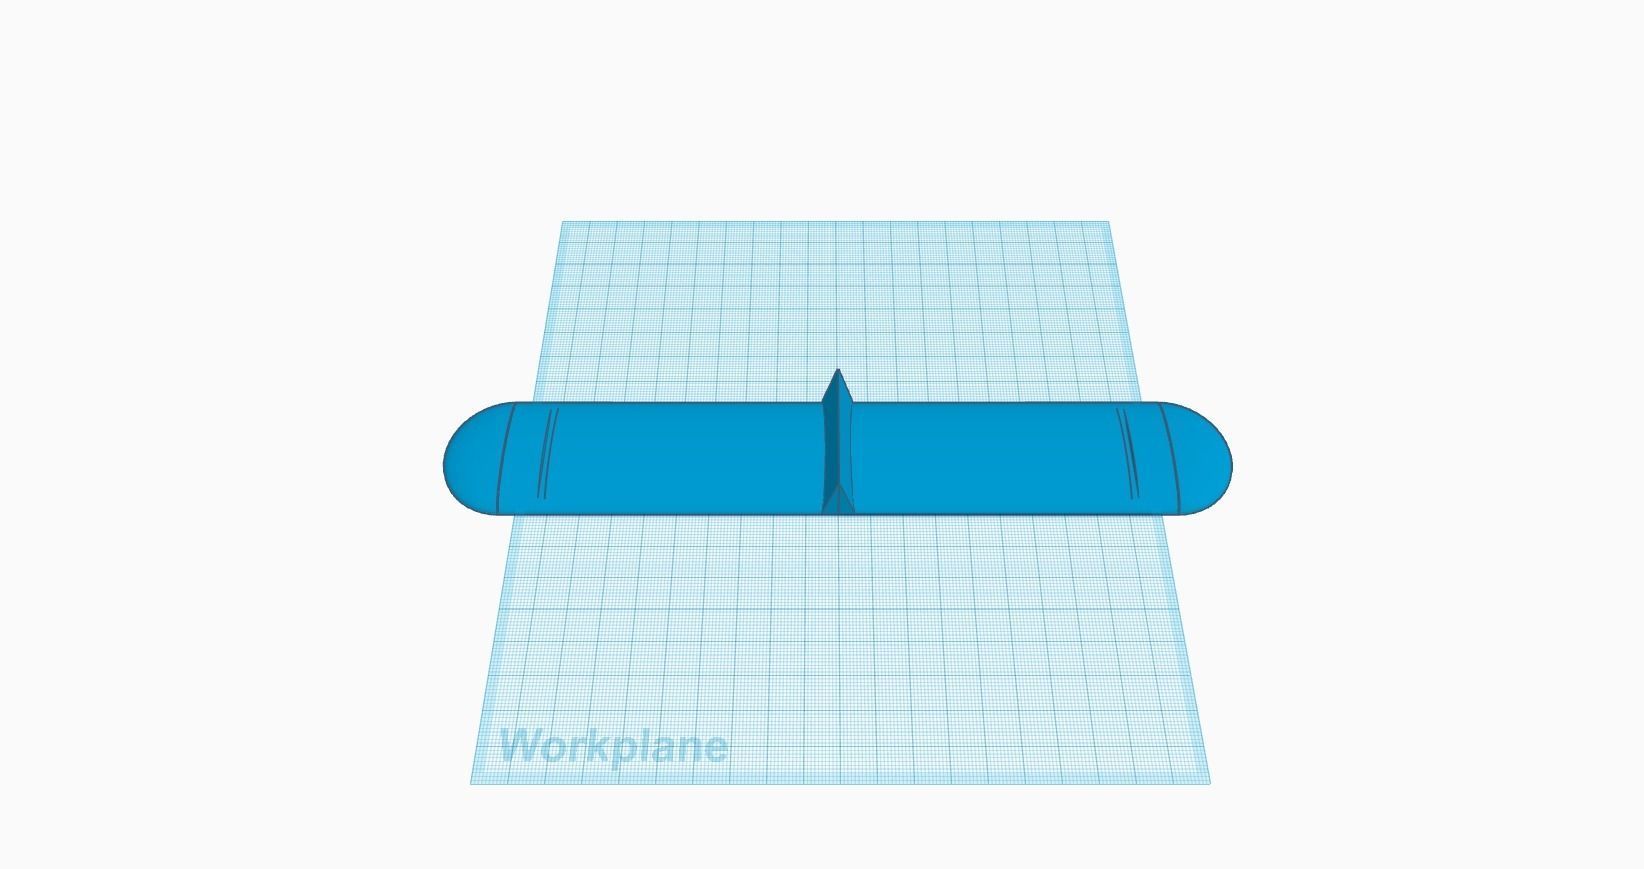
Don't print the model example - it's for reference only. I mean, you could try, but it won't look nearly as nice and probably won't be that sturdy either.
I would recommend printing the wings and fuselage parts overnight, as they take the longest to print.
Print everything (except the wheels and tires) with a brim, but more especially the struts, prop, and landing gear. It might take more cleaning up, but it's better than having warped parts.
Print the struts, landing gear, and engine pistons at 100% infill. Print the propeller at 25-75% infill (less for spinning in the wind, more for spinning with your fingers - the 4 bladed prop spins the best). Print the fuselage parts and wings at 5% - 9% infill with 0.8 mm wall and top/bottom thickness. Print the one-piece wheels / rims at 25-100% infill.
The tires are meant to be printed with flexible TPU or similar material and mounted on the wheel rims. You may wish to print them with 0% infill so they are more flexible and tire-like - just make sure the wall and top/bottom are thick enough so the tire doesn't act like it's gone flat. If you don't have TPU, I have included the file for one-piece print wheels. Print two of each; I only put one per file to help prevent undesired stringing and bumps.
Print resolution should be 0.15 for the regular sized model and 0.1 for the 75% model (you may choose to go finer, but it may peel away from the print bed, even with a brim)
Turn on supports for the upper wing if printing at full scale. If you decide to print the wings at 75% scale, do not use supports; it may take a little bit of cleaning out, but believe me, you'll end up stabbing yourself trying to chisel out the mid-section support.
Assembly Instructions:
Glue the outer struts to the lower wings and the middle struts to the slot in the upper wing before anything else - this will give them the opportunity to dry and be sturdy when you're ready to glue them to together. Use small amounts of glue on both the struts and the slots (except for the middle slot - use more glue if you want with that one), and wiggle the struts around to make sure the glue is distributed well. If there is excess, carefully dab it away, making sure not to smear it too much, as it can affect the look of the finished product.
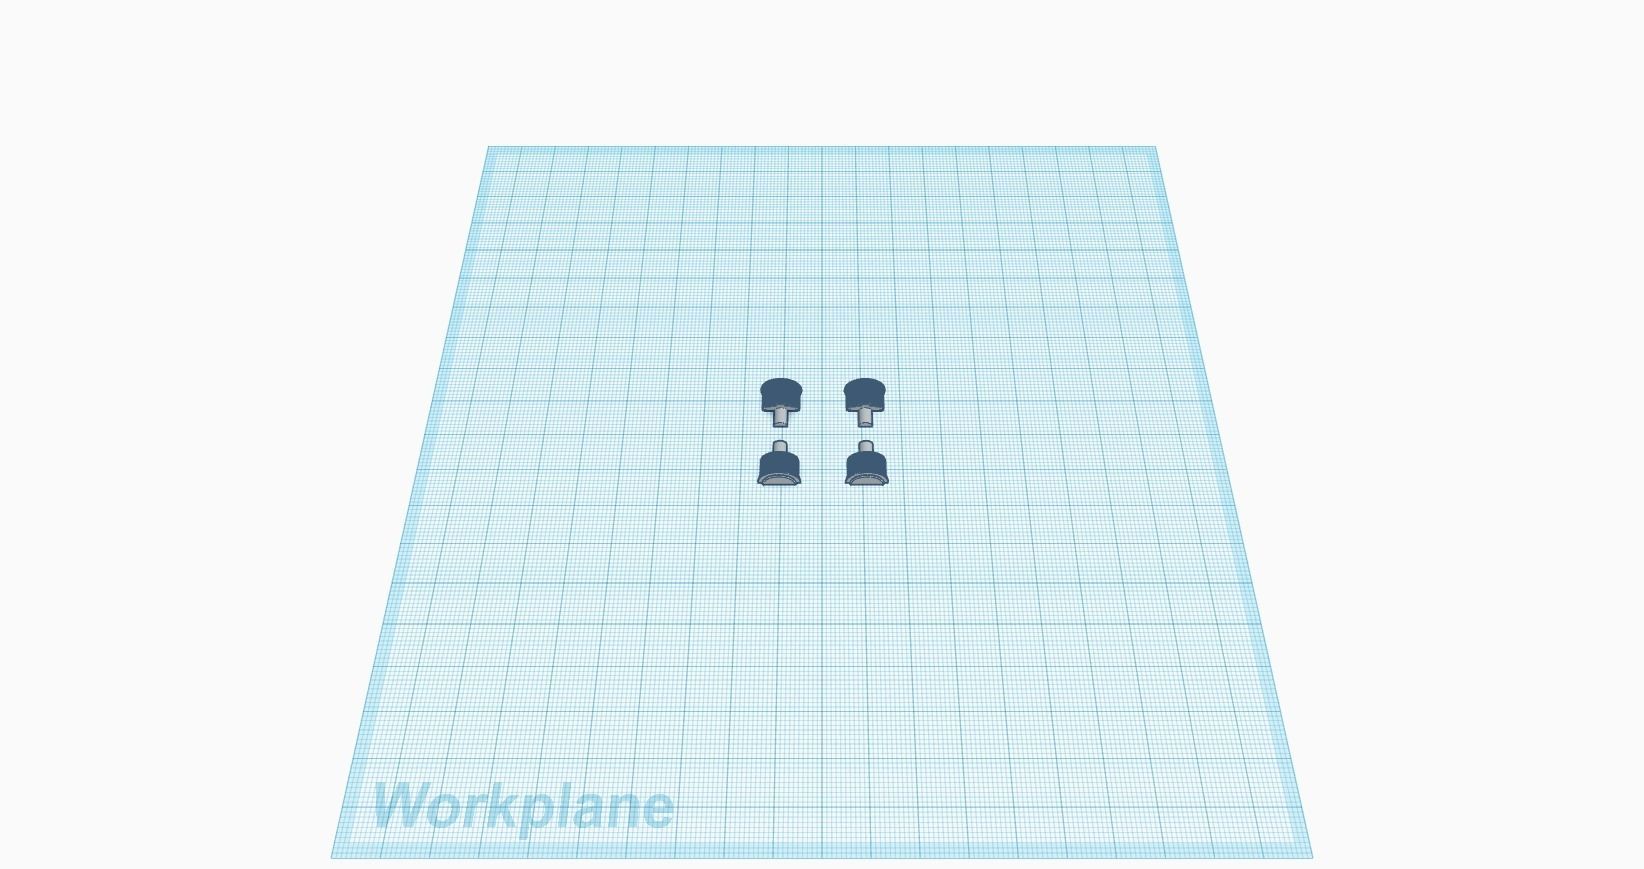
Glue the pistons together, being sure to match the top half (the part with a slight curve over the pin) to the bottom half on each one. Wait to glue them in until after the glue for the fuselage pieces and prop shaft have dried, or it may push them apart.
Glue the bottom wings together (they should be stuck together, but easily to pull apart). Apply glue liberally to the wedge pieces and the corresponding slot of the bottom fuselage, as well as the curve where the airfoil meets the fuselage. Insert the wings and push firmly until they are flush with the fuselage. They should fit perfectly. Let sit flat to dry.
Cut two of your nails roughly in half - these will be the axles for your wheels (save one of the pointed-end pieces - you can throw away the other). If you have printed the TPU tires, mount them on the rims. Insert the half-nails through the wheels and into the landing gear slots. The landing gear is designed to not need glue to hold them in fairly securely, but you may use some if you deem it necessary, being careful not to get any on the wheels; if you do, keep rotating them until they spin freely. Glue the landing gear to the bottom wings and fuselage, making sure they line up straight.
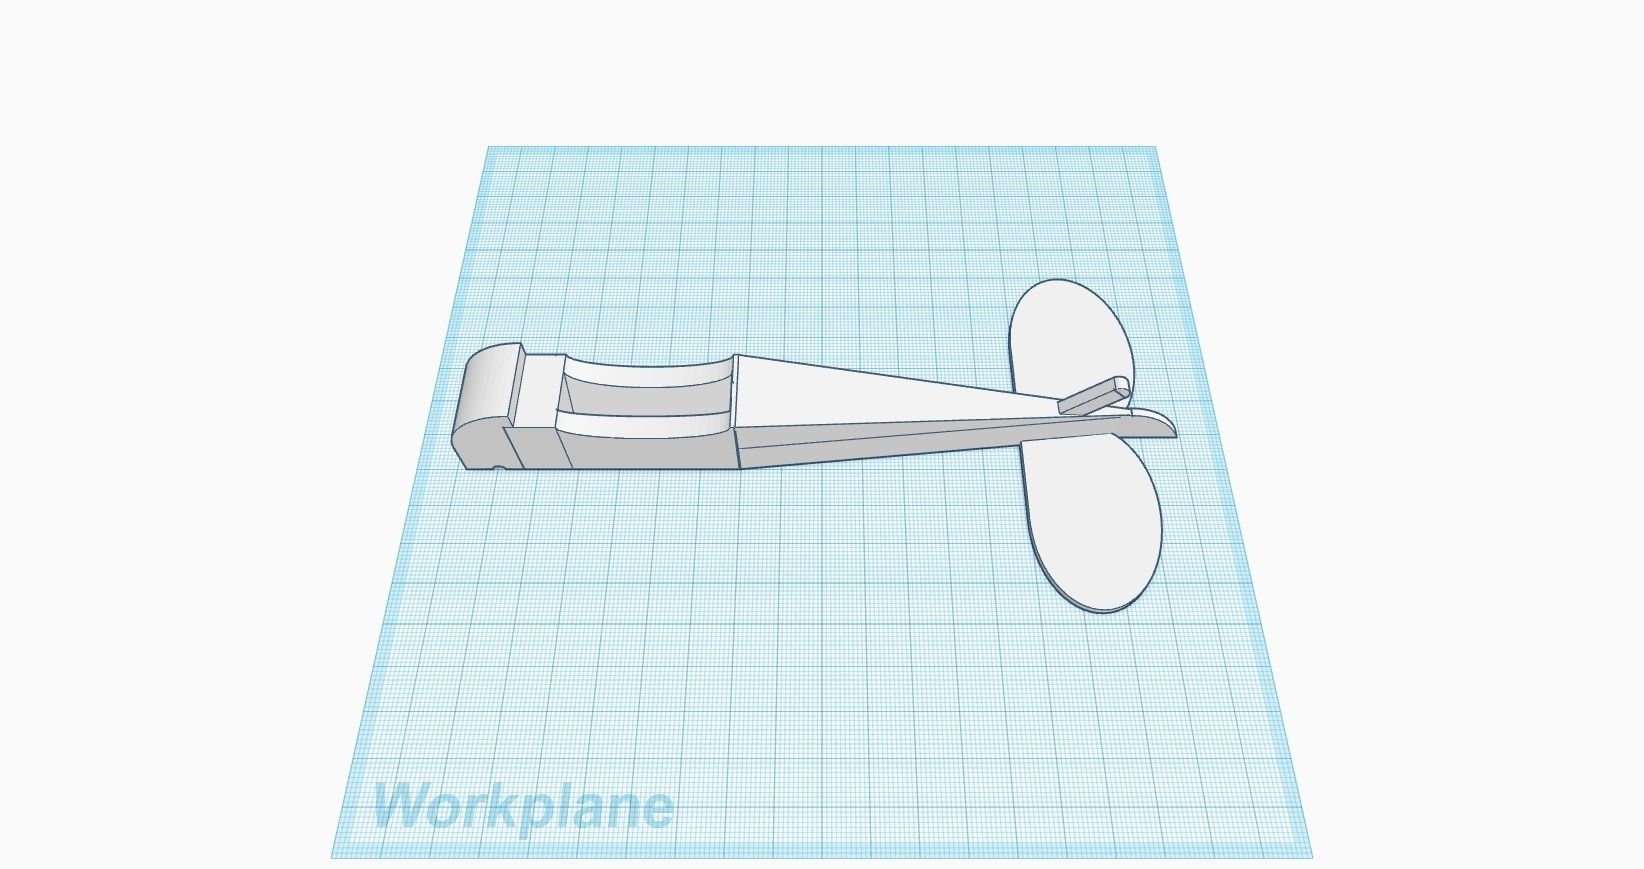
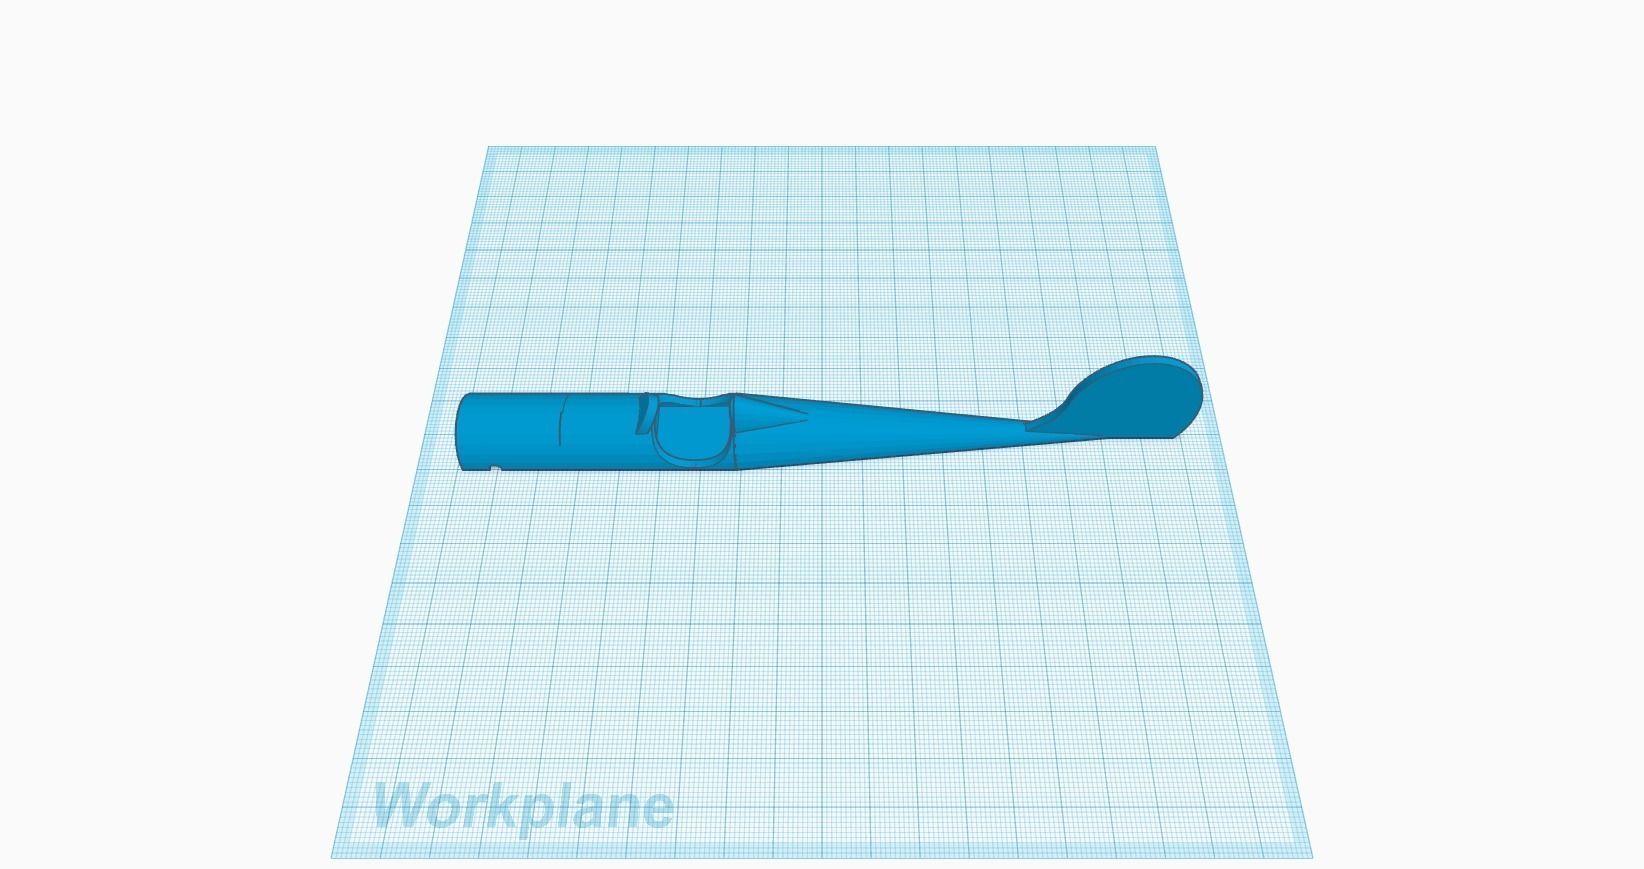
You can use the half nail end you saved to more easily line up the upper and lower fuselage - there are matching holes where you can slot the nail. Embed the cut-end first so that the pointed end can more easily enter the other side. Make sure to apply glue liberally to the fuselage halves, staying away from the edges. Wipe away any excess if there is any, but be careful not to smear it.
While you're gluing the fuselage parts together, make sure to add a little bit of glue to the slot halves for the propeller. Slide your third nail through the propeller and into the slot. Make sure it's just loose enough to spin freely.
Now that the main structure of the plane is together, apply some glue to the outer slots on the upper wing, as well as small dabs of glue to the ends of the inner struts. Carefully slot in the outer struts and gently squeeze the struts into place. Gently push down on the center of the wing to adjust the inner struts. Make sure everything is to your liking. If you want, you may wish to add more glue just above and below the middle struts for extra strength.
Finally you may glue the pistons in - make sure they are right-side up; they should fit flush against the fuselage. Make sure that the piston seam is parallel with the fuselage seam.
Once everything is dry, your plane is ready for enjoyment - whether it be on display on a shelf, hanging from a mobile, or in the hands of a happy child. I hope you enjoy!
This product is royalty free, meaning you may print and sell as many of your prints as you want at no extra cost after purchasing the file; you may not sell or distribute the files themselves, however - only the models you print.

