Creating a realistic human face in 3D is a complex but rewarding project. Here’s a structured approach to help you:
1. Reference Collection
- Gather high-quality face references from different angles.
- Use sites like Pinterest, ArtStation, or 3D.sk for anatomy references.
- Study muscle structure & bone anatomy for accuracy.
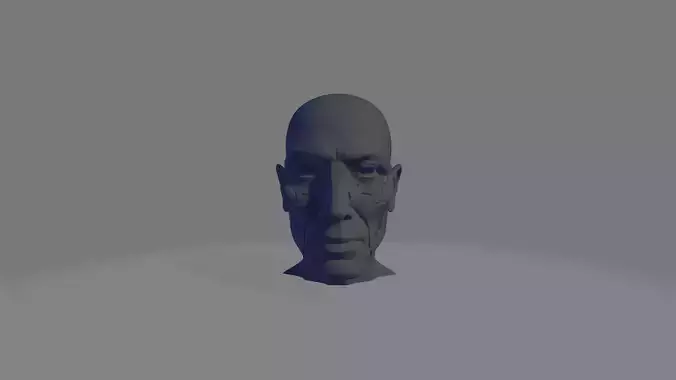
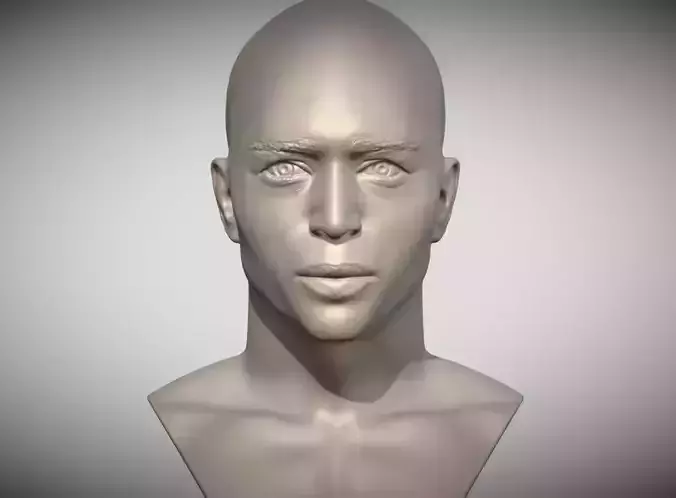
2. Base Mesh Creation
- Start with a basic head mesh using:
-
Blender (Sculpting mode)
-
ZBrush (Dynamesh or ZRemesher)
-
Maya/3ds Max (Subdivision modeling)
- Focus on getting the right proportions (Golden Ratio, Loomis method).
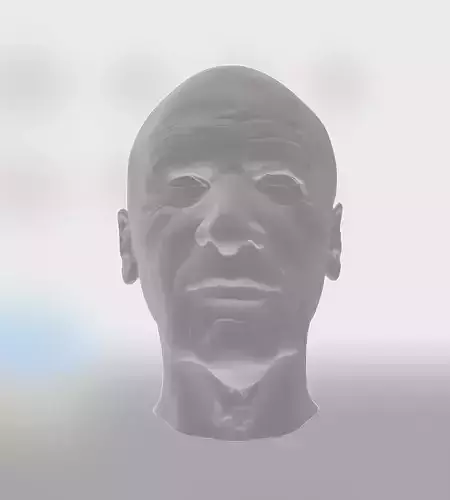
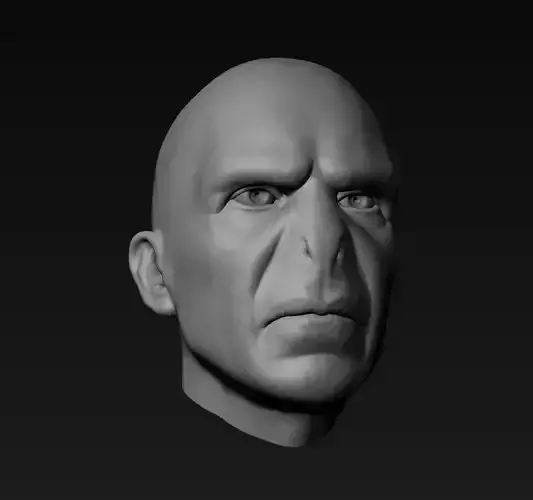
3. Sculpting the Details
- Block out major forms first:
- Skull structure, cheekbones, eye sockets, nose bridge.
- Gradually refine:
- Wrinkles, pores, and skin texture (use alpha maps in ZBrush).
- Keep anatomy accurate:
- Observe real people, study expressions.
4. Retopology & UV Mapping
- Clean up topology for animation-ready models using Retopoflow (Blender) or ZRemesher (ZBrush).
- Unwrap UVs carefully to ensure efficient texture painting.
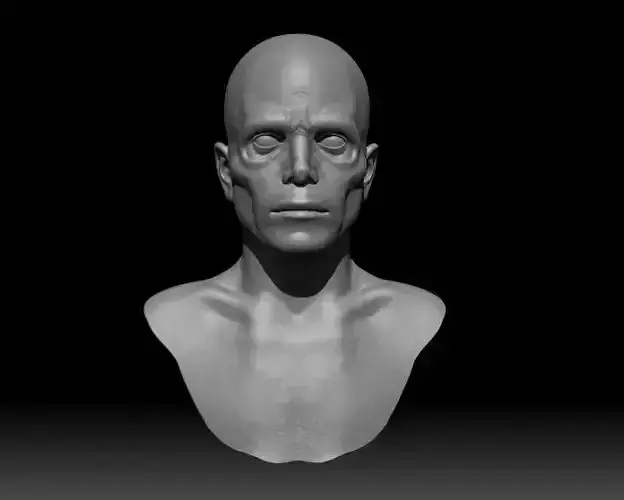
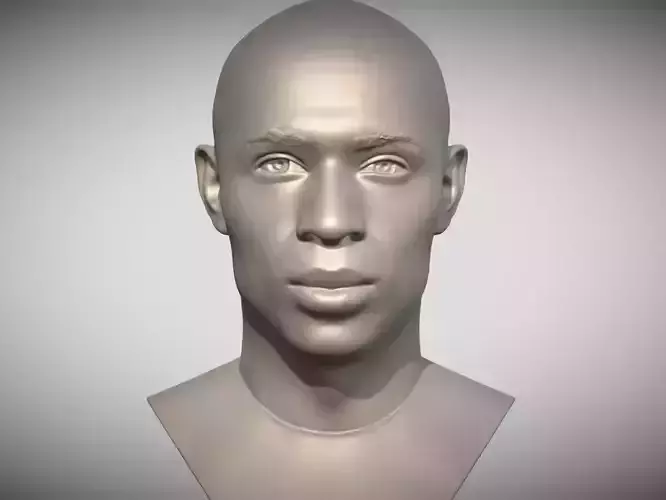
5. Texturing & Skin Details
- Use Substance Painter or Mari for realistic skin textures.
- Apply Subsurface Scattering (SSS) in shaders for realistic skin.
- Add micro details like pores, tiny wrinkles, freckles using displacement maps.
6. Rendering & Final Touches
- Use Arnold, Cycles, or V-Ray for realistic lighting.
- Set up HDRI lighting for soft, realistic shadows.
- Use post-processing in Photoshop or After Effects to enhance details.