All Paid Levels of Patreon Members get 20% off all Etsy items and files ($1/month).or Join Patreon 3d Member tier and get all my files soon as you join ($10)! (its a no brainer) :)Want to print and sell my files? You can with the 3D Merchant Tier ($20)https://patreon.com/WhiteysWickedWorkshop
This listing includes digital files only; no physical items will be shipped.Ensure you have access to a 3D printer or 3D printing service.Due to the digital nature of the product, refunds or exchanges are not available.
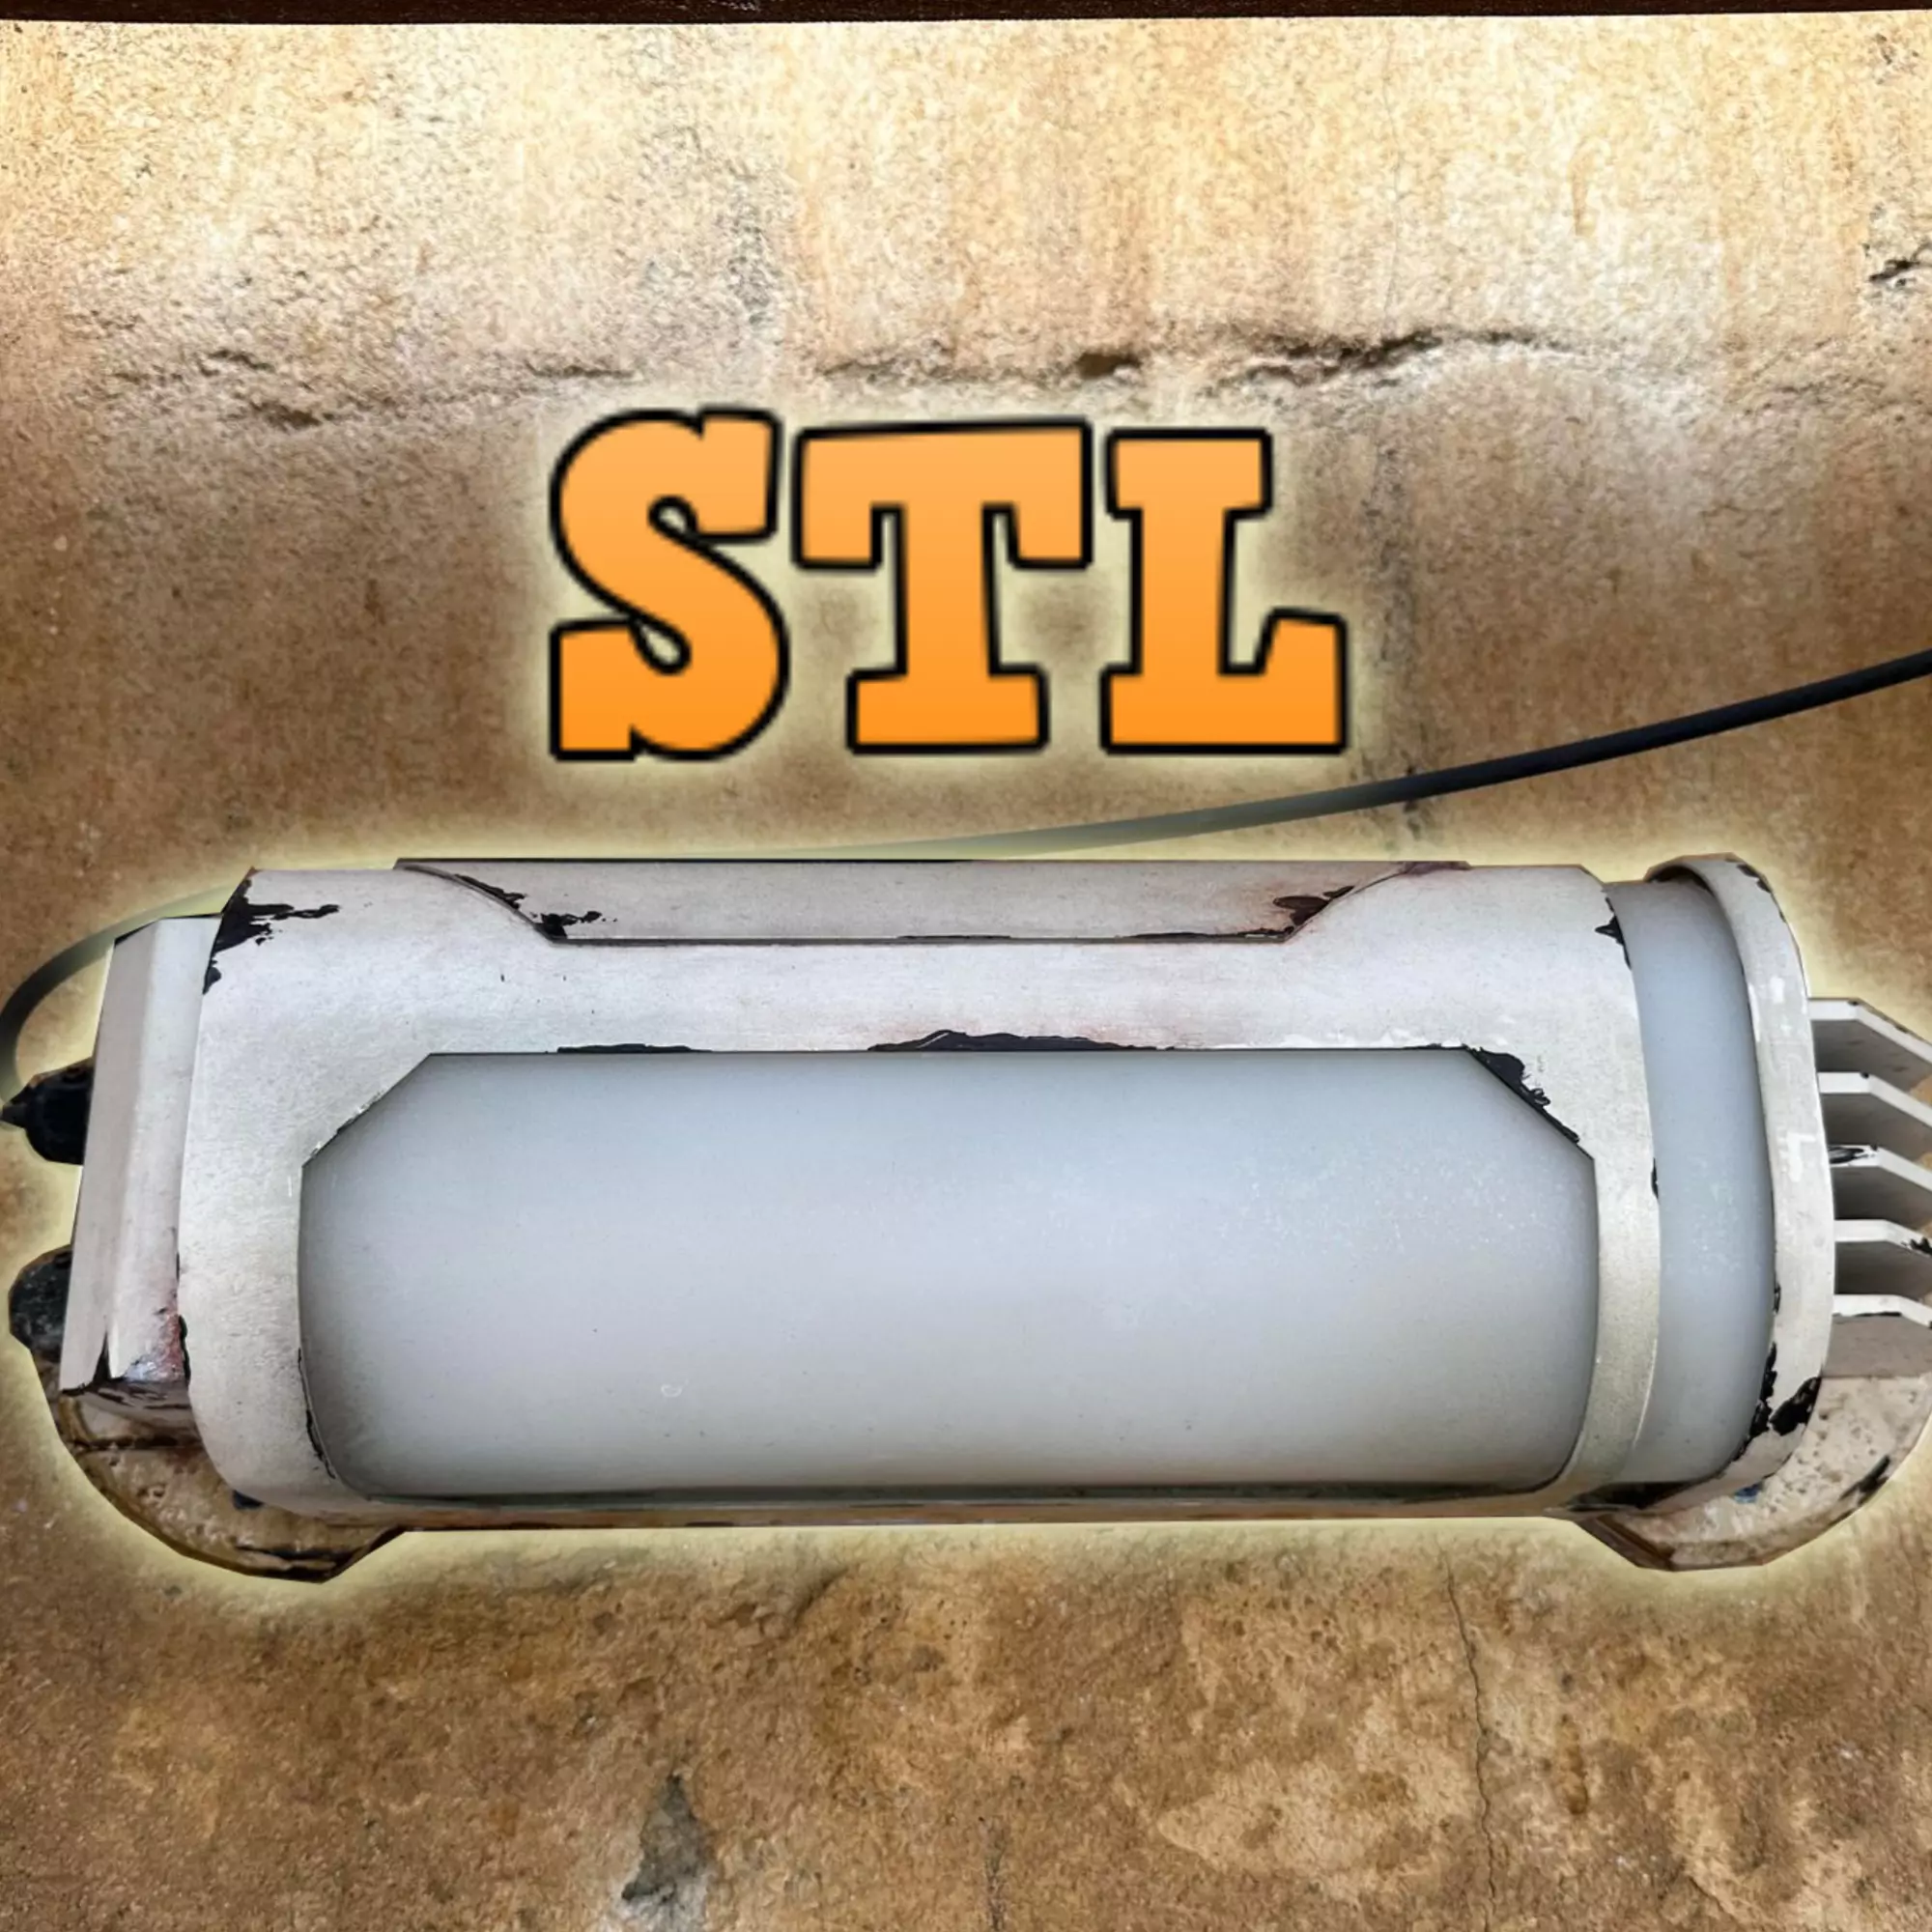
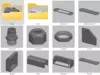
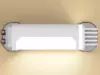
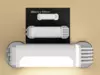
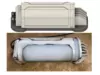
Galaxys Edge Light #33 Versions of this light are provided:
- Solid for Dioramas - Scale as needed
- Smaller version to print on 256mm bed
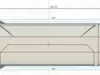
- Larger Model - approx. 490mm long x 150mm Tall x 153mm wide
Items Needed (some are affiliate links):
QTY 1 - Bob Smith Superglue or equivalent: https://amzn.to/49vsGruQTY 1 - Cord Grip for cable https://amzn.to/3VvtY2hOptional Cord Grip for showQTY 1 - LED 7.3" long: https://amzn.to/3ILHIOW You can also use Led lighting of your choice. Qty 2 - U Clips to hold in the LED mentioned above. https://amzn.to/3INiRubQTY 1 - Bulb Light socket: https://amzn.to/4anzJTUQTY 1 - Non Polarized plug: https://amzn.to/3VqzRxNQTY 8 - Hex Socket head cap screw ISO 4762 - M6 x 20 Steel: https://amzn.to/3vkXGfP
Assembly:
- Print out all parts.
- Do a Dry Run / Test Fit before doing anything.
!!!Important!!! Supplied are two files called Body Mount. a. One for use with Tubular bulb (square hole)(BodyMount) b. One without square hole is for Led strips. (BodyMountNOHole)If using Leds strips you may not need the bottom piece called the mount
So in these instructions I will be explaining using the Tubular 7" LED Bulb.
- Print out all files needed.
- I supplied the file called lens to be printed out and fit perfectly inside Main Cap. But im thinking that it might look better with a bendable plastic insert.(Translucent placemat?) Let me know if you find something better
- Insert the lens loose under the Main Cap. Then place the Main Cap over top of Body Mount and Glue together
- LeftCap: Drill holes for the cable grips and install to the left of Main Cap you will see a large hole on one side of Light.
- Glue left cap in place when ready.
- Glue fins in place to the right of the light. Ive added placemats to insert fins evenly placed.
- Cut two small piece's of wood to attach the Uclips to the Mount. Space them out evenly and high enough to get a good lighting scheme and hold LED in place.
- Mount the Mount to the wall. Using 4 screws.
- Insert the cable through the left cap cable grip and plug LED into LED Socket.
- Place the Entire MainCap, Lens, and Body mount assembly over top of the mount and tighten using the 4 screws.
- Plug into wall and turn it on! Your done!
PROTIP:
- Paint and let dry before handling.
- Do not over tighten the screws
Enjoy!
Please let me know of any issues.
Whitey!