8K exr height and color maps (8192x8192px).Gaea 2 file included (preview images). Important! The Gaea project was created in 2024 while it was still in Beta. It's known that newer versions of Gaea 2 may have issues with graphics from older versions, displaying a corrupt file error. If this occurs, please read the error log to determine the problem and contact Gaea. Consider this an extra file I tried to share with you. This product consists mostly of 3D models and textures, 3D models and textures works fine.
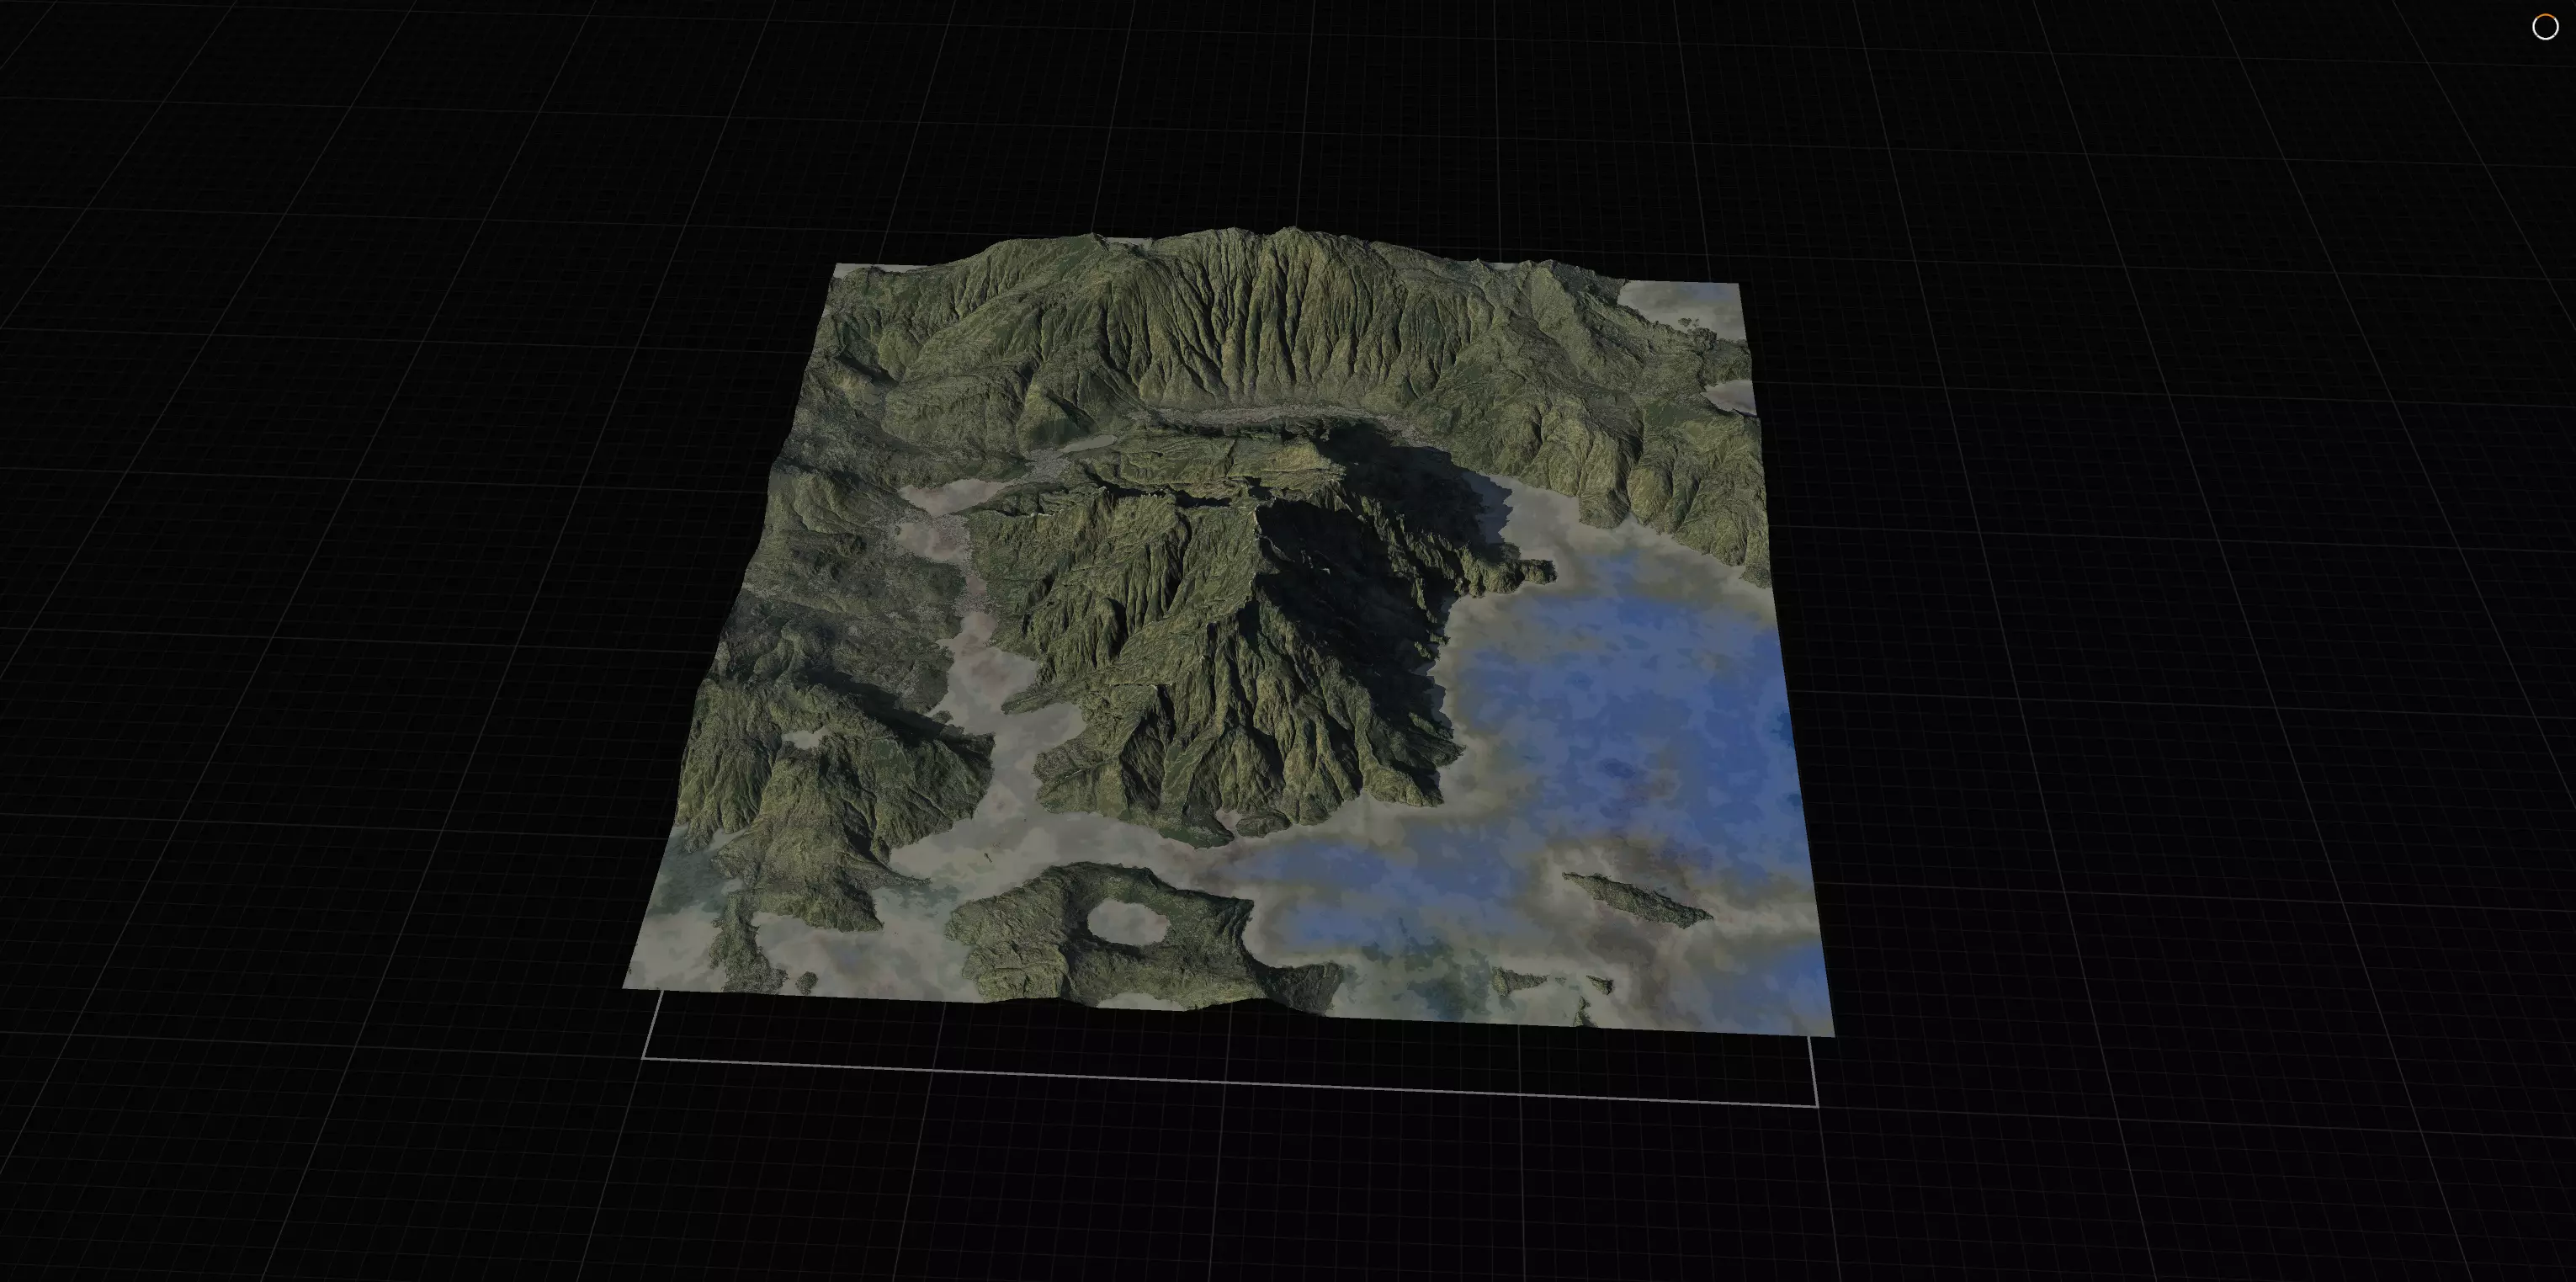
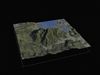
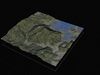
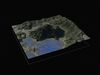
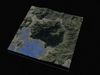
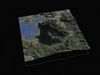
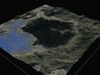
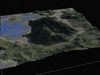
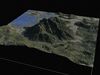
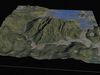
HOW TO USE IT:import the height map as a displacement map and boom! You will see a mountain. Apply the textures and you will see the final result!
ADVANCED TUTORIAL:Creating a 3D model of a mountain and lake using 8K height and color maps involves several steps in a 3D software application like Blender. Here is a step-by-step guide:
Step 1: Prepare Your AssetsHeight Map: This grayscale image will define the elevation data for your terrain.Color Map: This texture will apply realistic colors to the terrain.
Step 2: Set Up Your Blender SceneOpen Blender: Start by opening Blender and creating a new project.Delete Default Cube: Select the default cube and delete it by pressing X and then Enter.
Step 3: Create the Terrain MeshAdd a Plane:Press Shift + A to bring up the Add menu.Select Mesh > Plane.Scale the plane up by pressing S and typing 100 to make it larger, then press Enter.Subdivide the Plane:
Enter Edit Mode by pressing Tab.Right-click and select Subdivide.In the bottom-left corner, find the Subdivide options.Increase the number of cuts to a high value (e.g., 100) to get enough vertices for detailed displacement.
Step 4: Apply the Height MapSwitch to Object Mode by pressing Tab.Add a Displacement Modifier:With the plane selected, go to the Modifiers tab (wrench icon) in the Properties panel.Click Add Modifier and select Displace.Load the Height Map:In the Texture section of the Displace modifier, click New and then open the Texture tab (checkerboard icon).Set the Type to Image or Movie.Click Open and load your 8K height map.Adjust Displacement Strength:Go back to the Modifiers tab.Adjust the Strength value to scale the height of the terrain appropriately.
Step 5: Apply the Color MapAdd a Material:With the plane selected, go to the Material tab (sphere icon) in the Properties panel.Click New to create a new material.Set Up the Color Map Texture:In the Shader Editor, press Shift + A and add an Image Texture node.Open your 8K color map in the Image Texture node.Connect the Color output of the Image Texture node to the Base Color input of the Principled BSDF shader.UV Mapping:Ensure the plane is properly UV mapped so the texture aligns correctly with the terrain.Enter Edit Mode, select all vertices (press A), and press U to bring up the UV Mapping menu.Select Unwrap or Smart UV Project.
Step 6: Fine-Tuning and RenderingFine-Tune the Terrain:Adjust the Displacement modifier settings to get the desired height and detail.You can also add a Subdivision Surface modifier before the Displace modifier for smoother results.Add a Lake:Create a new plane and position it to represent the lake surface.Add a water shader material to it, adjusting the settings for a realistic look.Lighting and Environment:Set up lighting to highlight the terrain features.Add an HDRI environment texture for realistic lighting.Rendering:Switch to the Render tab (camera icon) in the Properties panel.Adjust the render settings for high quality.Press F12 to render your scene.By following these steps, you will create a detailed 3D model of a mountain and lake using 8K height and color maps in Blender.