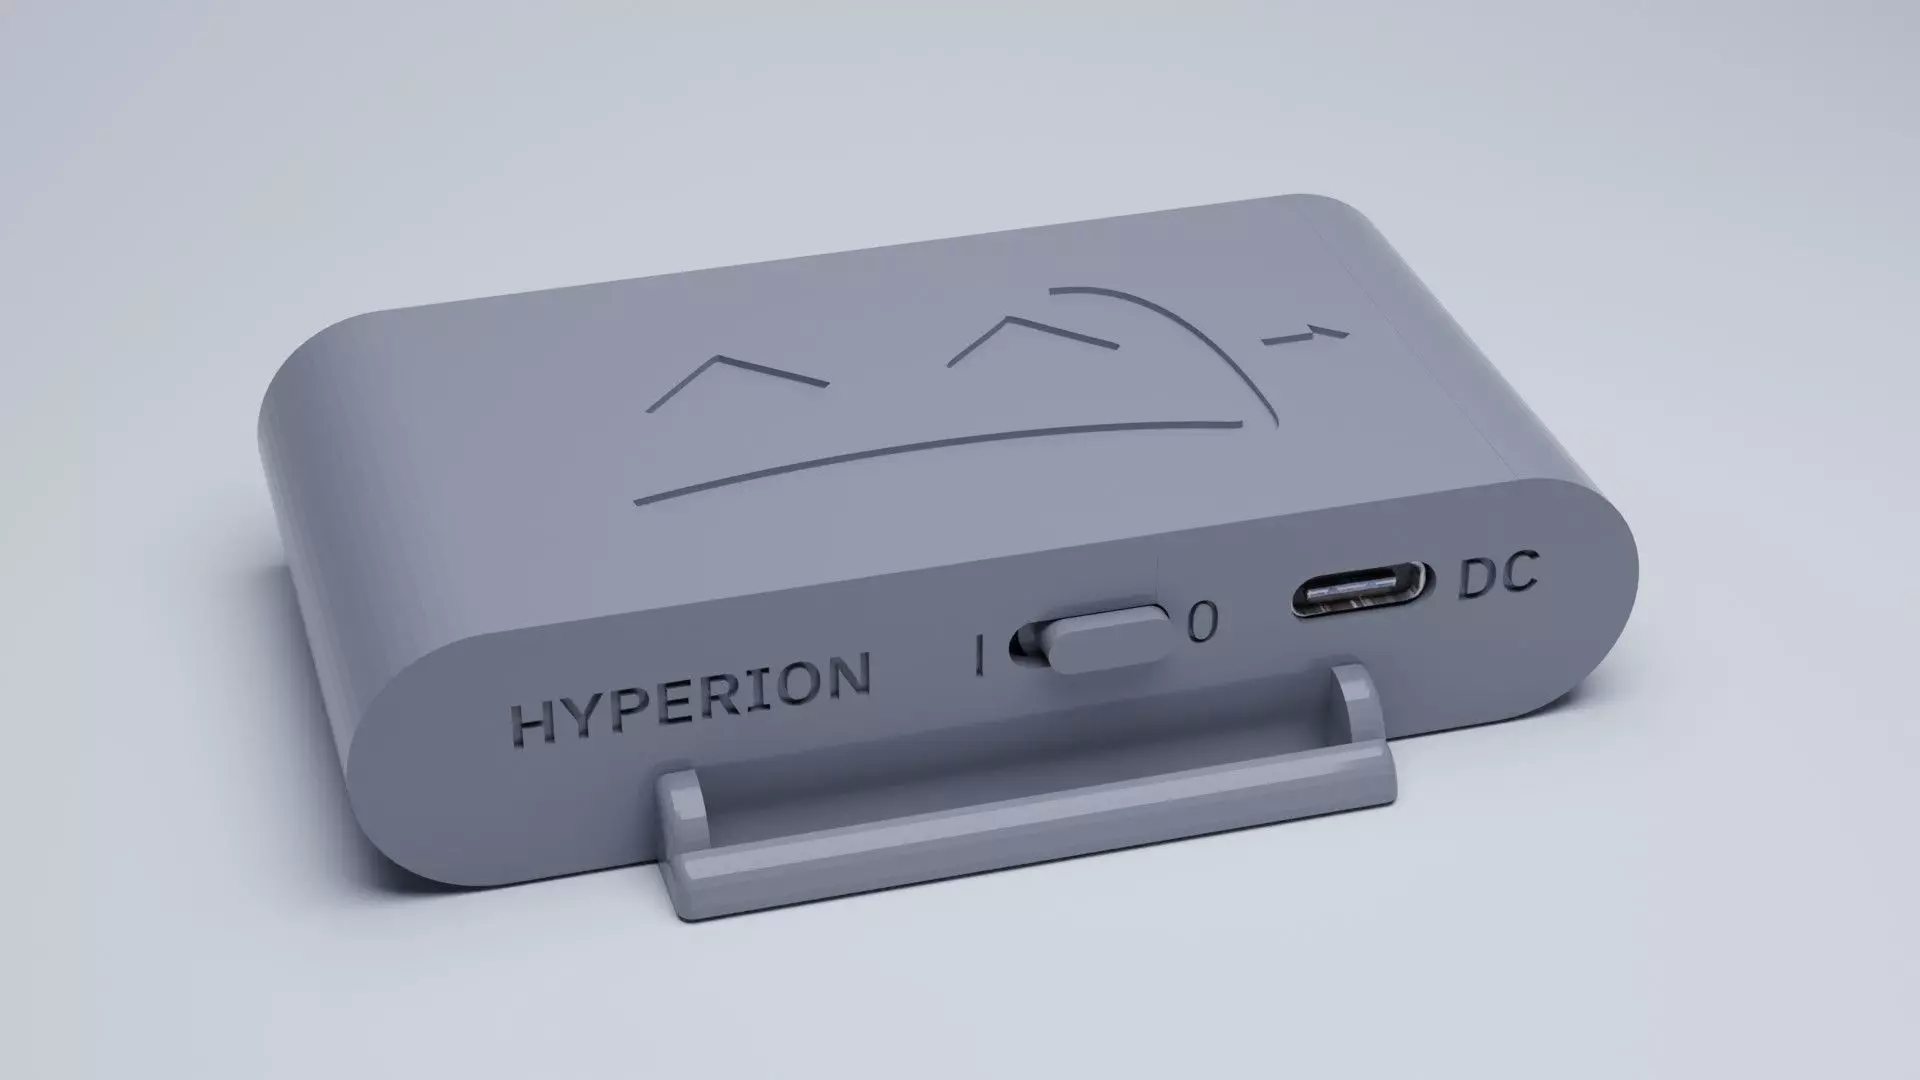
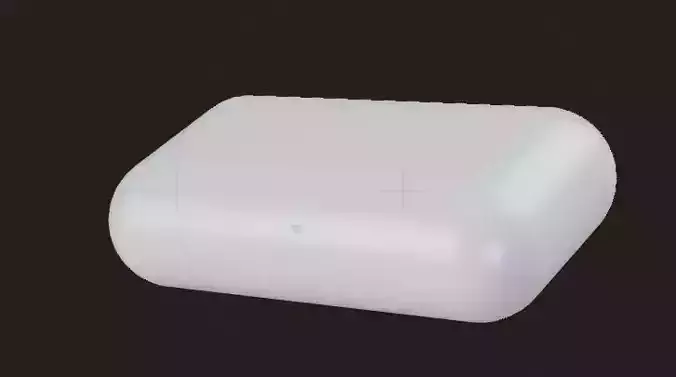
Hyperion case for DIY SlimeVR!
The Hyperion is one of the smallest and slimmest cases to date for your DIY SlimeVR Trackers.
With its completely tool-less design and tolerances fine tuned specifically for FDM 3D Printers, the Hyperion is both easy to print and assemble! Every part is carefully thought out and clicks together with a satisfying snap, while offering support for various Battery sizes, switches and components.
Index
- [Components](#Components)
- [Compatibility](#Compatibility)
- [Versions](#Versions)
- [Printing](#Printing)
- [Assembly](#Assembly)
- [Links](#Links)
- [Contributors](#Contributors)
- [Contact](#Contact)
- [License (MIT)](#License)
Components
For the Hyperion you will need the following components:
- [TP4056](https://www.aliexpress.com/item/32649780468.html)
- [MPU6050](https://www.aliexpress.com/wholesale?SearchText=MPU6050)
- [Wemos D1 Mini](https://www.aliexpress.com/wholesale?SearchText=D1+mini)
- [Switch](https://docs.slimevr.dev/components-guide.html) (SS22F32 is what the docs suggest, SS12D00G3 is smaller and looks better for this case)
- [SS12D00G3](https://www.aliexpress.com/wholesale?SearchText=SS12D00G3)
- [SS22F32](https://www.aliexpress.com/item/32975535599.html)
- [Battery](https://docs.slimevr.dev/components-guide.html) (804040 is what the docs suggest, 503759 is smaller and usually higher capacity)
- [804040](https://www.aliexpress.com/item/33021202630.html)
- [503759](https://www.aliexpress.com/item/1005003257130562.html)
- [40mm straps](https://www.aliexpress.com/item/1005002350231996.html)
You can also order these parts elsewhere through sites like Amazon with a higher markup which may arrive much faster for a higher cost.
The straps from the SlimeVR docs are only 25mm wide, while the Hyperion is designed to fit up to 40mm straps for extra stability.Be aware that there are different versions of the TP4056 which are smaller and have less soldering pads, avoid these.
The Micro-USB version of the TP4056 does work but isn't recommended.
Compatibility
The Hyperion case offers compatibility for various battery types, for example the 503759 supports any battery that is equal to or smaller than 5x37x59mm.
Please keep in mind your battery size when planning a build, in this example if you are not using a 503759 or 804040 but your battery is smaller it will still work with this design.
Be aware that if you use a smaller battery you may have to fill up the space a little bit to prevent the battery from sliding around, while a 503450 would fit just fine.
Hyperion also supports various switch types.
The case was originally designed to fit the smaller SS12D00G3 switches, but now also supports the SS22F32 (SS12F32 also works).
But what about the BNO08X?
Sadly as of now it is virtually impossible to get a BNO chip at a reasonable price.For that reason this case does not yet officially support the BNO08X chips.If it does fit please let me know through Discord. I'm [@Smeltie#1999](https://discord.gg/SlimeVR) on the [Official SlimeVR Discord server](https://discord.gg/SlimeVR).
Versions
There are a lot of different .STL files included in this project, as the Hyperion supports multiple Battery sizes and separate AUX/extension versions of each case and lid.
The names of the files indicate what the parts are for and which features they incorporate.
To clarify some of the terminology, the file name may have a reference to the following:
-
AUX: This part has an opening for a ribbon/JST cable to an Extension.
-
503759: This means the part is meant for batteries that are 5x37x59mm (based on that batteries sizing).
-
804040: This means the part is meant for batteries that are 8x40x40mm (based on that batteries sizing).
-
SS22F32: This indicates the part was designed for the switches mentioned in the docs.
-
Slime: This part has the SlimeVR logo on it, mostly for the lid.
-
Blank: This part has no print or logo on it, mostly for the lid.
So which parts do i need?
Of course this is totally dependent on the battery and switch you chose, however you will have to print at least 4 components per tracker, which are:
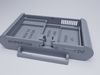
- Case
- Tray
- Lid
- Switch (if you opted for the SS12D00G3)
So for example, you bought a 503739 (or smaller) battery, you would need the following:
-
Case_503759.stl
-
Tray_503759.stl
-
Lid_503759.stl
BEWARE! if you bought SS22F32 switches, make sure that the part name contains SS22F32
If you want to have a tracker that uses an AUX/Extension module
You would need the following:
- Case_503759_AUX.stl
- Lid_503759_AUX.stl
The tray is not dependent on the AUX/Extension feature.
Printing
It is heavily suggested to print these components on an FDM (Filament based) 3D printer such as the Ender 3 or similar, as all the tolerances have been adjusted to accommodate a wide variety of FDM printers.Personally I printed my parts on a slightly modified Ender3 V2 using E-Sun PLA+ (gray) with a stock 0.4mm nozzle.
In terms of the printing itself, these parts don't need any support.Orientation wise the case, tray and switch can be printed as is.The lid you might want to turn 180 degrees so the flat side is against the bed:
The Switch
The switch is a little small and harder to print, however it is doable with the right settings:
-
Bed Temperature - 70c.
-
Initial layer speed - 10mm/s.
-
Printing speed - 20mm/s.
-
Infill - 0%.
-
Layer height - 0.08mm.
-
Location on the buildplate - Close to the front or back not in the middle.
-
Build plate adhesion - Brim.
These settings worked well for me, but your printer may need some slight adjustment. Layer height especially may be challenging for some printers.Take your time and take it slow, I've printed more than a handfull now.Don't print in the middle because on many printers that's a low spot, and this would hinder the adhesion needed to keep this little part stuck down.
Assembly
Assembly is rather straight forward however there are some slight things to look out for.You may have to slightly sand the sides of the tray depending on your printers tolerances, not all printers are created equal. Ideally you will not need to sand anything but it's the easiest solution if any part seems too tight.It is normal for the tray to snap into place a little bit, it's friction fit.
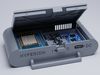
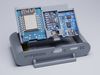
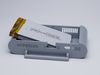
I suggest soldering things out of the case and using the case/tray as a reference towards wire length, you want to keep your wires rather short like this:
Excess wire length may cause issues with the fit, however there should be more than enough space for wires in the case. You don't have to make them extremely short just keep it manageable.
The Switch
After printing the switch the bottom layer of the hole might be a little too tight due to elephant's foot or squish.In this case you can take a hobby knife or similar and slightly open that first layer up a little bit.
The Lid
To install the lid it is best practice to place the lid on the case at an angle with the back side first (vents) so that the notches align. Then lower the front and snap it shut.To remove the lid again place a fingernail or a pry tool between the lid and the power switch and pry upwards, the lid should snap open.
The Strap
The strap is meant to be run underneath the tracker, otherwise the powerswitch will be obstructed.
Links
Here are some useful and fun resources:
Contributors
I want to put out a sincere thank you to all the people that have helped and tested/measured out various items for this project.
Thank you: Pjesek, Dinnerbone, Don, Sythe, CalliePepper and Lemming.
Contact
If you experience any problems with your Hyperion or have any questions/suggestions?Feel free to reach out through either Discord I'm [@Smeltie#1999](https://discord.gg/SlimeVR) on the official [SlimeVR Discord server](https://discord.gg/SlimeVR).You can also shoot me an email: [SmeltieVR@gmail.com](mailto:smeltievr@gmail.com)If you want to help out with the project or have/want to make a version for a different set of hardware you're more than welcome to send it over or do a merge request!
License
This project is licensed under the MIT license.