Discover the right offset value to make your parts model to fit!
Have you ever printed or designed a 2+ parts model to make it fit together and after printed you realized it doesn't fit?
With this little tool you can find the right offset/gap value in milimeters, between parts so you can design your model parts to fit together without post processing parts (sanding). This tool discards the use of any software or slicer to try discovering the correct offset value.
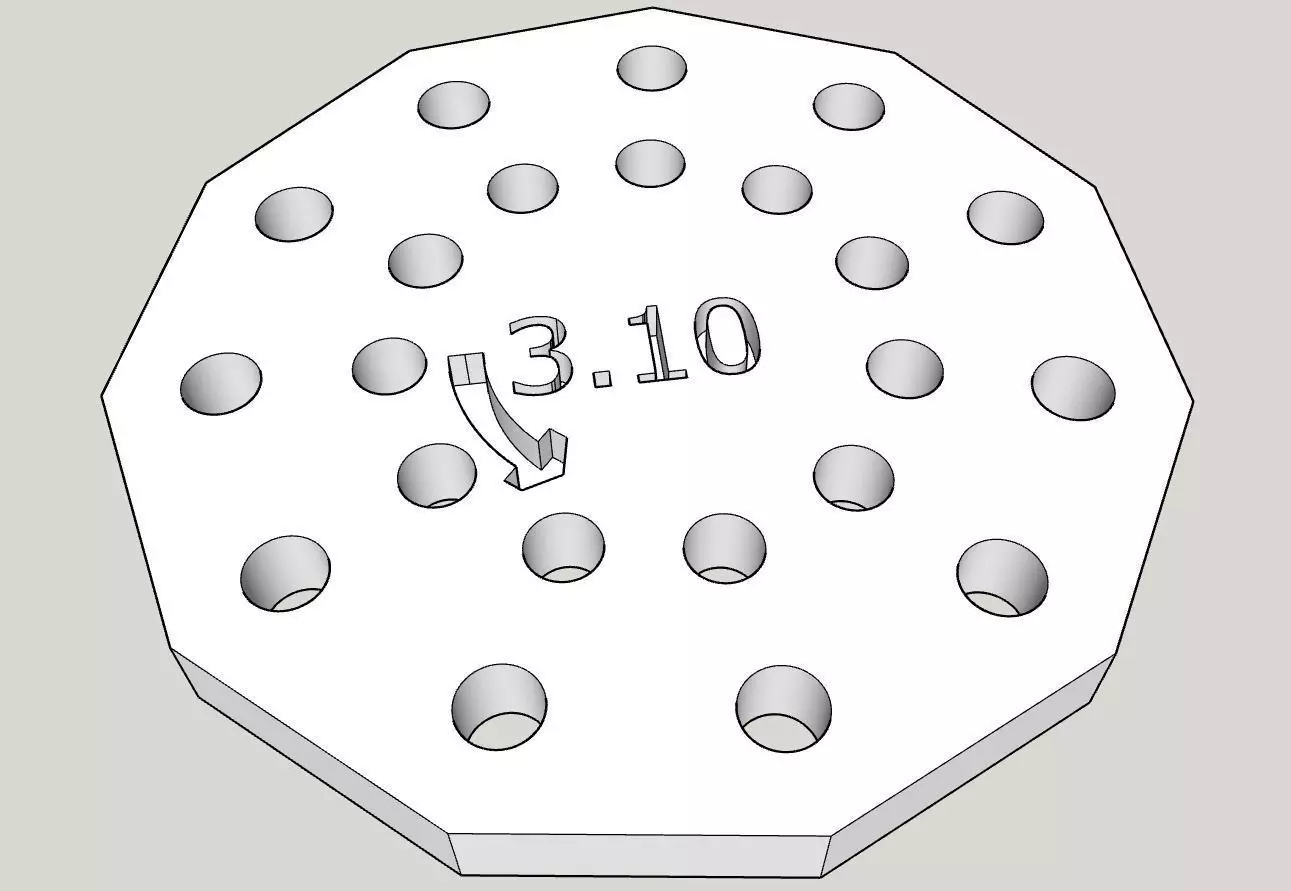
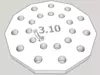
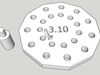
It consists of 2 pieces:
- A male pin that have a smaller diameter of 3mm.
- A base/plate with 22 holes with increasing diameters. the smaller hole has 3.10mm and each hole increases its diameter by 0.02mm until the biggest hole, 3.52mm.
The values increases as: 3.10->3.12->3.14->3.16->3.18->3.20->3.22->3.24->3. 26->3.28->3.30->3.32->3.34->3.36->3.38->3.40->3.42->3.44->3.46->3.48->3.50->3.52mm
How to use:
- The smallest hole (3.10mm) is the inner hole located at the LEFT side of the number 3.10 (in the plate) or base of the arrow.
- The outter hole at the LEFT side of the 3.10mm hole is the 3.32mm hole.
- The increase in hole sizes occurs in the anti anticlockwise way, so the inners holes goes from 3.10mm to 3.30mm and the outter holes goes from 3.32mm to 3.52mm.
Insert the male pin at the holes. try first at the bigger holes, decrease and try inserting it each time in smaller holes until the male pin fits tight to a specif hole
Example: If the male pin fits tight in the 3,20mm hole and is the smallest hole which it can be inserted, so 3,20mm minus 3mm (male pin) equals to 0.20mm. At this example 0.20mm is the offset value that you should use to design you model parts to fit.
Realize that with this tool you will find the correct offset value according with different printers, configuration, temperature, filament brand or filament type your models parts will have different offset value.
Printing recomendation/tested for the tool will vary according with your filament type:
- Use infill porcentages of 0% for both male pin and plate holes.
- To print the male pin I suggest you to print 2 units placed with a big distance between them and using cooling fan, this way each layer will have enough time to hardening/cooling layers to get a better resolution/quality for the male pin.I will be avaliable in case of any doubts. Thanks