If you are in need of product design services for your business, or just need a custom personal model created, feel free to reach out. I offer CAD services for 3D printing product design.
unreal3ddesign.com
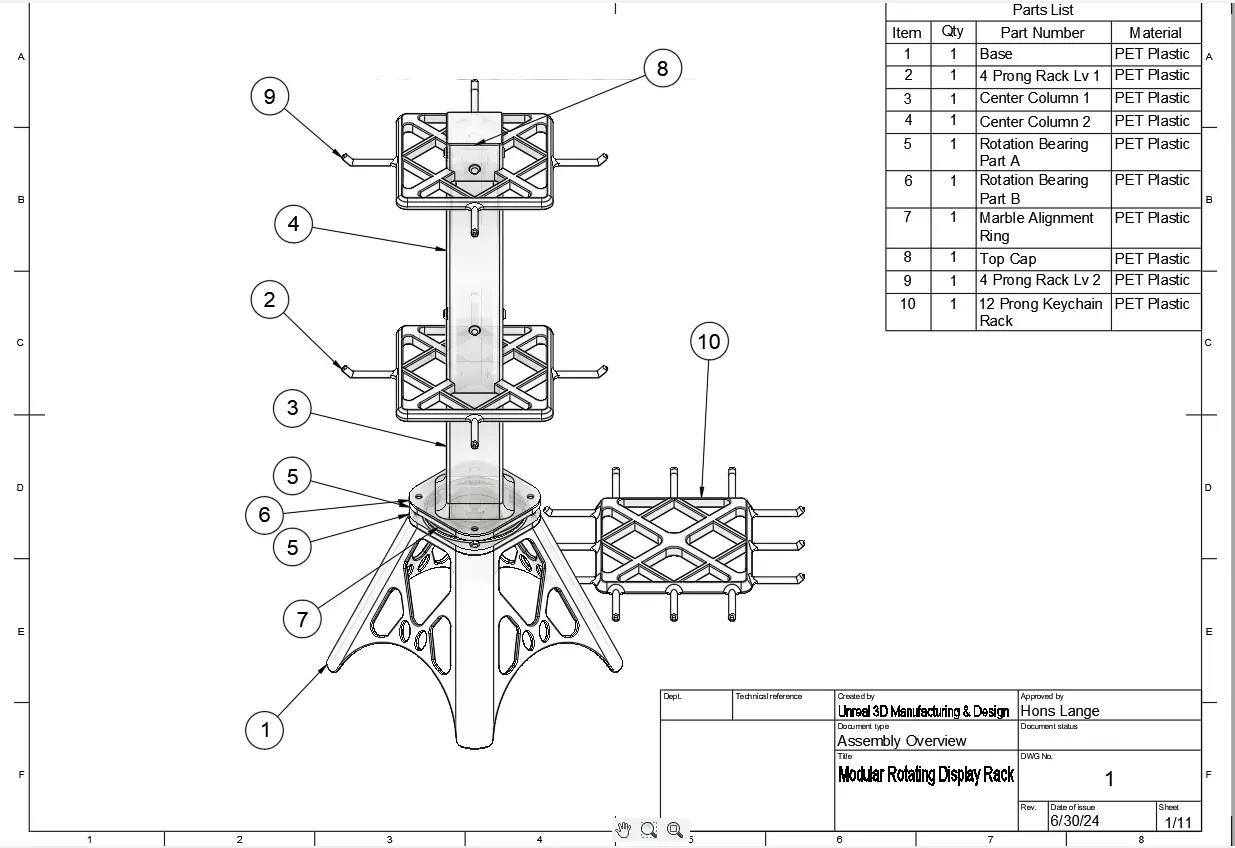
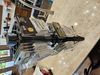
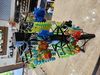
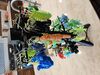
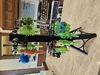
This is a modular rotating display rack for anything that hangs on 5" header cards, or keychains.Really you can hang any product that will fit, but for my purposes it was designed for header cards and keychains. A lot of the keychains I sell are very long, so I was sure to account for that as well as the length of the cookie cutters I need to hang on them. I also made sure all pieces could be printed within a 250x250x250 build volume (I printed in on the Bambu Lab X1C, everything fits easily just not all at once of course.)
Just swap out the rack pieces for different uses.
I made 3 different versions of the base with different pattern cutouts, just for fun. And to leave some options for style, material consumption, weight, and printability. Base v3 should be printable with no supports, though I have only tested the other two versions.
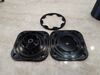
The veroni petterned base looks neat but it is not very practical because it uses more material for the same result, more print time, and needs a lot of supports. But it does look nice.
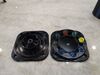
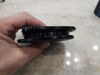
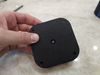
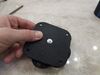
The rotation bearing requires 1 center bolt to tie the two pices together. It should be any kind of 5mm diameter bolt, length is actually not that important as long as it is long enough to catch the nut and tie the two pieces together. You will also need 8 marbles, approximately 15.8mm in diameter.
Tighten center bolt nut to desired tightness, then add a small dab of super-glue to the top of the nut so that it goes into the threads to lock it in place.
Part A and B of the rotation bearing should easily rotate freely while the glue prevents the nut from coming loose.
From there, use 5mmx8mm hex head machine screws and nuts to secure the Base to the rotation bearing, and Center Column 1 to the other side of the bearing.
Then slide one of the racks down onto Center Column 1, then Center Column 2 snaps onto Center Column 1.
Then add another rack on top of Center Column 2.
Top Cap snaps onto Center Column 2, holding the top rack in place.
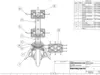
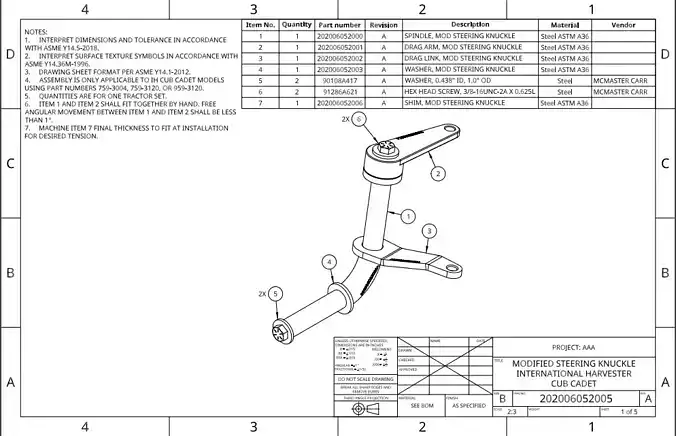
See technical drawings in zip file for references.