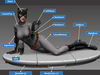
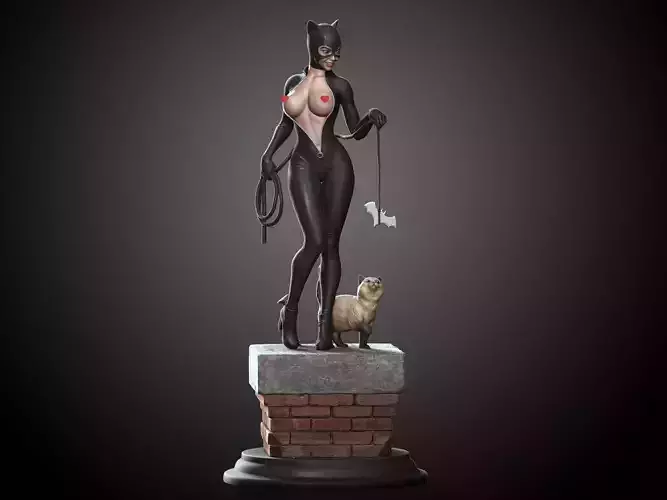
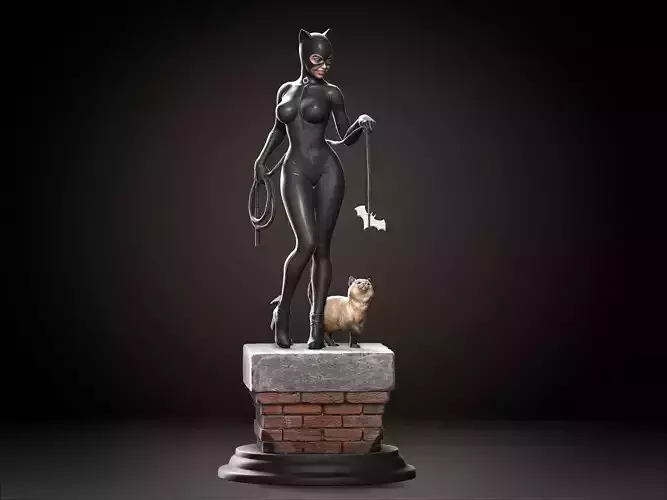
STL Scale is in mm, & at 1:6 scale (default).
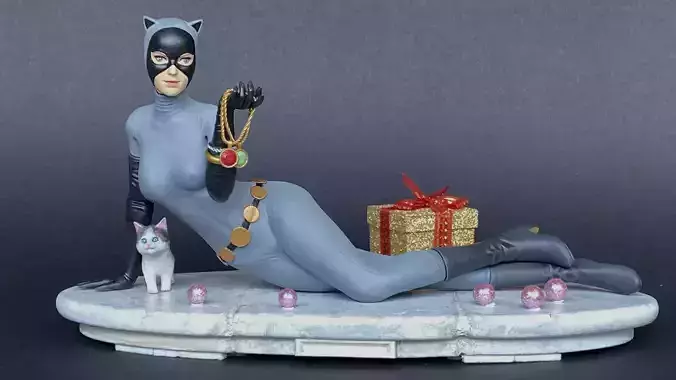
Height is 13cm, length is 28cm & depth is 6cm at 1:6 scale without the base.
Height is 16cm, length is 30cm & depth is 14cm at 1:6 scale with the base.
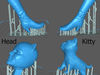
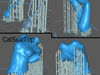
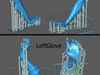
Model is splited into pieces for easy painting and printing for most resin & FDM printers. The necklaces maybe tricky for FDM, but they are optional.
You can hollow the pieces (for SLA) to save material & weight, as you wish. I printed without hollow, but you do you. Hollowing is NOT recommended (& unneccesary) for FDM, and may result in unwanted spahetti
The longest piece is the CatSuitBottom at 12.83mm long. But it can be printed at an angle which will make it easily shorter than 100mm in any direction
The base is optional. The catwoman model (when fully assembled) as well as the kitty do not need base support. You can make your own base, or no base if you so wish.
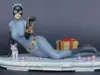
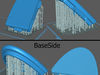
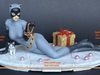
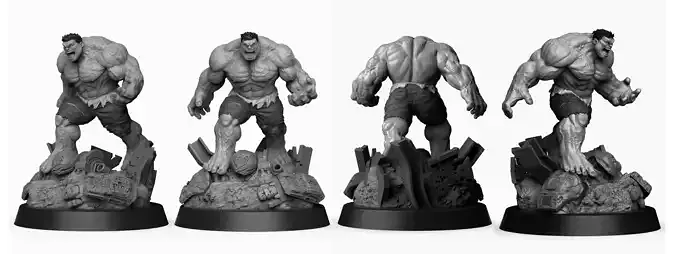
See Chitubox screenies as a guide for orientation. Using default supports & raft & add additional supports as needed will do fine. The model has been separated into easily printable parts. As long as you orientated parts at about 30/45 degrees as shown in the Print reference pictures (even if you use other slicers like Lychee), you should be fine.
The orientations should work fine on FDM as well.
However, these are only guides, which work well with my Printer. If you find better print orientations, and better support, feel free to use them.
Assembly:
File/sand off to remove material for the joint pins (if too tight) or glue/paint/putty them (if too loose) as necessary. They are designed to be slightly loose so filing/sanding should be minimal. Superglue (preferably watery type like Army Painter super glue) should work well if too loose between parts.
For my reference model, I glueed only the CatsuitTop & BatsuitBottom, & fill the gaps with plastic putty. Rest of the body parts are fixed without glue. Some filing was used on the arms. On the boots, fitting were a bit loose (on my model), & I simply use some masking tape to thicken the fitting joints before attached them to the CatSuitBottom.
If you decided to print the base, I suggest glue them together with generous amount of super glue. Give it a day or so time to dry , before prime & paint.
Painting.I suggest priming & paint the pieces separately before assembly, except for the CatsuitTop & bottom, which I glue before prime & paint.. Then assembled them, then do final touch up if needed, & end with a clear coat. Or you way prefer clearcoat before assembly...You are Picasso, paint how you wish.
That's about it, I hope you enjoy
Technical Info in Chitubox that I used:Machine: Elegoo Saturn SResin: Anycubic Grey (Basic), 405nmPrint Setting:Layer Height 0.025mmBottom Layer count: 5Exposure Time: 2.5sBottom Exposure time: 40sTransitional Layer Count: 10The rest of the setting is defaultSupport Setting: Raft Shape; SkateHeavy support(everything else is default)