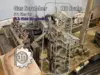
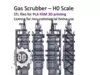
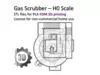
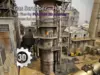
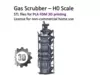
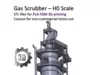
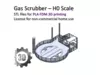
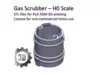
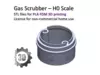
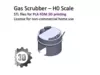
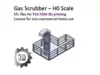
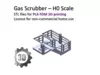
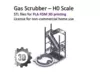
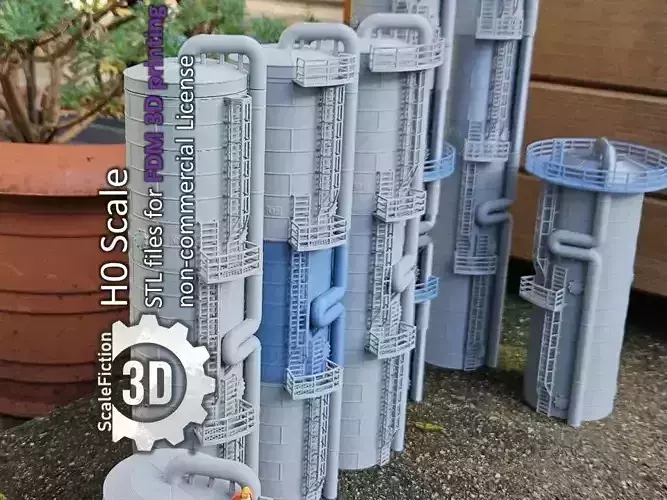
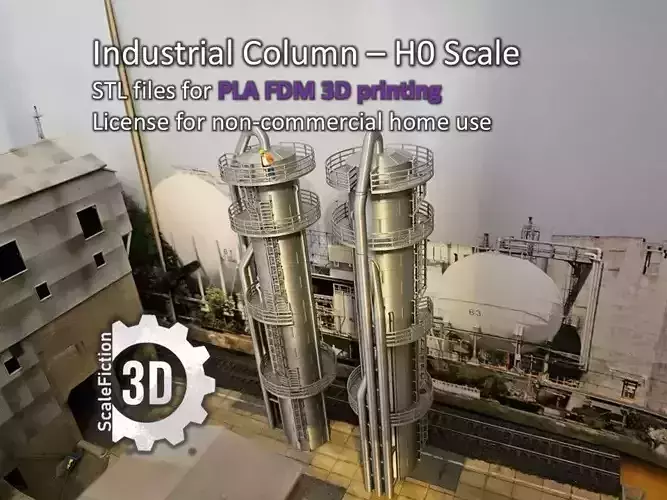
This highly detailed model represents a large industrial gas scrubber used in chemical and steel industries. It is inspired by a scrubber from the Henrichshütte steelworks in Hattingen, Germany, and scaled for H0 (1:87) model railways.
The prototype is located at the following coordinates: 51.40614436904404, 7.188088590482007You can use an online maps service to check it out.
The final model measures approx. 450 mm in height with a footprint of 105 mm x 75 mm, representing a 30-meter tall industrial structure in real scale.Weight of the assambled model is about 0.7lbs (330g) .
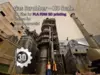
With this STL file set, you’ll get a high-quality model with minimal effort. Aside from printing time, assembly takes just a few minutes — so you can focus on the fun part: realistic painting!
• You can have your own high quality detailed model — no need to invest in overpriced kits from mass manufacturers that require 50+ hours of assembly, before you even get to the painting.
• Designed for enthusiasts who value results over complex assambly , this set gets you printing, building and painting fast.
• Printtime on my P1S was about 25h for all parts!
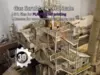
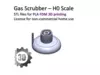
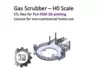
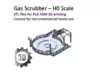
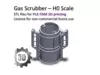
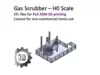
Features:• 17 STL files, segmented for easy printing and assembly• Modular design with internal channels for structural assembly using threaded rods• One central module can be omitted or duplicated to vary the height by 35 mm• High detail level including valve wheels, ribbed motors, platforms, and stairways
Assembly System:• The model is split into 16 sections for printing.• For easy assembly, 15 of the parts are equipped with aligning pins. This allows almost all parts to be stacked in the correct orientation and alignment in less than two minutes.• Internal 6.5 mm channels are designed for M6 or ¼-inch threaded rods. I reccomend to use this optional feature for increased stability.• In some cases, ¼-inch rods may not fit perfectly through the holeso If so, simply drill out the channels with a power drill to the correct ¼-inch diameter for a clean fit• Allows simple stacking of parts for dry fitting, painting and later permanent assembly.
FDM Printing Instructions:• Exclusively designed for FDM printers• 0,4mm Nozzle recommended• 0,2mm Layer• No supports required• All parts are designed to be printed flat on the print bed (underside down)• Use standard PLA filament for optimal results• A brim or skirt may be useful for better bed adhesion depending on printer• For parts with staircase and walkways:o Disable top and bottom layerso Use ~65% grid infill to simulate realistic grated metal floorso Note: grating is achieved through slicer settings, not modeled geometry• This is an advanced print—some experimentation may be needed to optimize appearance
Painting Tips:• Assemble the main tower on rods before painting• Paint stair and platform sections separately• Suggested base coat: silver or metallic grey• Airbrushing is strongly recommended for realistic weathering effects• Apply sepia wash and drybrushing to platforms, stairs, and railings• Avoid washes on large outer walls to reduce visibility of print layers
Note: This is a digital product. No physical items are included. Scenery and background elements in example images are not part of this model.