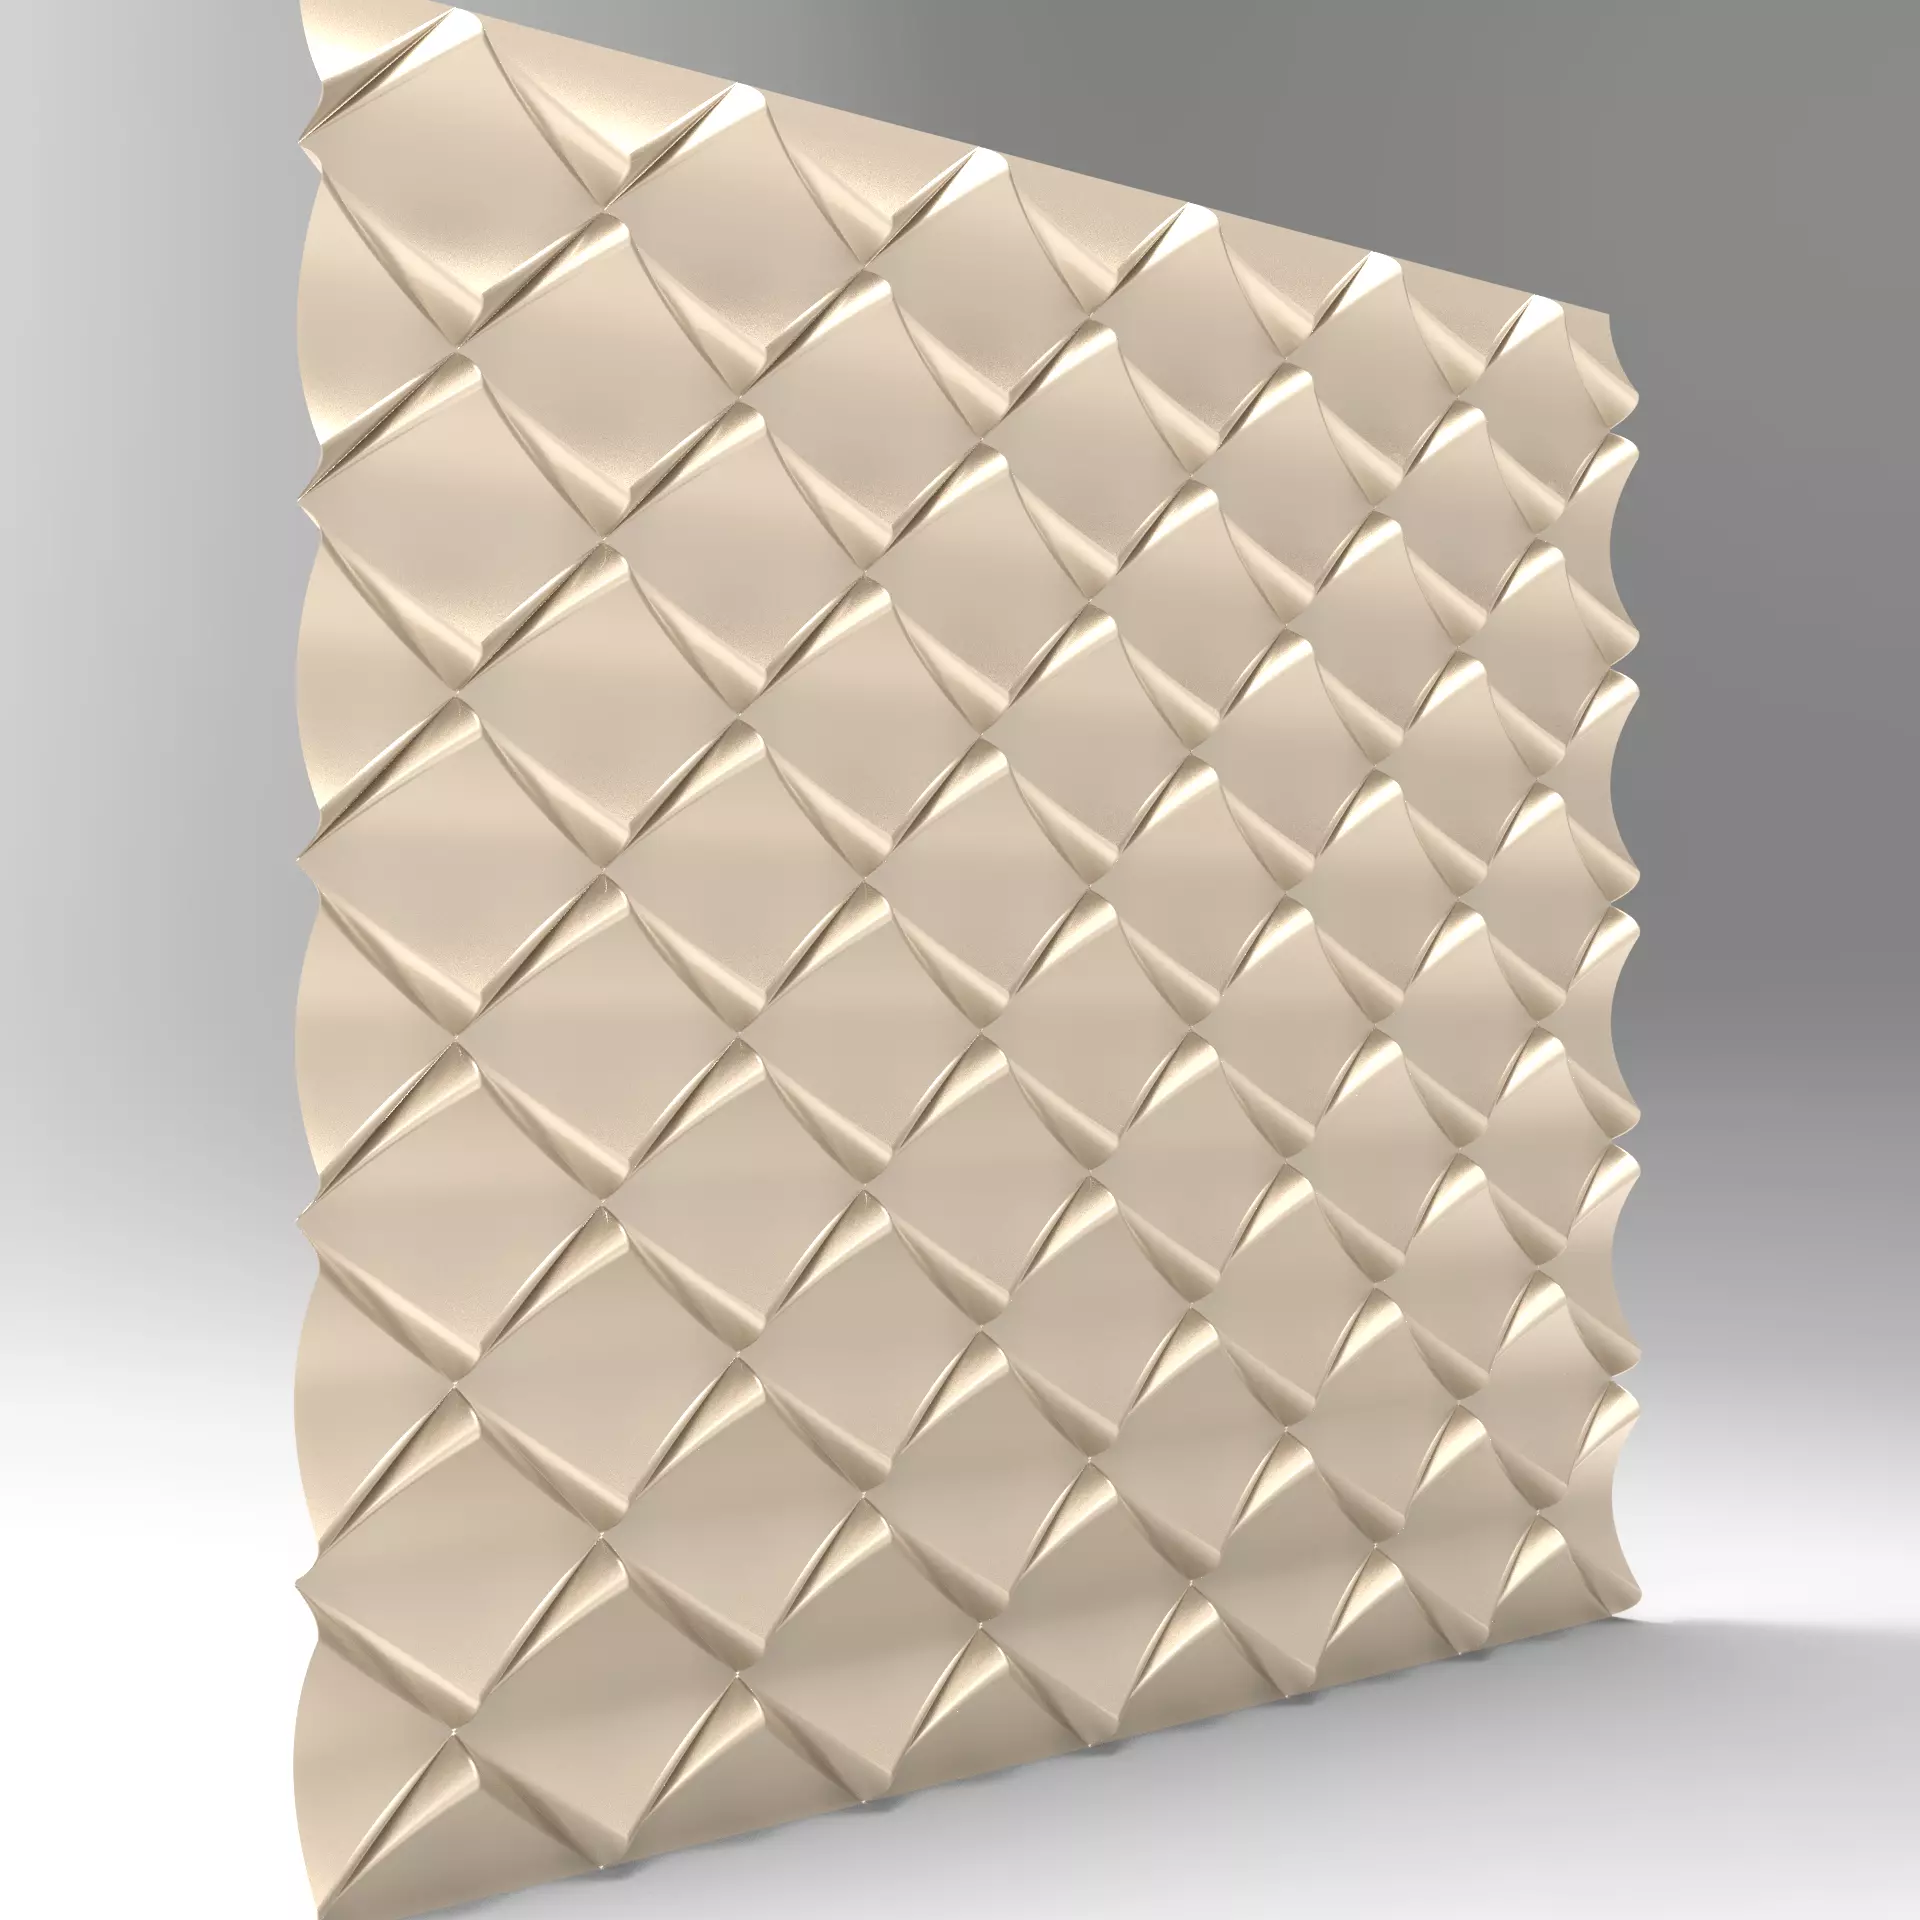
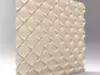
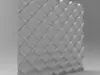
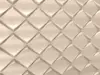
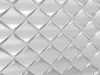
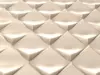
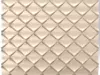
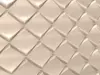
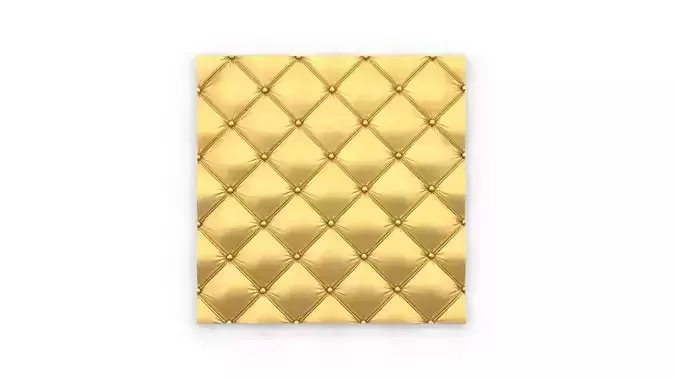
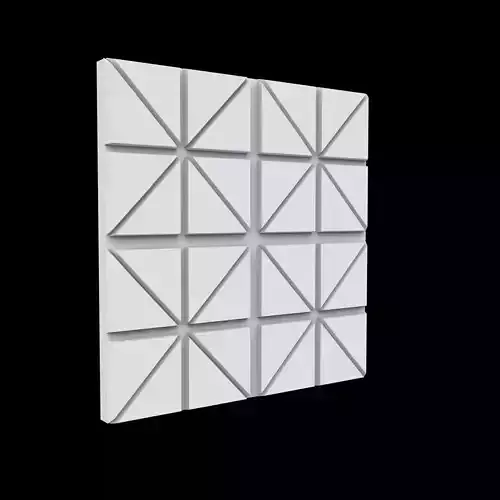
3D model descriptionLuxury 3D Diamond Quilted Wall Panel Model – CNC & 3D Printing Relief FileElevate your interior with this stunning diamond-quilted 3D wall panel design! Featuring a deep, geometric diamond pattern with wavy edges for a premium, luxurious look. Perfect as an accent wall, headboard, furniture inlay, or modern art piece.Key Features:
High-detail relief for dramatic light & shadow playSeamless tiling – repeatable pattern for any wall sizeOptimized for CNC routers (wood, MDF, foam) and 3D printingMultiple professional formats included: STL, OBJ, STEP/STP, Parasolid (.x_t), SolidWorks native files
Instant digital download – start creating today!Ideal for home decor, commercial spaces, hotels, studios. Scale & customize easily.#3DWallPanel #CNCFile #DiamondRelief #QuiltedPanel #WallArtModel #DigitalSTL #CNCWoodworking
Manufacturing settingsThis is a high-detail 3D relief model optimized for CNC routing (wood, MDF, foam) and 3D printing. It can also be adapted for laser engraving (limited depth). The wavy edges and diamond-quilted pattern create beautiful light/shadow effects – perfect for accent walls, furniture, headboards, or art pieces.General Notes:
The model is seamless and tileable – duplicate and align panels easily for larger surfaces.Scale the model as needed in your CAM/software (e.g., Fusion 360, Aspire, VCarve, Cura).Always do test cuts/prints on scrap material first. Settings vary by machine, material, tool, and spindle power.For best results: Use sharp tools, good dust extraction, and climb milling where possible.
CNC Routing (Recommended for Wood/MDF – Deep Relief)Material: MDF, plywood, solid wood (softwoods like pine work great; hardwoods slower).Tools:Roughing: Flat end mill (6-12 mm / 1/4").Finishing: Ball nose or tapered ball nose (6-12 mm, smaller for finer detail).
Roughing Pass Settings (example for MDF, 1/4" bit):Spindle RPM: 12,000–18,000 (adjust for your machine).Feed Rate: 1500–3000 mm/min (60–120 IPM).Plunge Rate: 500–800 mm/min.Depth per Pass (Stepdown): 1–3 mm (max ½ tool diameter for safety).Stepover: 40–60% of tool diameter (faster roughing).
Finishing Pass Settings (for smooth surface):Stepover: 5–15% of tool diameter (8–10% ideal for minimal sanding; e.g., 0.5–1.5 mm for 12 mm bit).Depth per Pass: 0.5–1 mm.Feed Rate: Slightly slower for clean finish.
Tips: Use multiple depth passes for deep relief. Aim for scallop height <0.1–0.2 mm to reduce sanding. MDF produces dust – use strong extraction!
3D Printing (FDM – Good for Prototypes or Small Panels)Layer Height: 0.1–0.2 mm (lower for finer diamond details; 0.12–0.16 mm sweet spot).Infill: 15–30% (gyroid or cubic for strength).Wall Thickness/Perimeters: 3–4 walls (1.2–1.6 mm) for durability.Print Speed: Outer walls 40–60 mm/s; inner/infill 80–100 mm/s.Supports: Usually not needed if oriented flat; add if printing raised parts.Material: PLA/ABS/PETG; paintable for final finish.Tips: Export STL with high resolution (chordal tolerance 0.1 mm, angular 1°). Print large panels in sections and glue/assemble.
Laser Cutting/Engraving (Limited – Best for Shallow Relief or Cutting Outlines)Material: Thin MDF/acrylic (up to 6–8 mm for cutting; engraving on thicker).Power/Speed: Depends on laser wattage (e.g., 40–80W CO2):Engraving: 50–80% power, 200–400 mm/s, multiple passes for depth.Cutting: 80–100% power, 10–30 mm/s (test for clean edges).
Tips: Laser is better for 2D patterns or light engraving – full 3D relief is challenging due to depth limits and charring on MDF. Use air assist to reduce burn marks.
If you need custom adjustments (e.g., for your specific machine/material), feel free to message me – happy to help optimize!