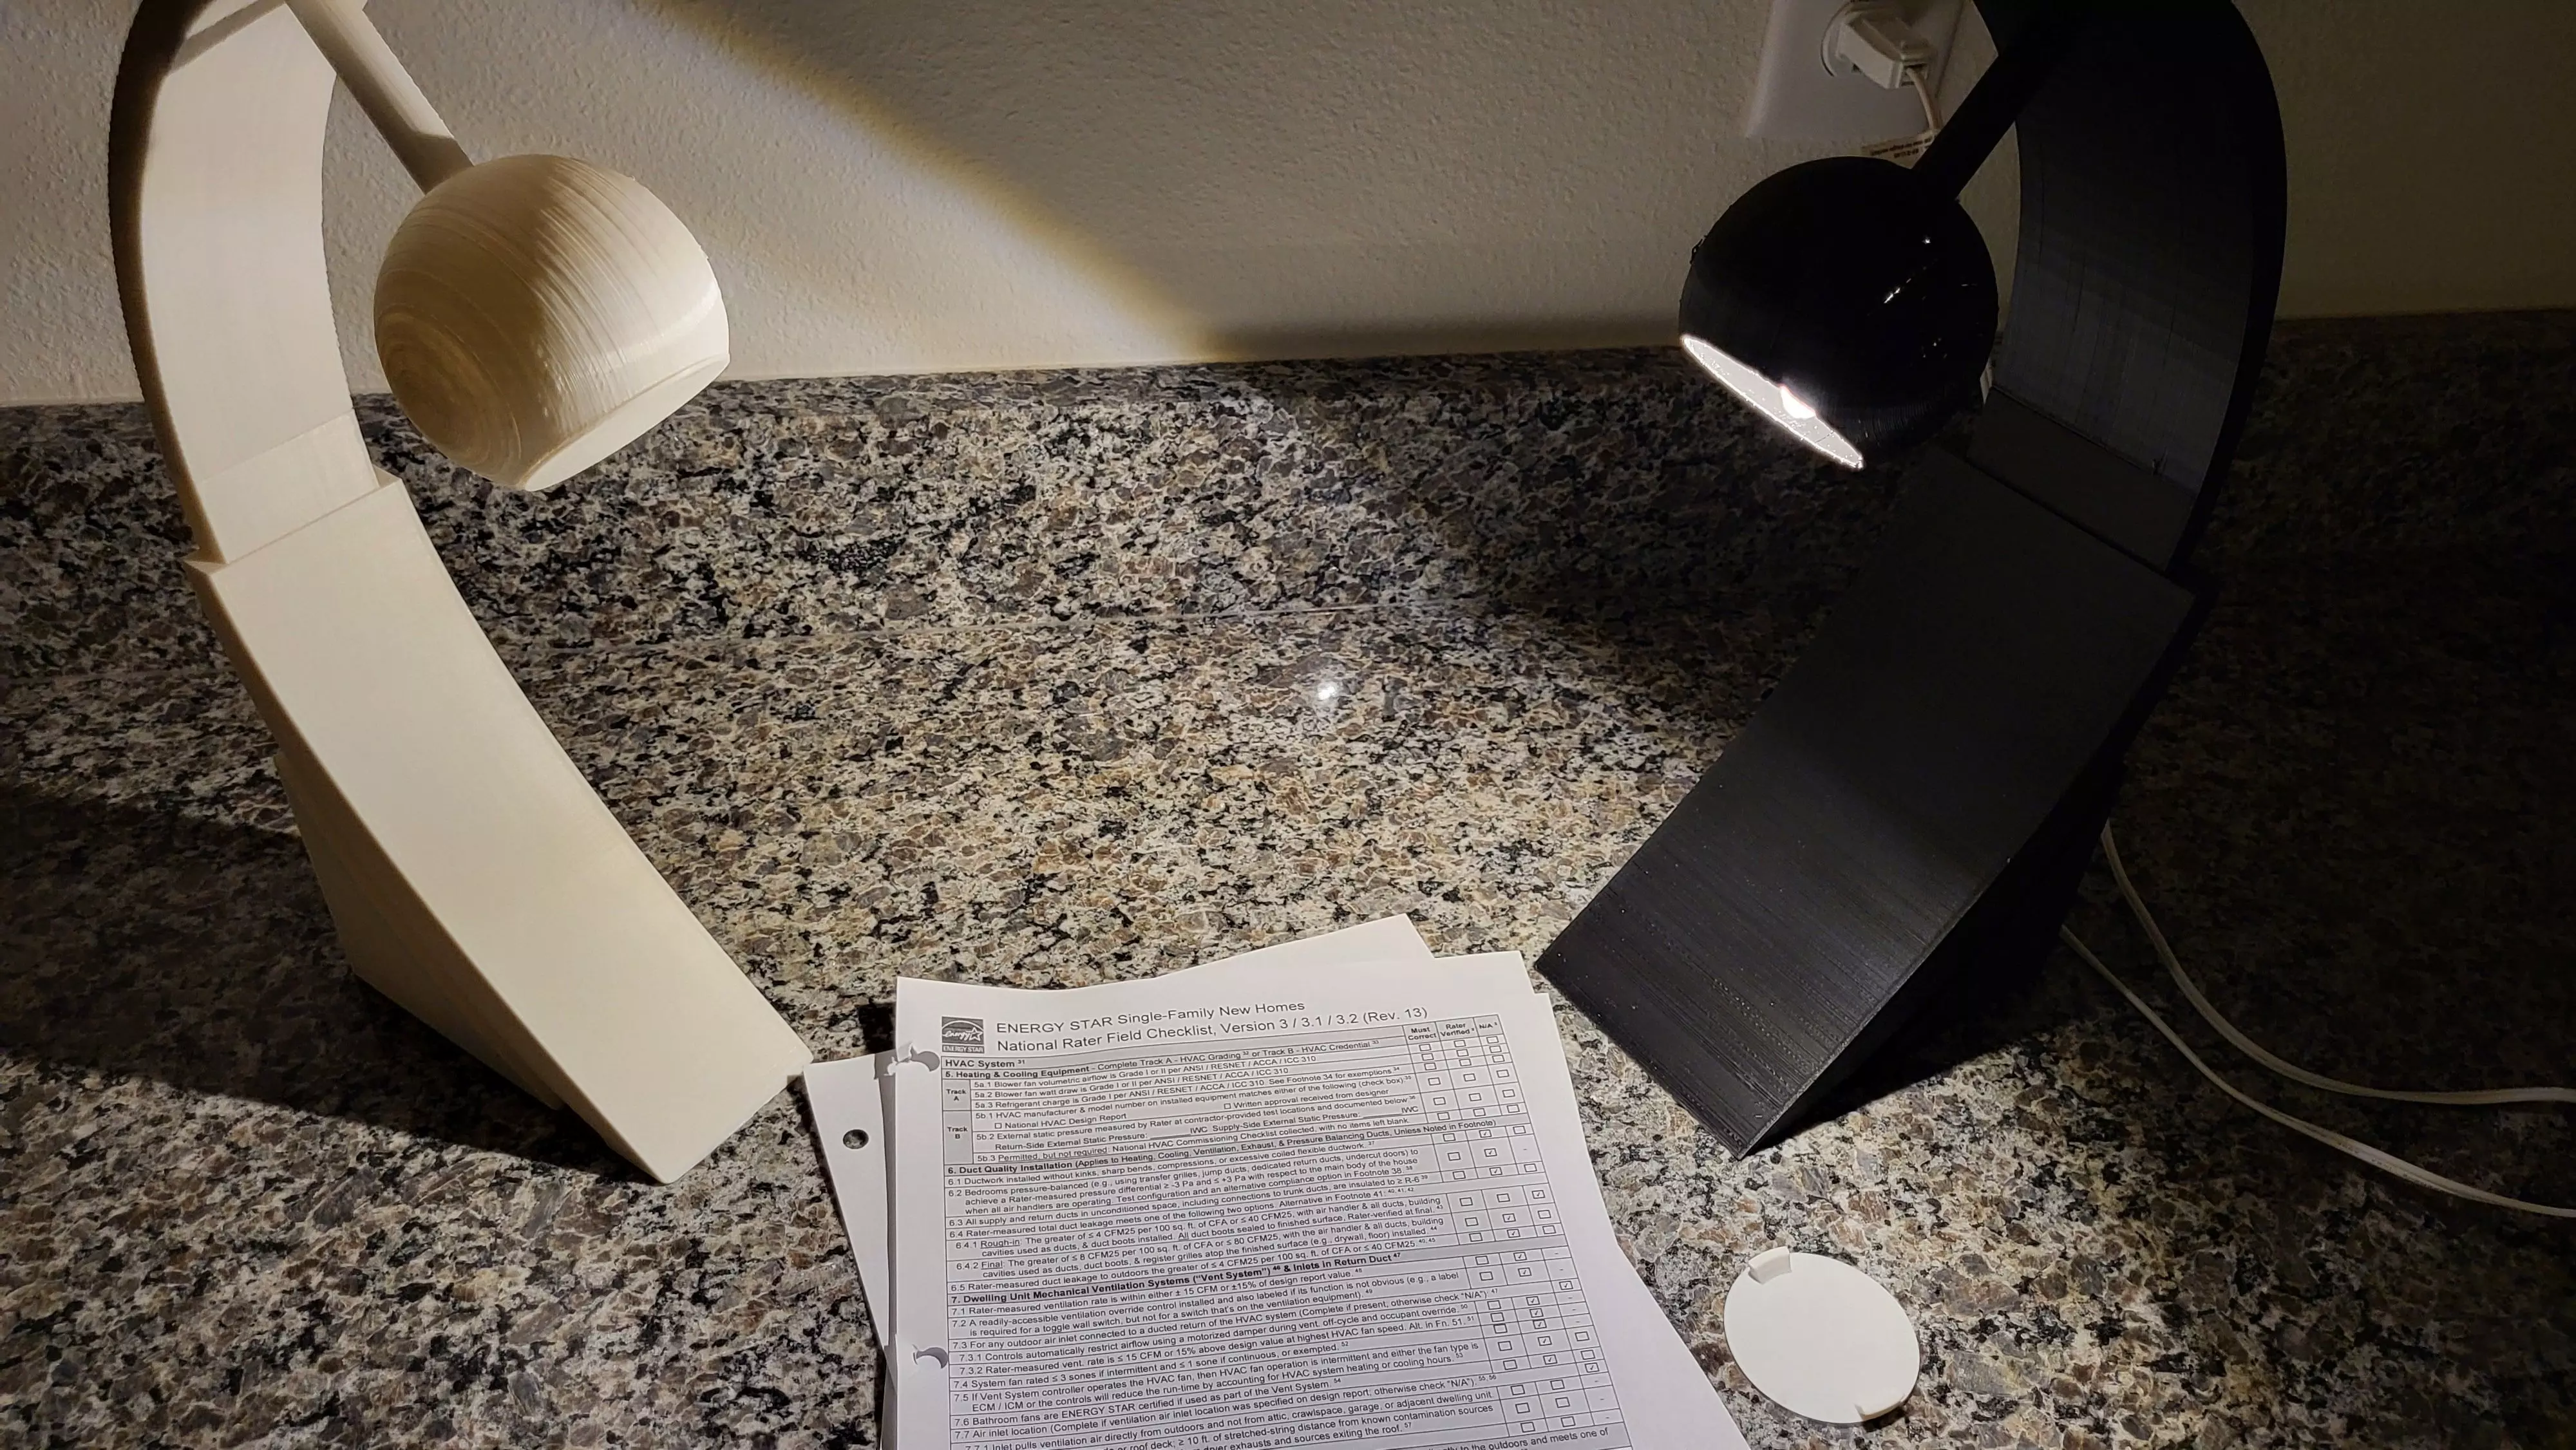
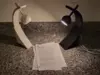
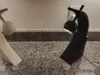
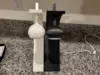
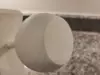
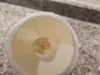
Geth Table Lamp
Comes in two styles: a thin profile and a wide profile.
Please share your makes!
If you print these in a lighter color close to white or cream, ensure that you use 100% infill for the top half to prevent light from penetrating the material.
If you use darker colors, this should take about 24hours for the bottom halves for each style, and about 16 hours for the top halves.
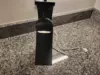
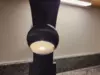
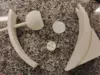
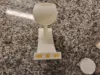
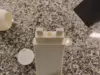
To install the lamp cord, disassemble it to slide it into the channel located on the back of the bottom half, and slide it up until it comes out of the lampshade portion of the top half. (You can assemble both halves or keep them separate to complete this step, whichever is easier for you.)
Then reassemble the cord, without the metal part, and pop the bulb cup into the receptacle. Ensure that the sharp contacts are placed in the same incisions in the tip of the cord. (You may want to glue this in place to keep it from moving around.)
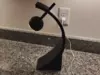
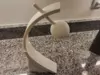
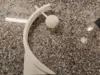
Then screw in the bulb and pop the lens into the top half to complete the lamp.
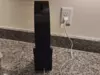
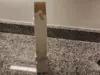
For the final step, fill the lamp base with sand or another weighty material to make it more stable and screw in the plug.
Cord with One LED Light Bulb Lamp Kit: https://www.amazon.com/dp/B09F2KPKKT?ref_=ppx_hzsearch_conn_dt_b_fed_asin_title_1
If the lamps stop working, it's more than likely the fuse located in the cord plug. Replace these with off-the-shelf fuses at your local hardware store.
LED Bulb Warm White 3000K: https://www.amazon.com/dp/B07ZGDNSB2?ref_=ppx_hzsearch_conn_dt_b_fed_asin_title_15&th=1
3D printing settingsLens: .1mm or less layer heightThe lens should also use white, off-white, or clear filament for maximum light transmission.
Top and bottom halves: .2mm or less layer height (if you have a quality printer or great slicer settings, you can go higher)
Bottom Half sand plug: 0.2 mm or less (If you want the plug to fit more snugly into the threads, you can increase the scale by up to 5%).