Had to make some adjustments to print on a high-speed FDM printer. But otherwise it printed just fine.
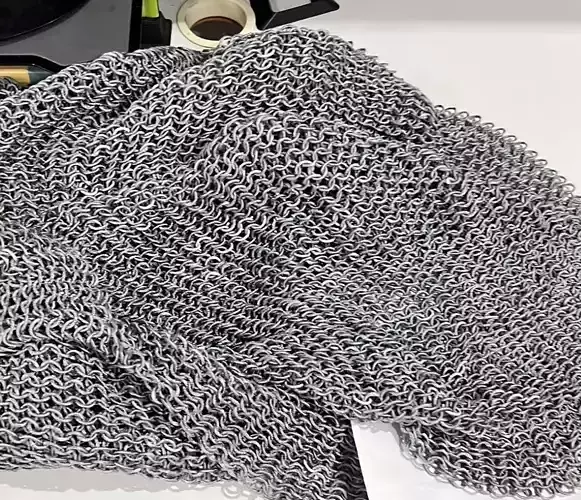
After some trial and error figuring out what filament to print this with (esun silver Pla+) printed out like a charm. I tried with Silk pla (clogged extruder) and PETG (rings stuck together too much). Ring breakage is minimal if you are careful separating the layers
So, these files are definitely not for the faint of heart or poor calibration. All my attempts thus far with PETG were failures, possibly due to the lack of cooling that is inherent with PETG and the number of small moves. My first attempt with PLA was much better though. I have only done one section so far, but it was the largest and only I broke about 8 rings or so pulling it apart, but considering the density I'm quite impressed.
Absolutely INCREADIBLE design! I didn't have many expectation because I tried printing other free chainmail models before buying this one, and had no success what so ever.
But this worked absolutely perfectly.
I printed this on a Bambulab P1P and was able to translate all Settings provided by the pdf.
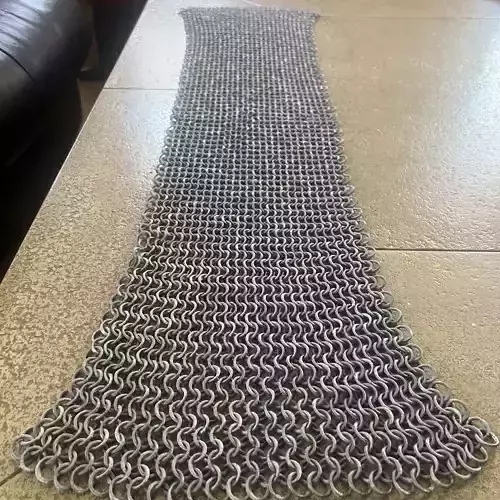
The stacking design is genius, you are printing multiple layers of interwoven rings, stacked on top of each other but easily separable. You will need to 'massage' and pull your chainmail quite a bit to separate all internal connection (or rotate the rings one by one if you like pain).
This basically releases the chainmail to about 1.6x its size when you take it from the buildplate.
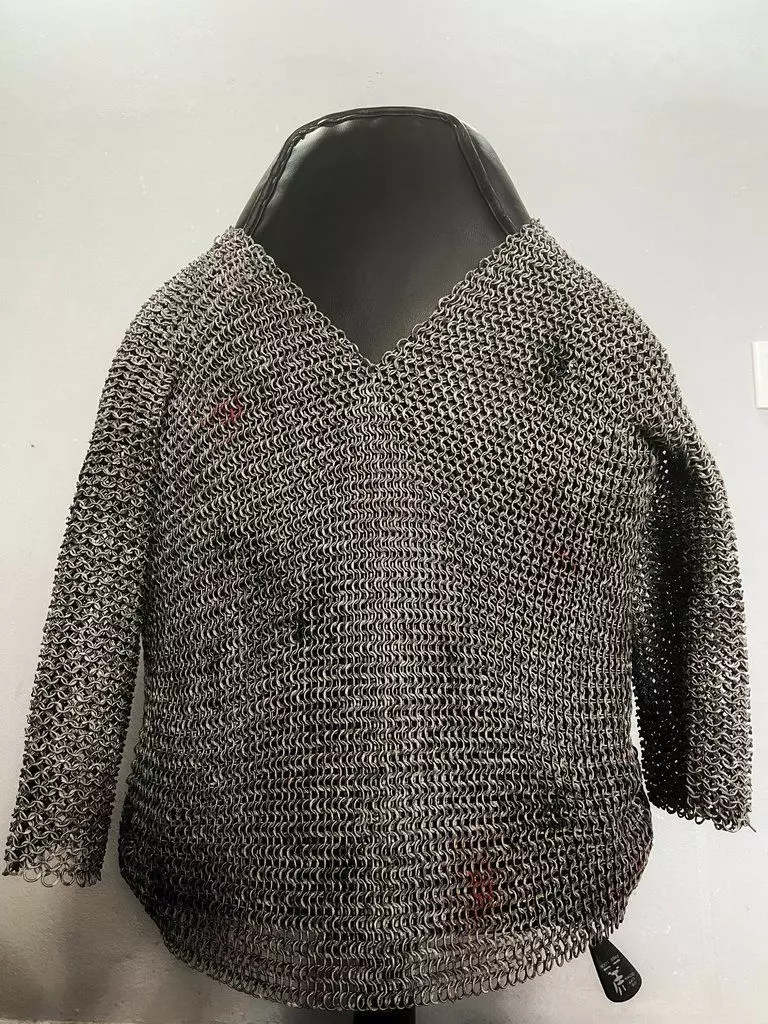
I printed it in kexcelled grey silk pla and it looks stunning.
I've never written a damn review for anything, but this model is just so far beyond what I thought was possible and soooo worth the 20 bucks, that I have to write this.
Gives me the same feeling as I had the first day I used a 3D printer. A sense of wonder what is possible with technology!
Thanks so much propsmaker!
Worked perfectly after some tweaking with the test print! Printed on Prusa i3 MK3 with silver PLA. Will be awesome to not wear 20kg chainmail on next larp! :'D