1/19
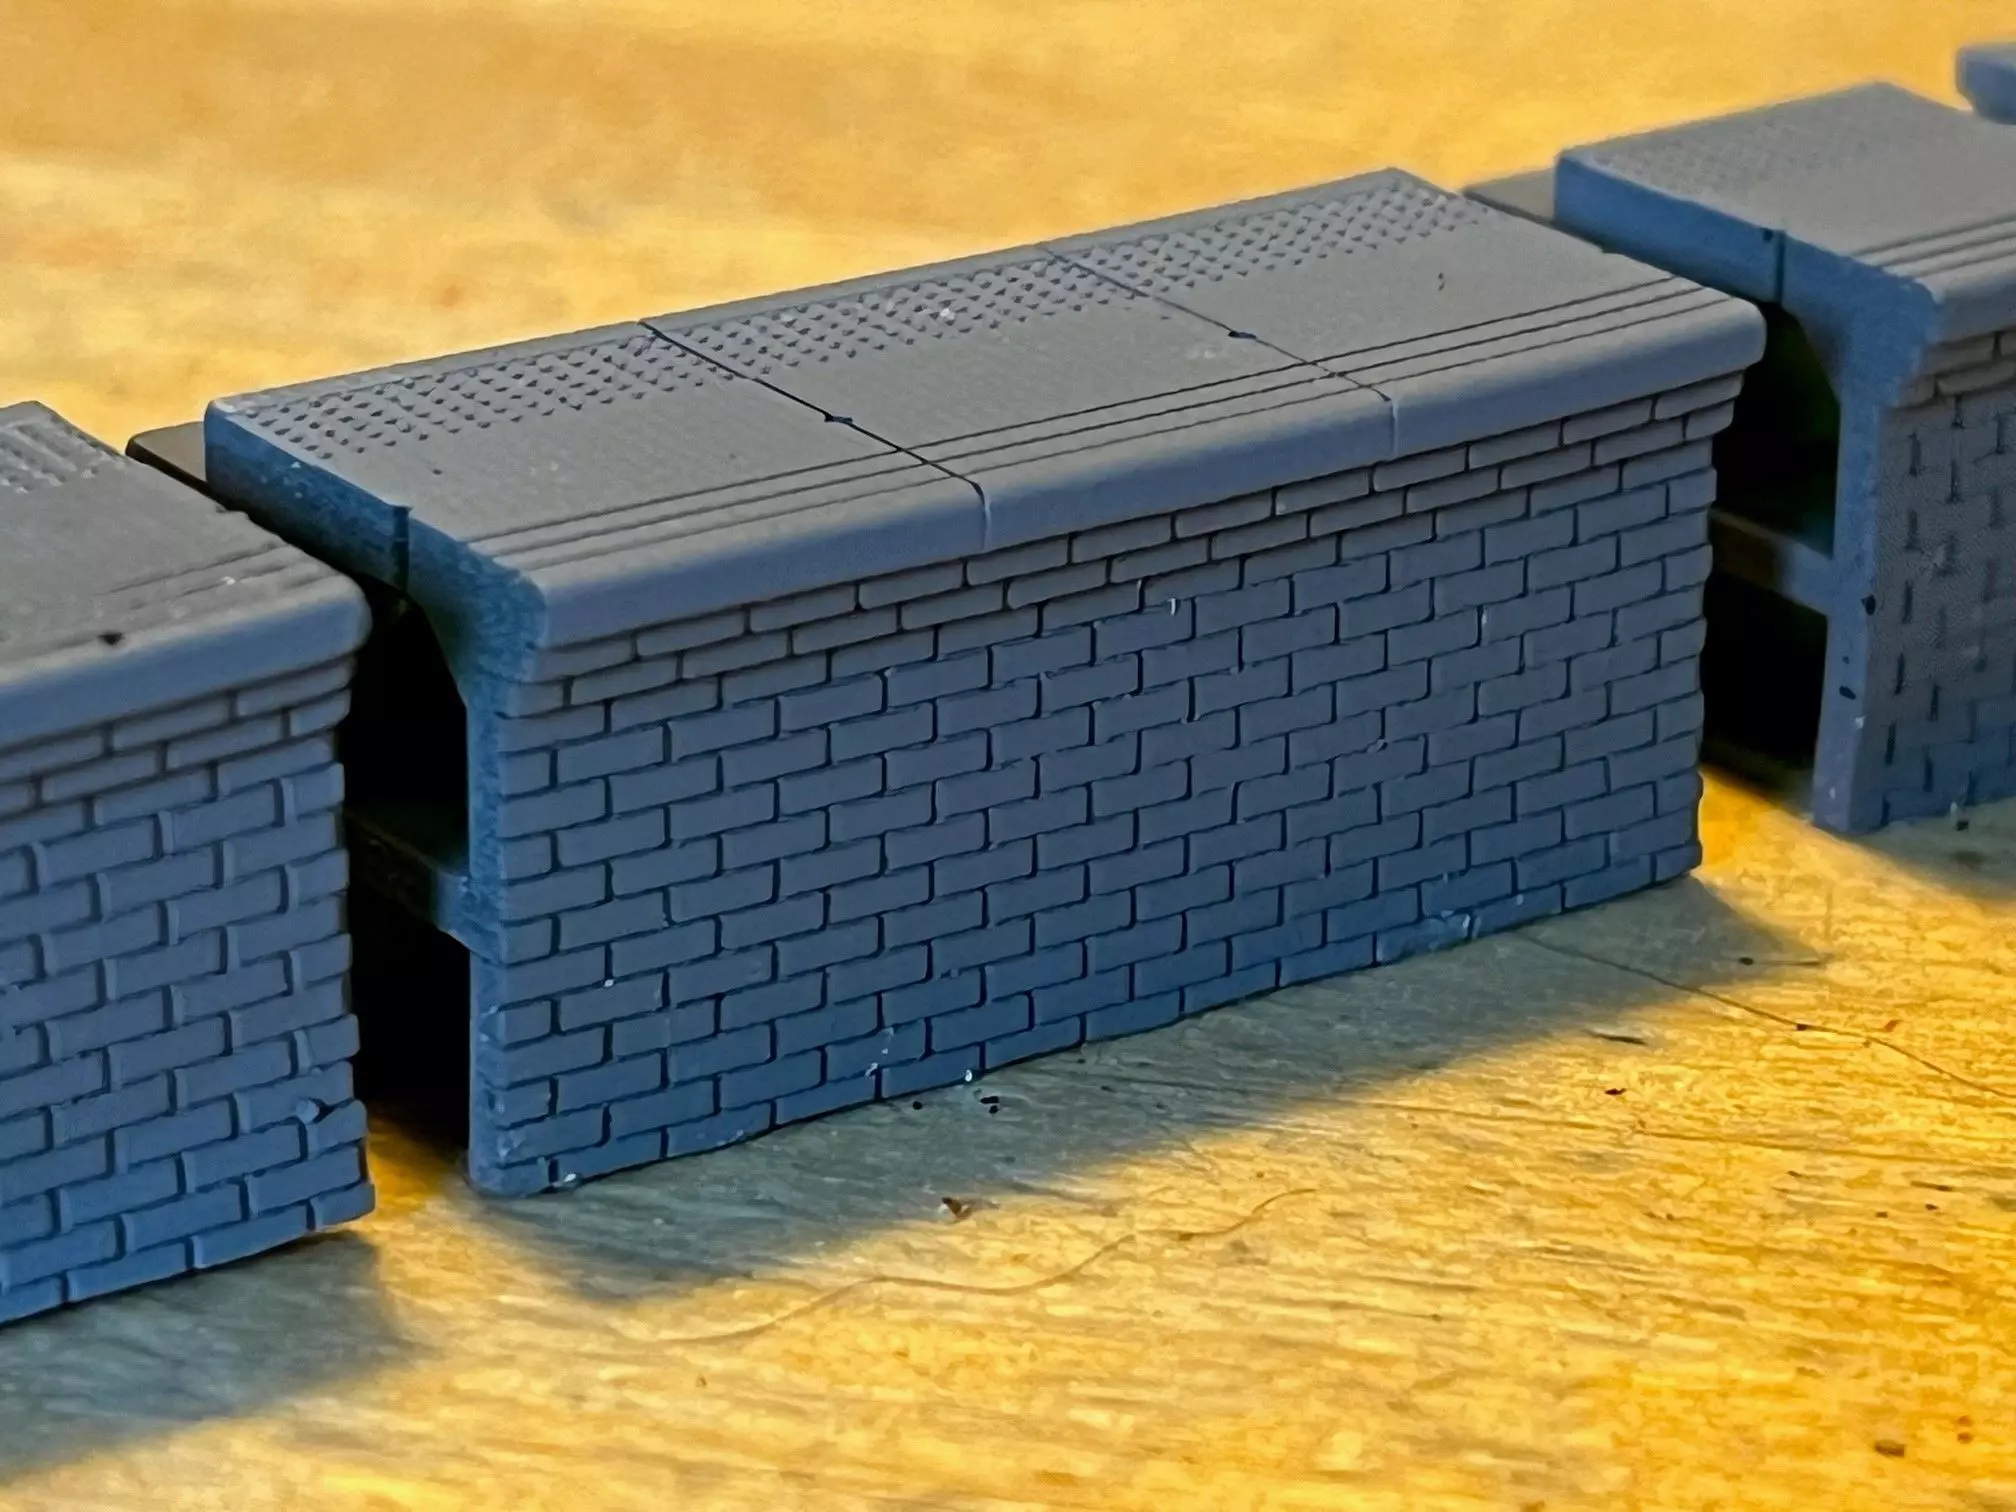
I have been looking at doing this for a while, the design is designed to be modular so you can make the edge of the platform as long as you require.
The design has been designed around a modern precast coping stone sitting on a brick wall. Due to the design, these are probably best for straight platforms but could be used on curved platforms if you think you can make it work.I have created a spacer between coping stones to define the coping stones. The design also has a 2mm recess behind the coping stone to help add platform infill or add a 2mm plastic card to bridge the gap.I would recommend laying this platform edging on a flat surface. The platform edging is 18mm high.Some filing and sanding may be required to get a good fit between each item.
The modular design consists of: 1: left and right platform end slopes (Angle 8 Degrees). 2: 12 coping stones in line with the brick wall below (Smaller printers may struggle to print this item within the print area). 3: 10 coping stones in line with brick wall below (Smaller printers may struggle to print this item within the print area). 4: 5 coping stones in line with the brick wall below. 5: 2 coping stones in line with the brick wall below. 6: 1 coping stones in line with the brick wall below. 7: 1 coping stone in line with the brick wall below (Without spacer between coping stones - This could be used to create curved platforms).
Designed at OO Gauge, 1/76.2 Scale.for HO print at 87%, 1/87 Scale.for O UK print at 175%, 1/43.3 Scale.for O International print at 158%, 1/48 Scale.for N gauge print at 51.49%, 1/148 scale. (Caution: I have not printed this model in N gauge so can’t guarantee its printability)
The examples in the pictures were printed on an AnyCubic Proton M3 3D resin printer.I recommend printing these on a 3D resin printer to get the best print definition. As per normal with my designs, there is a balance between accuracy and printability, hopefully not affecting the look of the model too much.
REVIEWS & COMMENTS
accuracy, and usability.


