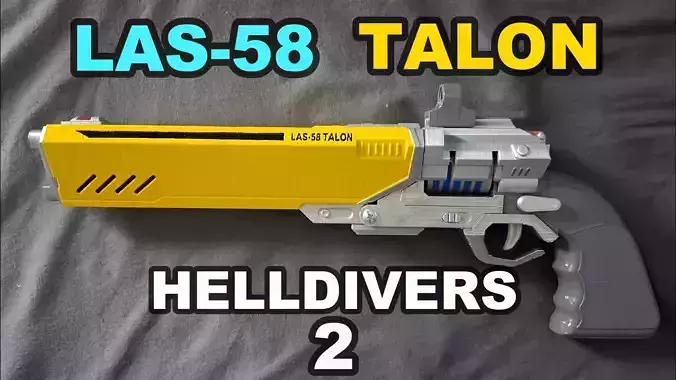
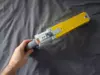
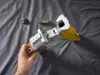
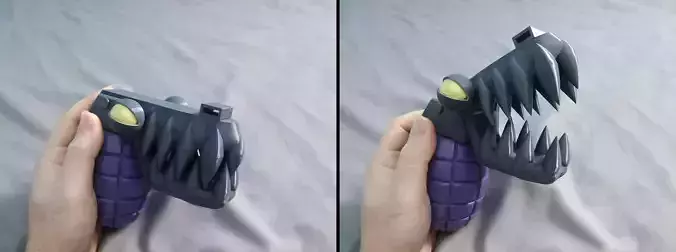
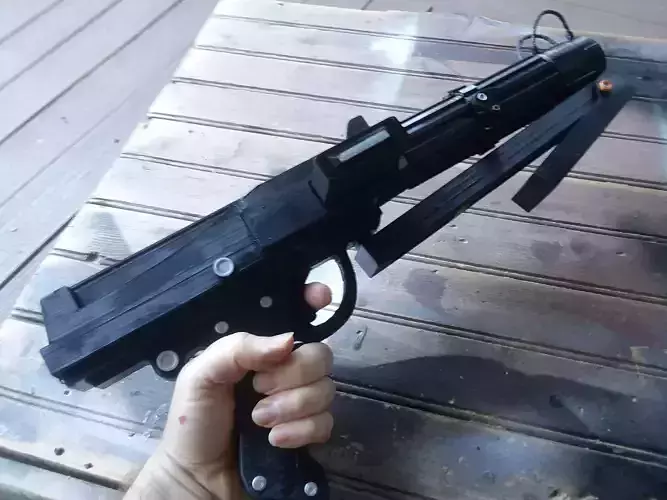
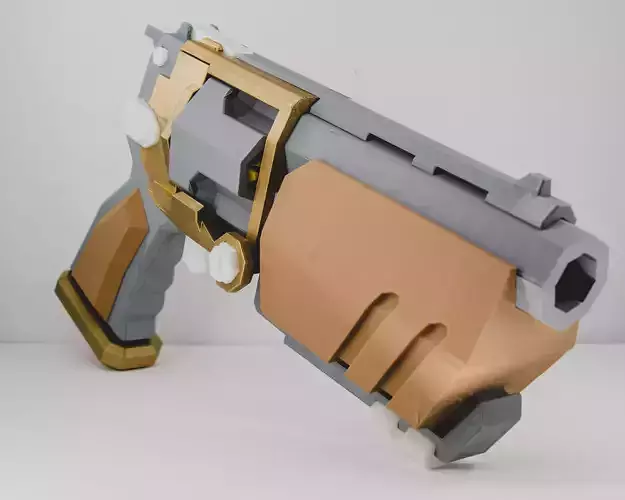
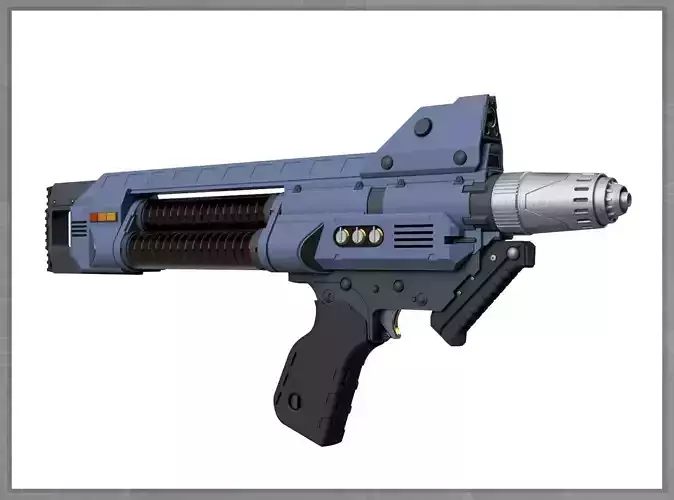
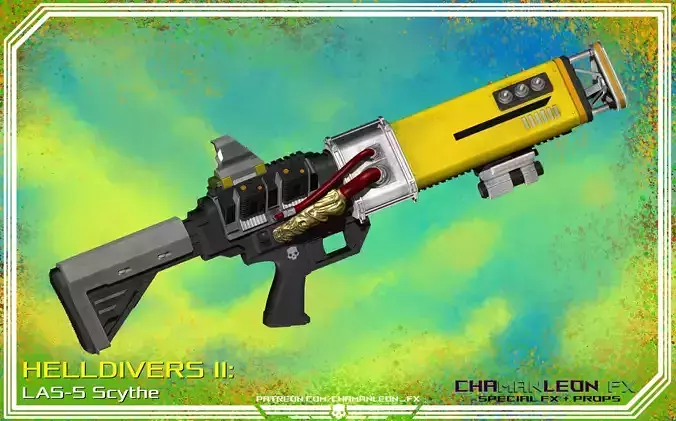
These models allow for the printing of the indidvidual componenets needed to assemble a fullsize Talon laser pistol costume prop from Helldivers 2.Check out the video: https://www.youtube.com/shorts/IM23eiZnxw4
You can also get access to all my 3D printable props models by subscribing to my Patreon - www.patreon.com/c/kenjutsubringittolifeSome you can also buy directly from me on Etsy - www.etsy.com/shop/KenjutsuI'm also avaialble for custom work.
Updated the barrel to a hallow version among a few other small changes. You will need two more magnets for the safety. Maybe a shorter screw for the trigger. I used a 1/8 inch thick steel rod instead of the screw. Works just fine and dandy, whatever works and looks cool to you.
Copy and pasted instructions:
Below should be the files needed to print your own LAS-58 Talon.
Other things you will need:
-super glue
-#8-32 screws, one 1 1/4& one 1/1/2
-1/4" steel post screw caps x2, OR #8-32 nuts x2. I think the post screws look nicer but whatever you have will do.
-small rubberband for the trigger
-9x3mm magnets x10 (https://www.amazon.com/dp/B07G8S98G7?ref_=ppx_hzsearch_conn_dt_b_fed_asin_title_1)
-paints
-optional: small circle of clear plastic for the sight
Assembly is pretty straight forward. I recommend painting all parts before attempting to assemble. The one thing that needs to be precise is magnet placement. Not only to they need to be facing the right way to attract their partners, but they also need to ALL be pretty flush in the respective holes. You can use a heat gun or hair drier to warm the PLA just a tiny bit to make them fit perfectly. 4 magnets for the break between barrel and chamber, then 4 for the break lock and handle.
When all the magnets are set, you can glue together the muzzle, barrel, and tip. Next, insert the cylinder into the chamber, then glue the chamber onto the handle. Then place the Break Lock onto the handle's rails, being sure it locks along the magnets. Then you can use the screws to attache the handle and barrel, along the the handle to the safety and trigger. Lastly the rubber hand goes behind the trigger in it's little wedge, and a similar wedge in the handle just in front of where the trigger goes.
Warning: The Wedge on the handle did break on me. If that happens to you too, just super glue it in place. I did consider replacing it with a steel rod, but it seems to be just fine super glued.
That should be about it. Let me know if there is any issue and clarification needed, and enjoy your new LAS-58 Talon.