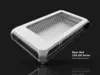
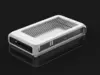
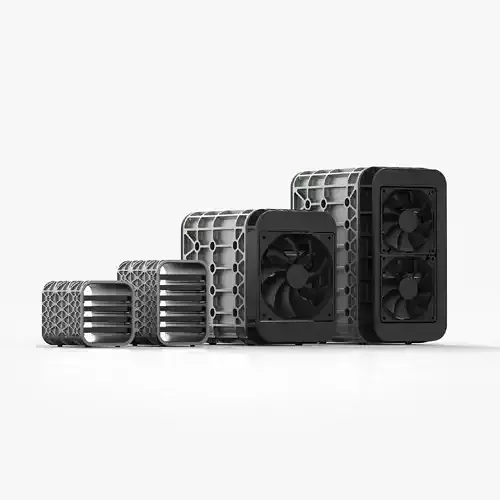
Make your electronics and lighting projects a bit more elegant, presentable, and (possibly) safer with our decorative power supply enclosure!
While designed around and tested with the Mean Well LRS-350-24, this enclosure has been adapted to work with with any Mean Well 200 series power supplies such as the:
- LRS-200-3.3
- LRS-200-4.2
- LRS-200-5
- LRS-200-12
- LRS-200-15
- LRS-200-24
- LRS-200-36
- LRS-200-48
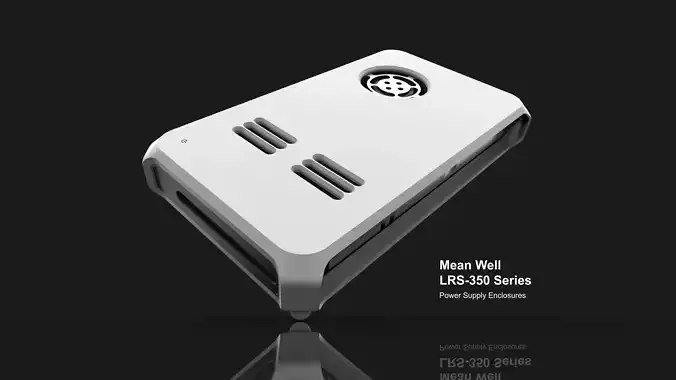
In theory, these enclosures should also work with any power supply that has the same venting arrangement and dimensions of: 8.46L x 4.53 W x 1.18" H (215.0mm x 115.0mm x 30.0mm) - the only exceptions being the 350 series PSU's which would benefit from a bit more material on top. If you need a enclosure for one of those, check out our LRS-350 series enclosure.
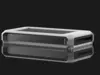
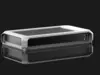
The Design:
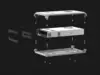
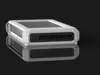
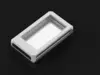
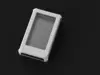
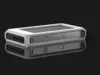
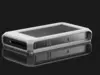
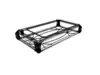
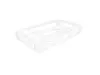
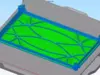
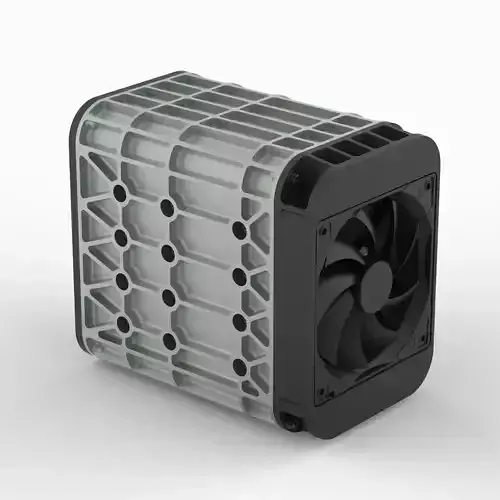
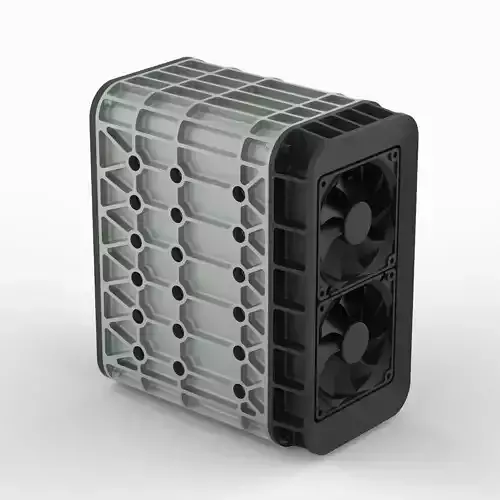
The enclosure is made up of two halves which simply sandwich your power supply in between. There’s also an optional front grommet which allows frictionless cable passage and helps further obstruct / conceal the terminal block. Depending on whether your installation is a bit more permanent, or you’re likely to remove the top cover frequently, there are single and split versions of the grommet included. There are mounting screws bosses in the bottom which allow secure fastening of the bottom cover to your power supply (only truly needed if your power supply will be mounted in a dynamic environment or if you want to hang it on a wall or upside down). The top cover, on the other hand, has pegs which simply press fit into the corner bosses for a secure fit. If you want to ensure the top cover doesn’t budge, you also have the option of drilling out the pegs in the top cover to ⅛” and squeezing in some 0.125in x 0.375in magnets, or gluing in some 3mm x 10mm magnets if working with metric hardware (holes are drawn at 0.118in or 2.99mm to give you both options. Neodymium magnets recommended for best hold. Obviously, you also have the option to just glue the top cover in place but, be absolutely sure you’re ok with the PSU being ‘permanently’ installed in that case.
In hopes of making this project as easy and accessible as possible, these parts were primarily engineered with FDM printing in mind. That said, they're completely SLA, SLS, SLM, MJF, and MJ compatible as well. At just under 245mm long, they easily fit on a Bambu Lab (or similar) printer, and sport features that are drawn to build successfully using a standard 0.4mm nozzle. No matter what process you end up using, there is some wiggle room in the tolerances and you should not need to do much or any post-processing to get everything to fit - that’s if your settings are dialed in, of course.
Additional Parts / Hardware Required:
*McMaster part numbers included where applicable.
1x Power Cord: *Also, don’t forget to flip the switch on the side of the power supply to the voltage that matches your outlet.
4x Enclosure Fastening Screws: Phillips Flat Head Screw, M4 x 0.7 Mm Thread, 6mm Long 92010A216
4x Surface Mounting Screws: #4 Phillips Rounded Head Screws For Sheet Metal, 3/4" Long 90190A113
4x Magnet Inserts: Neodymium Magnet, Magnetized Through Thickness, 3/8Thick, 1/8 Od 5862K122
Metric Equivalents:
4x Surface Mounting Screws:M2.9x19mm Phillips Rounded Head Screws For Sheet Metal
4x Magnet Inserts:3x10mm cylindrical neodymium magnet - magnetized through thickness (typical cylinder magnet).
Please note / friendly reminder: Do not get stainless steel surface mounting screws if you intend to add magnets to help the top cover stay fixed.
File Package:
Included in this download are five high resolution meshes:Bottom Shell, Top Shell, Front Grommet, Split Front Grommet - Bottom Half, Split Front Grommet - Top Half,
Printing Recommendations:
If printing FDM, we strongly recommend going with a 0.4mm nozzle, 0.2mm layer heights, and sticking with a 100% infill for maximum strength. Print big-face down on a bed surface of your choosing. Rectilinear infill works best for all layers up to where the internal ribs start, however, stick to concentric infill thereafter just to minimize the amount of tiny fill patterns the printer has to do to fill a 1.6mm thick shell / keep your printer from shaking itself to bits.
If you want to save on material and cut print time, you could try printing in a stronger material (fiber reinforced), starting with 2 bottom layers, 4 infill layers after, and then cap with two top layers before switching to a 100% filled concentric pattern for the remaining layers of the print. You shouldn’t need any supports as all of the angles are around / less than 45 degrees.
For SLA, slice at a 45 degree angle with enough supports to successfully start and hold the print towards the end of the build. Also make sure you have your shrinkage dialed in.
For SLS and MFJ, make sure to allow proper cool down to ensure the shells don’t warp. Also, you may need to sand the parts a little around the boss to make the press fit just a little smoother.
For SLM, some post machining may be needed around the mating points.
No matter which process you choose, we do recommend going with a rubber material for the front grommet. ShoreA 65 works, looks, and feels cool - something harder is probably just as good. Just make sure to remove any blobs and strings should you have any so the grommet presses in firmly but smoothly.
Apart from that, we recommend just practicing good printing habits such as: make sure you dry your filament - dial in your print settings before printing - print on a PEI, gluestick, or with some circle pads / skirt if bed adhesion is a concern - print in an enclosure if you’re worried about warping and layer adhesion (especially if printing PETG, Nylon, or ABS), and don’t start assembling anything until you’re confident you’ve got a strong / successful print that you’re willing to work with (don't hesitate to reprint if necessary).
Lastly, if your slicer software doesn’t automatically interpret the correct units / scale try scaling by 25.4x or 2540% (if it imports really small) or, 0.0393701x or 3.93701% (if it imports really big).
Please feel free to reach out if you get stuck or need help at any point in the process. Additionally, if you find or think of any improvements, let me know - definitely all ears.
Warning!
Please note: big, big “maybe” on the “safer” claim above as carelessness and stupidity know no bounds, and accidents can and do happen. That said, the enclosure does cover/obscure the terminal block, reducing the chances of accidentally sticking something in there that doesn't belong, causing a short, and consequently resulting in shock or damage. Regardless, make sure to follow all of the manufacturers recommended safety procedures and just practice responsible electrical practices in general.
Alternate Versions:
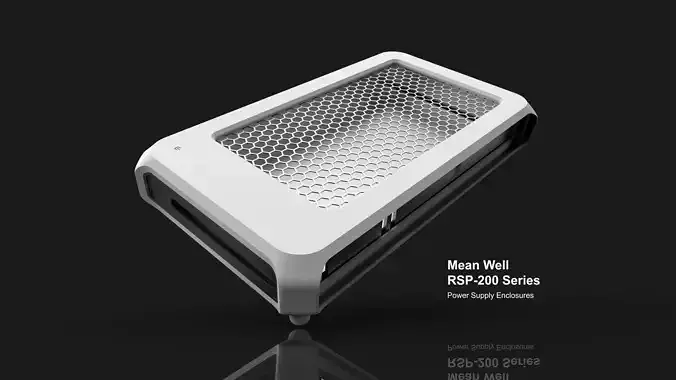
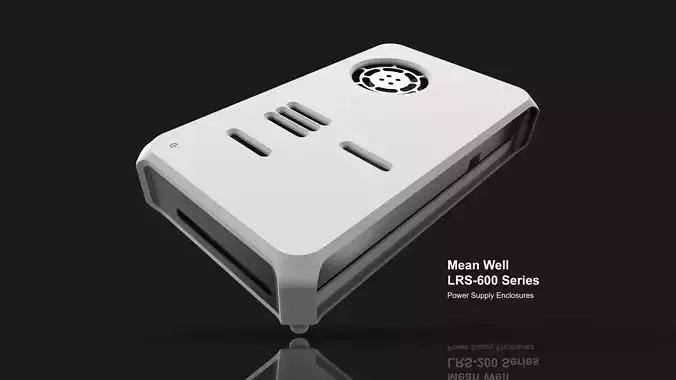
Need an enclosure for a different power supply? Consider buying in to our whole Power Supply Enclosure collection - find it in our list of posted designs or search FromTheCOR - Power Supply Enclosure Collection
THOUGHT UP, DRAWN, TESTED, AND VERIFIED BY HUMANS.