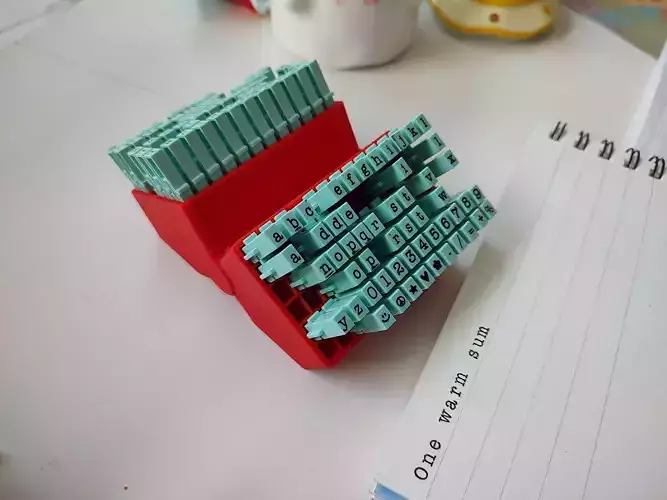
Finding the correct springs, bolts, inserts and not 3D printable components are always trouble. I am trying to design almost all components 3D printable so as an update a good SPRING design attached.
You just need a glue and 3D printer!
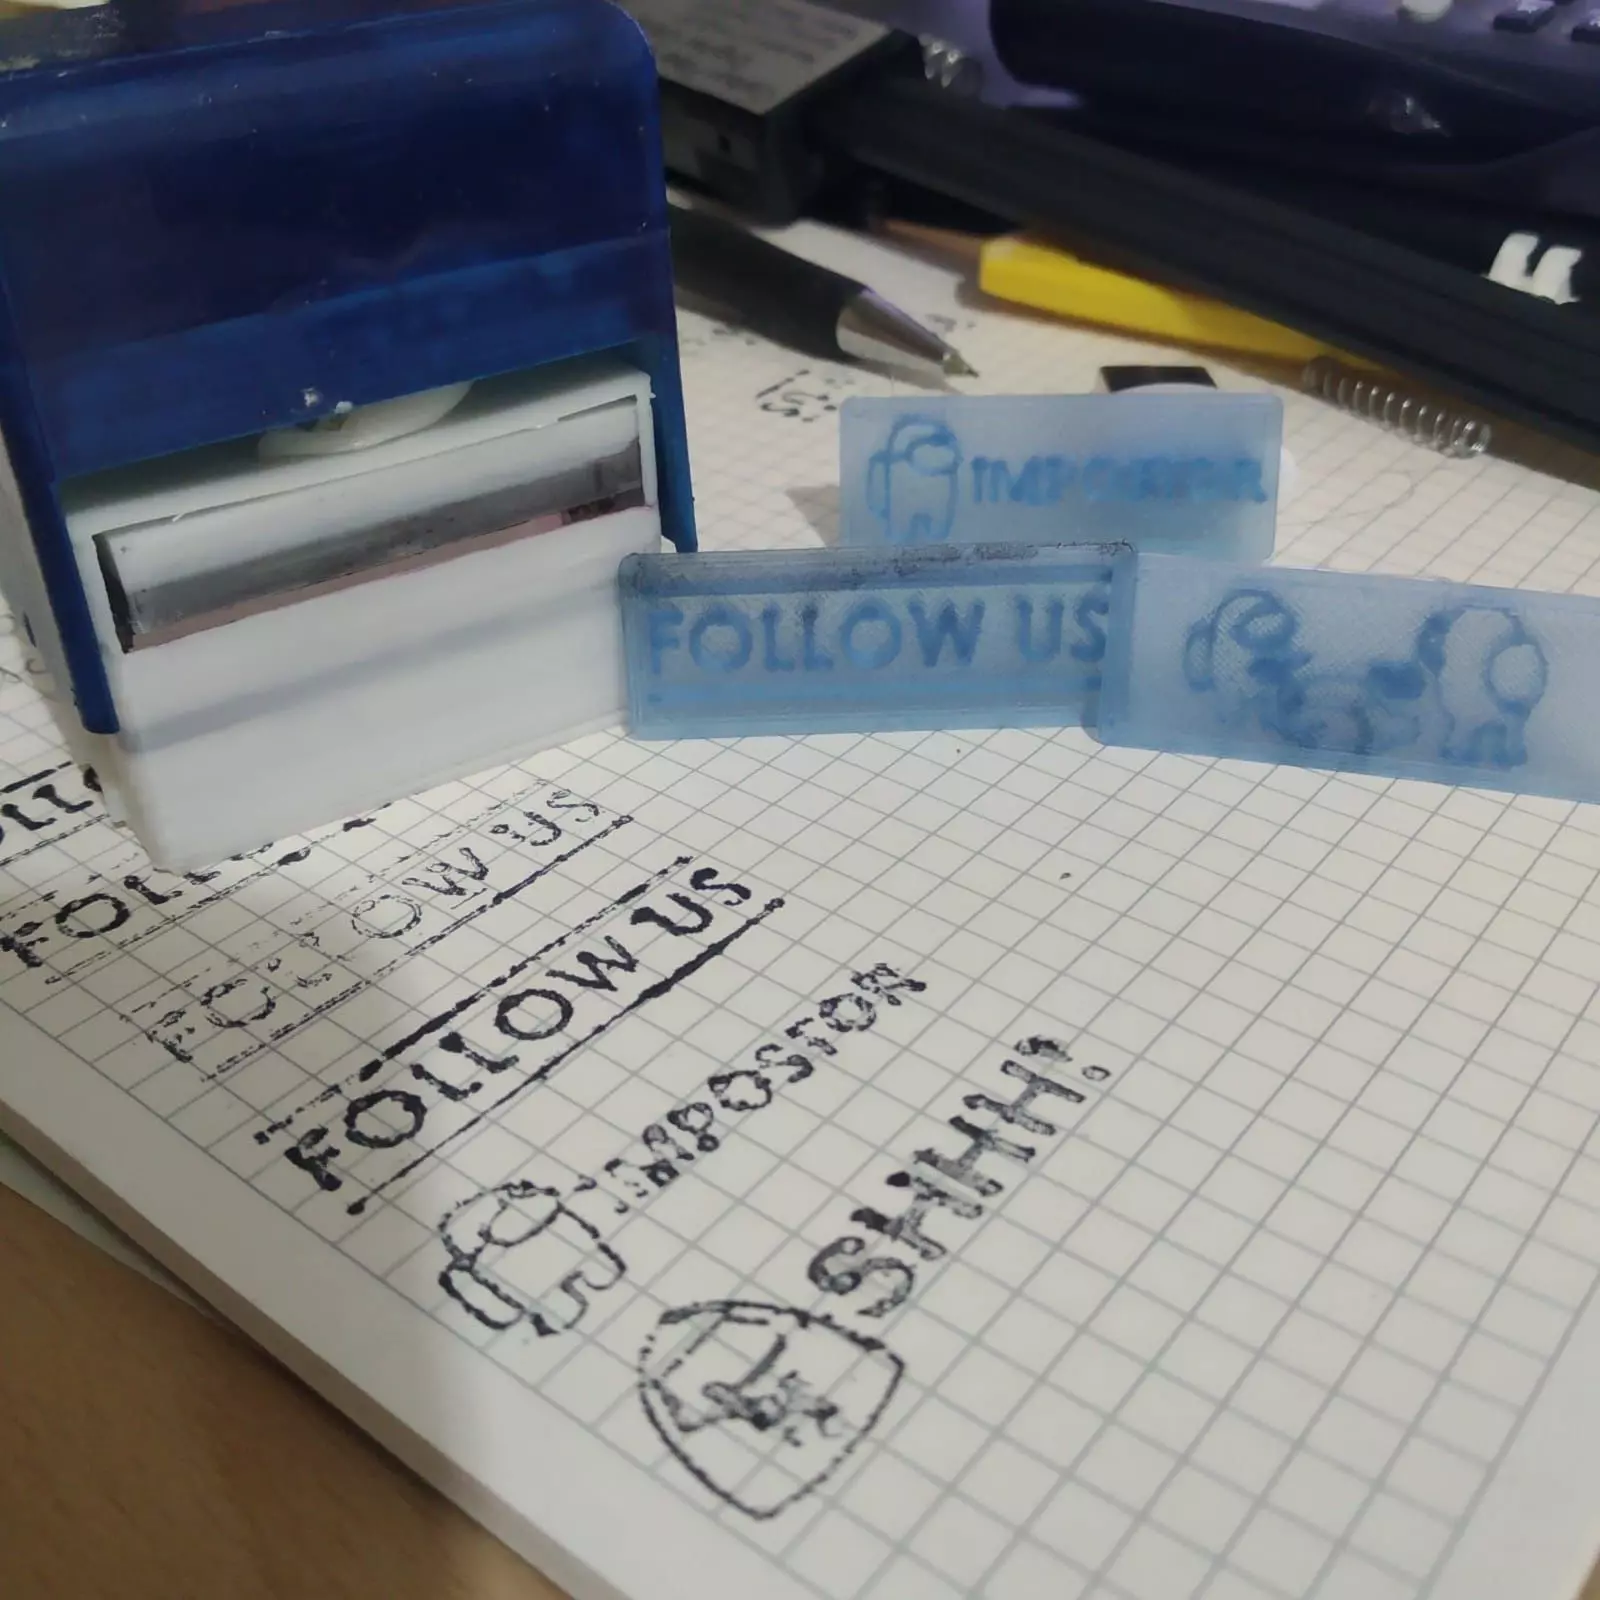
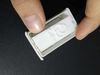
Stamp is removable, you can print your own stamp.(Do not forget; stamp MUST TO BE MIRRORED)
Stamp surface 40x15mmx1mmEmbosing h=2mm, w>0.4mm(0.8 and surface draft recomended)
You need to file the surface of the stamp in order to get finer printing.
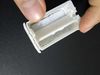
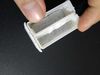
Ink pad 41x23.5mm t=7mm(but you can adjust the tickness of pad). Made from vacuum cleaner motor filter.
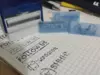
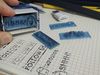
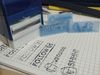
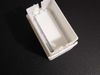
Instructions:1-Remove the supports and clean the rounded areas2- Place the spring into the outer part and glue(super glue, hold the spring vertical and centered)3-Place some glue on the spring(top flat surface) and compress iner part and wait.4-Glue rotating part and stamp together.(Grind the surface of the stamp)5-Insert the pad.6-Compress the inner part and insert one pin to the hole and shift some and do same thing to the other hole.7- Check if pad thickness is suitable or not. If not use thicker(or add layer).8-Remove the rotating part and add ink.9-Re-install the rotating part and start to use!
Layer Height 0.2 mmInfill Density %20Infill Pattern CubicPrint Speed 70 mm/sWith SupportWall Thickness 1.2 mm
PLA 205°CPlate 60°C