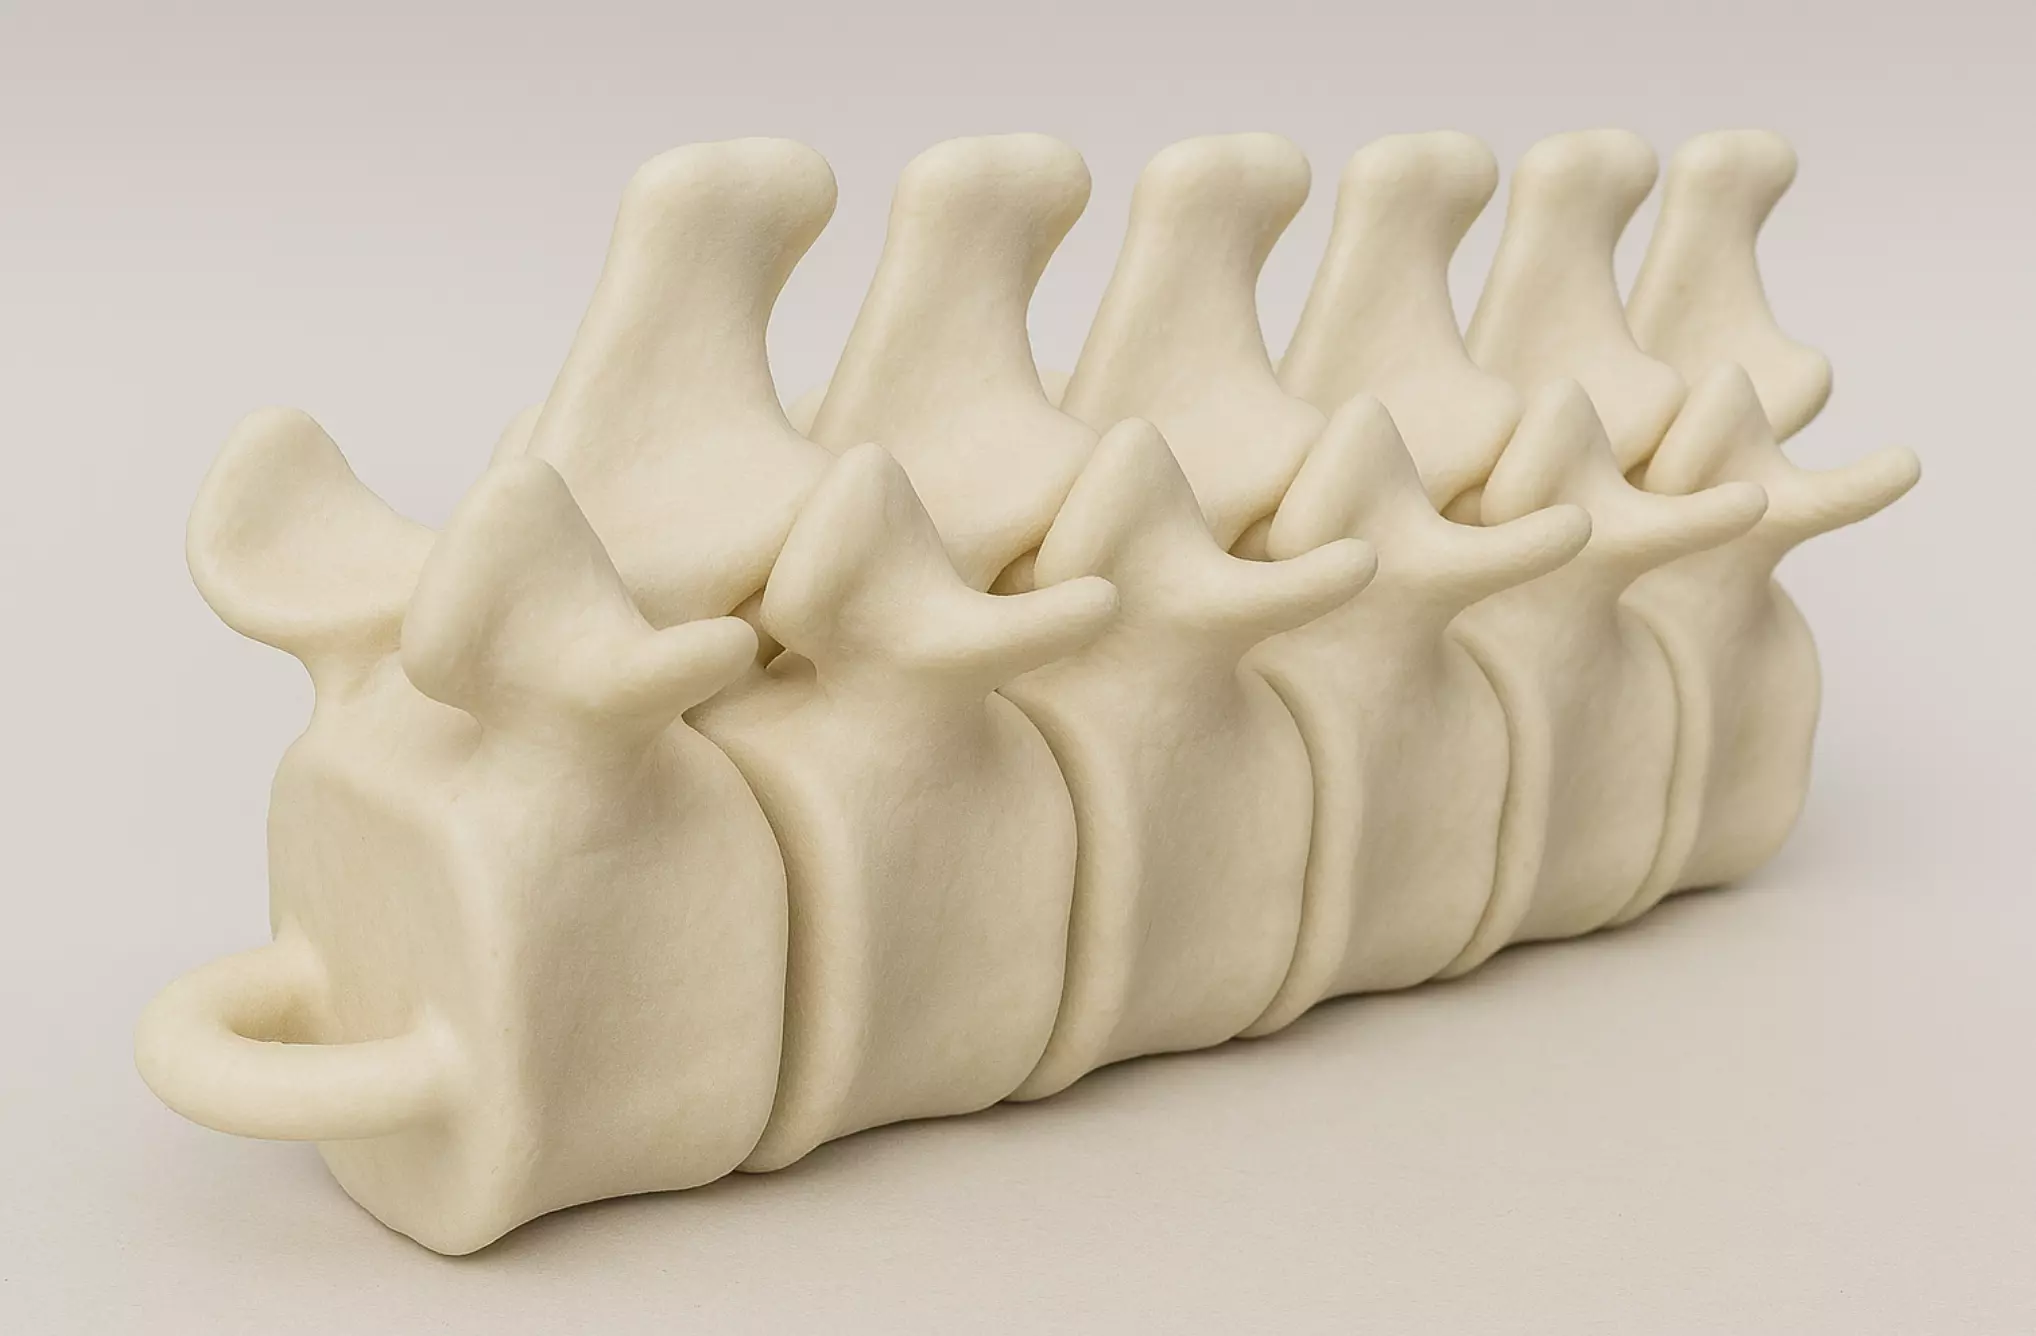
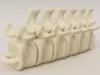
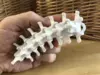
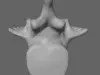
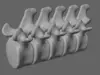
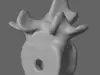
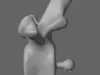
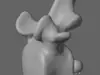
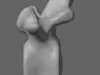
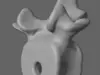
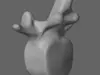
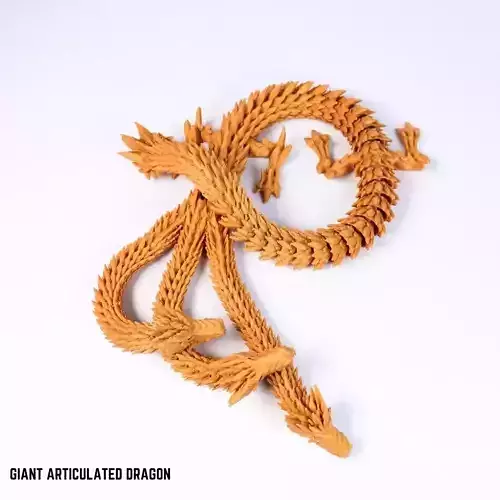
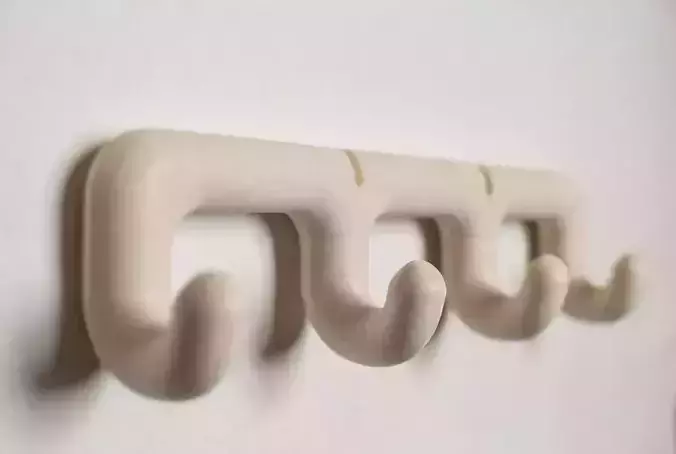
Llavero columna vertebral mini articulada. Original, flexible y con un diseño súper detallado. Cada vértebra se mueve con suavidad, generando una sensación única al tocarla o jugar con ella. Ideal como llavero, adorno diferente o simplemente para quienes disfrutan de objetos curiosos y divertidos. Una pieza original que no pasa desapercibida!
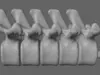
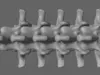
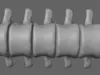
Se incluyen dos columnas de cinco vértebras, una con un agujero para llevaro en la parte superior y otra sin él. Se proporcionan vértebras separadas para hacer su propia columna como desee.
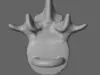
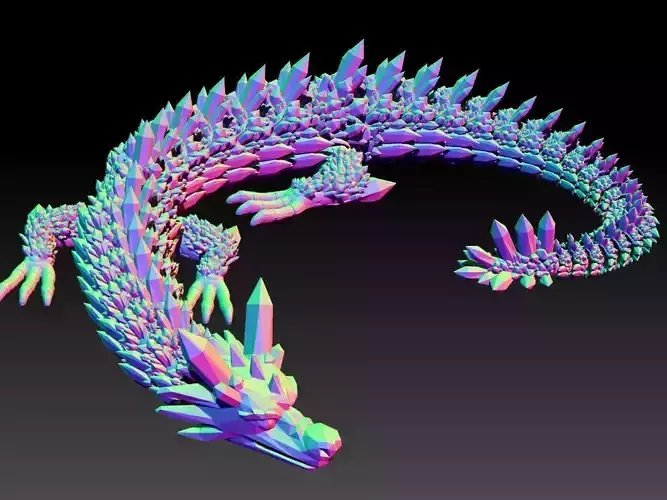
Imagen de referencia hecha con IA.
Mini Articulated Spine Keychain. Original, flexible, and highly detailed in design. Each vertebra moves smoothly, creating a unique and satisfying feel when touched or played with. Perfect as a keychain, a quirky decoration, or simply for those who enjoy fun and unusual objects. A truly original piece that won’t go unnoticed!
Two spine chains of five vertebrae each are included — one with a hole at the top for carrying and one without. Separate vertebrae are also provided so you can build your own spine as long as you like.
Reference image created with AI.
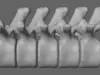
PARÁMETROS DE IMPRESIÓN 3D
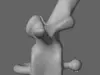
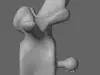
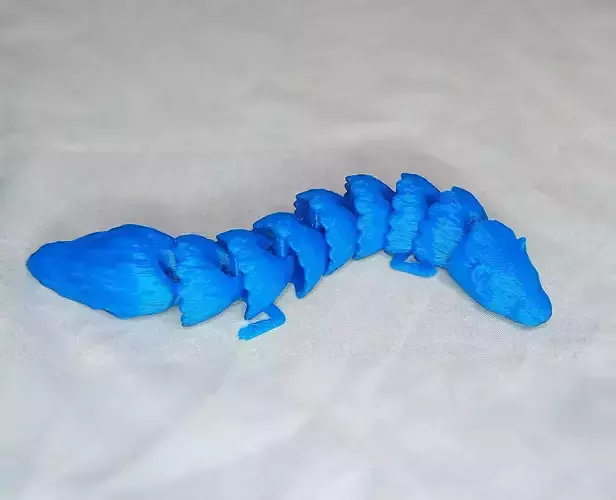
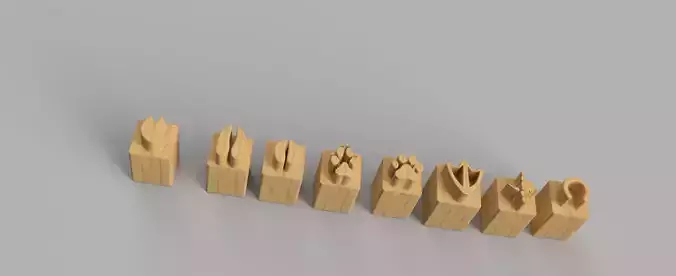
Las espinas deben imprimirse como orientadas, con las apófisis espinosas apuntando hacia arriba. Cambiar la orientación de la lima dará como resultado una impresión incorrecta de la articulación esférica interna entre vértebras adyacentes.Los procesos transversales que sobresalen lateralmente para no necesitar soporte. Por lo tanto, solo necesita soportar la base de los cuerpos vertebrales y el bucle si está imprimiendo archivos con un bucle superior.Para soportar adecuadamente la superficie inferior curva del cuerpo vertebral, intente levantar el objeto 3 mm de la placa de construcción y use el soporte de Línea en Cura, con la densidad aumentada al 40%.Después de la impresión, habrá algunas pequeñas adherencias en la rótula interior y en las articulaciones facetarias. Simplemente haga una movilización espinal suave y se liberarán y se moverán libremente. Asegúrese de dejar que su impresión se enfríe completamente primero. Si el plástico aún es blando, el conector puede romperse al intentar moverlo.Para crear el suyo, importe el número y los tipos de vértebras que necesitará al mismo punto de origen dentro del software de su elección. Deje las vértebras superiores en el origen y mueva el resto de las vértebras hacia atrás en incrementos de 15 mm (es decir, mueva la segunda vértebra 15 mm, la tercera vértebra 30 mm, y así sucesivamente.) Puede hacer que la columna vertebral sea tan larga como desee, limitada solo por el tamaño de su placa de construcción.Tenga en cuenta que estos no son anatómicamente correctos! Para fines de diseño, cada vértebra se modela a partir de la misma vértebra, L3. El agujero vertebral se ha rellenado para proporcionar resistencia y minimizar los voladizos, y los procesos articulares se han remodelado considerablemente para permitir un movimiento suave.
3D PRINTING PARAMETERS
The spines should be printed as oriented, with the spinous processes pointing upward. Changing the orientation of the file will result in an incorrect print of the internal ball joint between adjacent vertebrae.The lateral transverse processes are designed to print without support. Therefore, you only need to support the base of the vertebral bodies and the “loop” if you’re printing files with a top loop.To properly support the curved underside of the vertebral body, try raising the object 3 mm off the build plate and use “Line” supports in Cura, with the support density increased to 40%.After printing, there may be small adhesion points in the internal ball joint and facet joints. Simply perform a gentle spinal mobilization and they will release and move freely. Make sure to let your print cool completely first — if the plastic is still soft, the connector may break when moved.To create your own spine, import the number and types of vertebrae you need into the same origin point in your preferred software. Leave the upper vertebra at the origin and move the remaining vertebrae backward in 15 mm increments (for example, move the second vertebra 15 mm, the third 30 mm, and so on). You can make the spine as long as you wish, limited only by your build plate size.Please note: these are not anatomically accurate! For design purposes, each vertebra is modeled after the same vertebra, L3. The vertebral hole has been filled in for strength and to minimize overhangs, and the articular processes have been significantly reshaped to allow smooth movement.