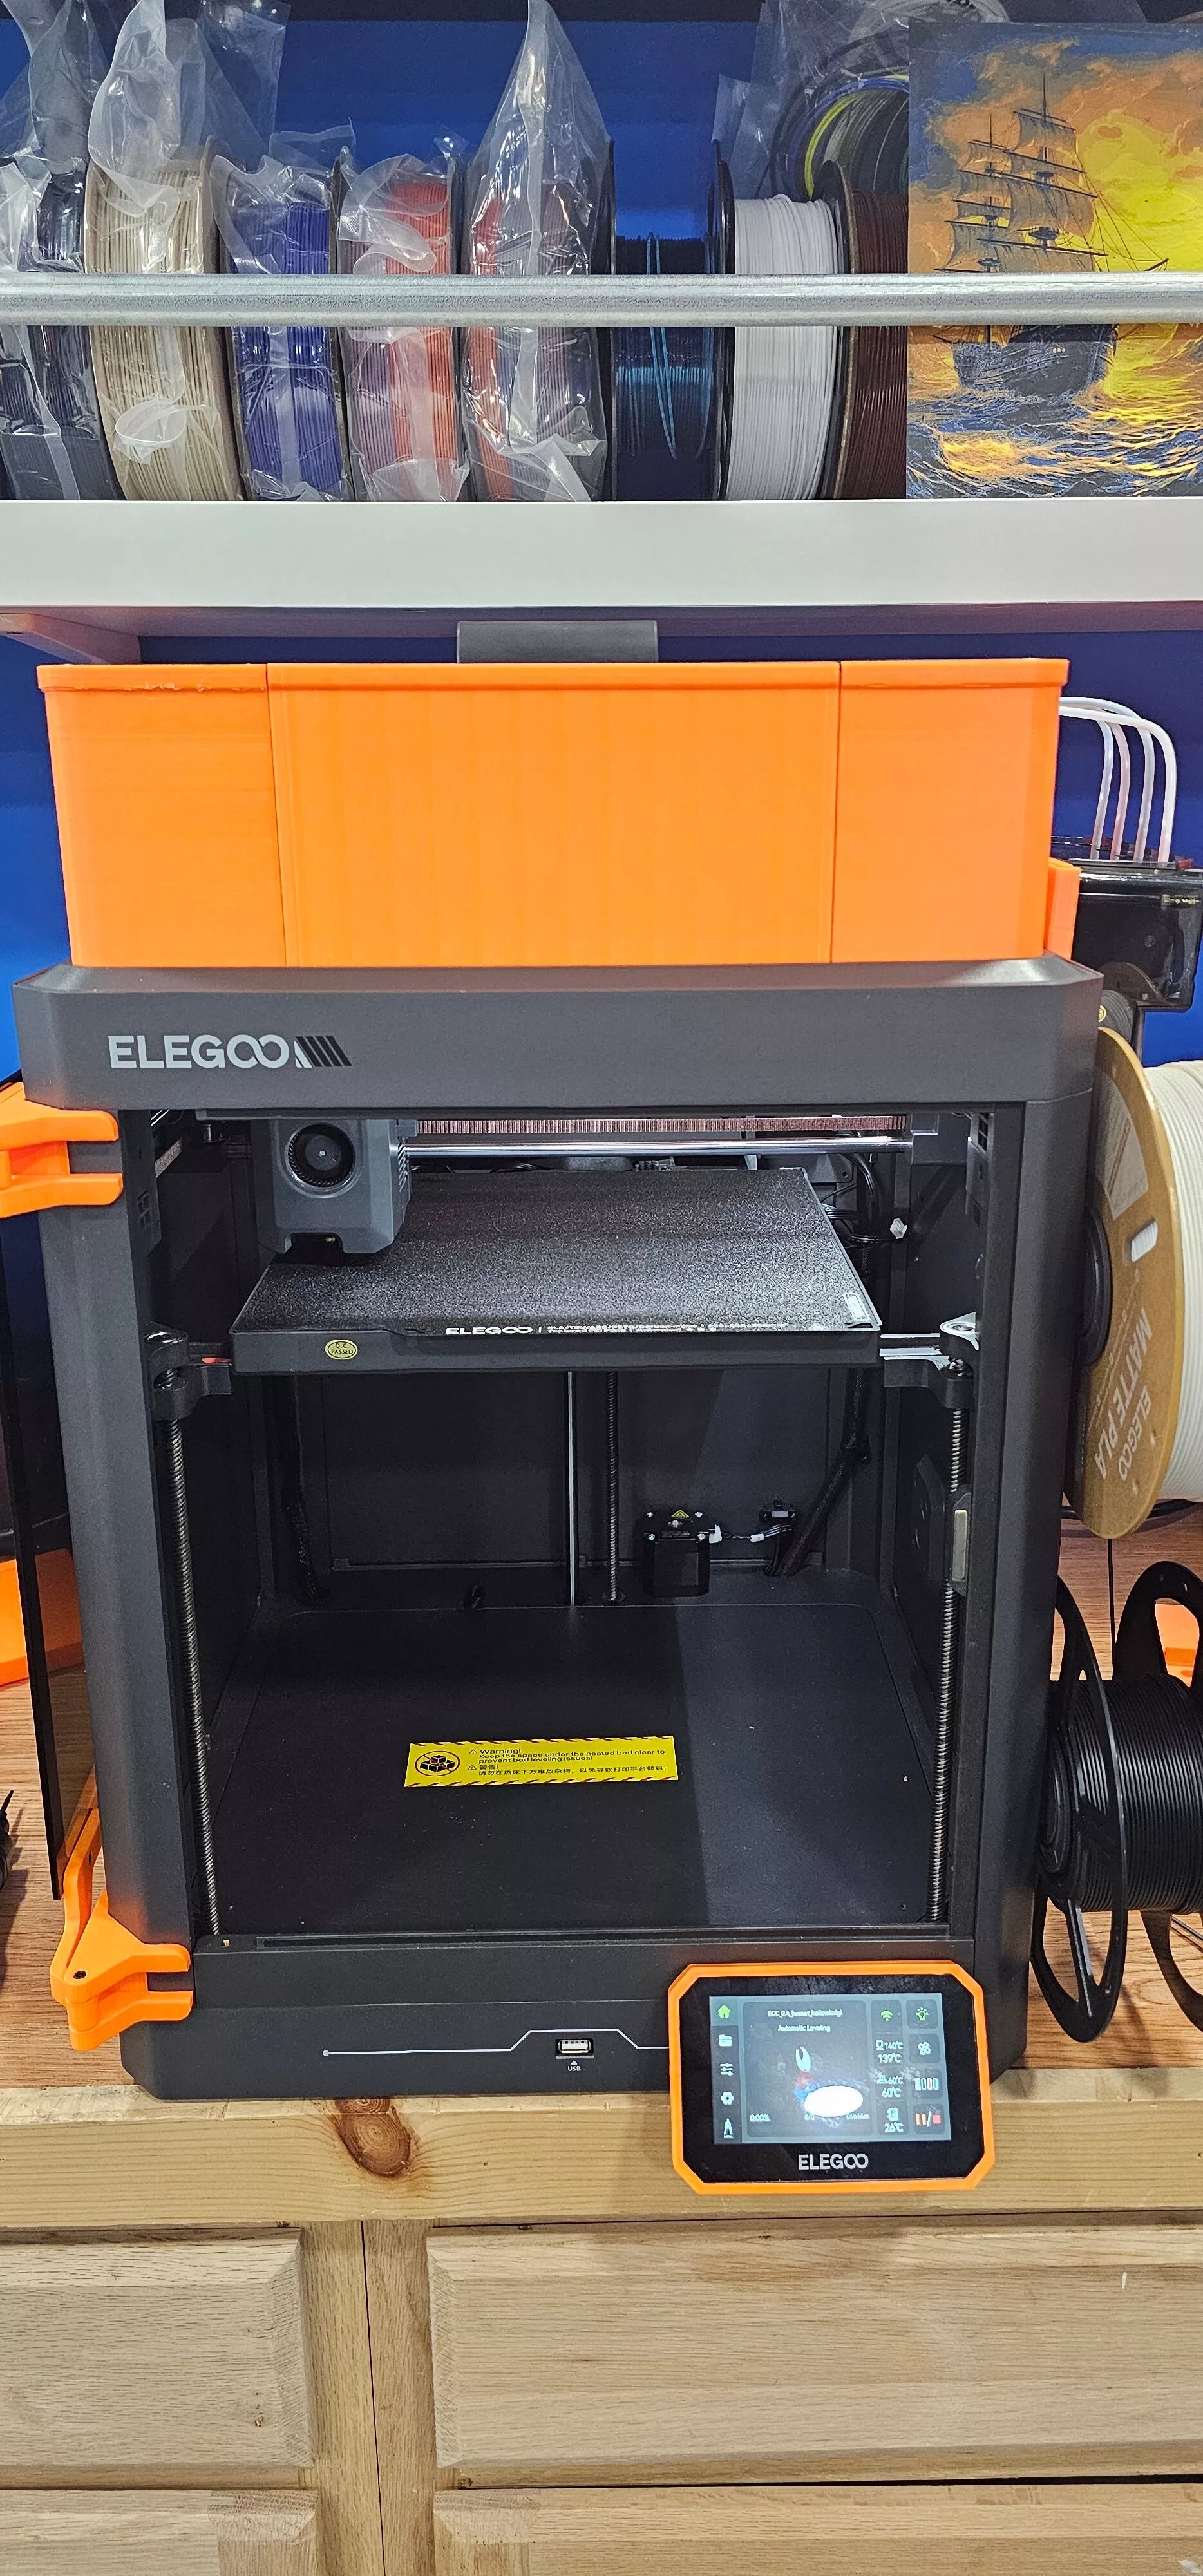
Elegoo Centauri Carbon: Canvas Relocation & Riser
Updated: 7/27/2026
1. The Riser (The Base)
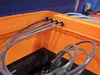
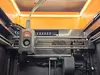
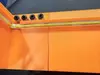
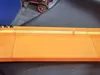
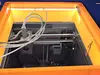
The riser lowers the printer height to roughly 100mm, significantly shorter than the excessively tall OEM cover. It features four pass-thru holes in the rear right corner for PTFE tubes.
Available Riser Versions
Choose the version that fits your lighting needs:
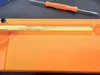
- Original Riser: Square outer edge with a dedicated LED strip channel.
- 45° Riser: Outer edge angled at 45° to avoid supports; includes LED channel.
- 45° Riser (No LED): Angled outer edge with no LED channel (saves filament).
Riser Features (All Versions)
- Pass-thru Holes: 4 holes in the rear right corner for PTFE tubes.
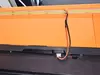
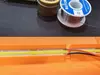
- LED Channel: (Original & 45°) Includes a 45° channel for an LED strip and wire.
- Suggested LED Strip: [Amazon Link](https://www.amazon.com/dp/B0DHV8ZF4R?ref=ppx_yo2ov_dt_b_fed_asin_title)
2. The Canvas Unit
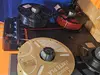
This system relocates the canvas attachment to the center-side between filaments 1 & 4, utilizing a new dock and slider mechanism.
Key Components
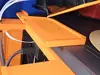
- Canvas Dock Plate: Connects to the top center screw between filaments.
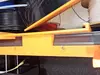
- Canvas Slider Plate: Attaches to the back of the canvas unit to slide into the dock. This makes removing the canvas unit for troubleshooting much easier.
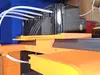
- Cable Block: An additional block that holds the canvas cable, preventing tangling with the spools.
3. The Right Side (The Update)
The right side has been split into two distinct pieces to accommodate the canvas bracket screws and provide a better anchor for the dock.
- Upper Right Side Panel: The top section.
- Lower Right Side Part: Uses the screws from the canvas bracket to hold in place.
- Feature: Has an extended piece acting as an anchor for the dock.
- Modified Dock Part: Features an anchor on the back to attach to the Lower Right Side Part for added stability.
4. Parts List & Quantities
Actual Build Parts to Print:
| Quantity | File Name / Description || :--- | :--- || Qty 1 | Corner Part (Front Left or Front Right) || Qty 1 | Corner Part (Rear Left or Rear Right) || Qty 2 | AEE_Slim_Straight... (Connects front and rear corners) || Qty 1 | AEE_Thick_Straight..._Left_Side (Connects the left side) || Qty 1 | AEE_Thick_Straight..._Right_Side_Lower || Qty 1 | AEE_Thick_Straight..._Right_Side_Upper |
5. Assembly & Wiring GuidePTFE Tube Installation
- Source: Leftover tubes from another printer or new purchase.
- Cutting: Cut ends to 150mm - 180mm.
- Tip: Move the print head to the opposite corner and measure where to cut so it is loose enough to flow but short enough to avoid excess slack.
- Insertion: Tubes should meet in the middle and touch so the filament doesn't get stuck.
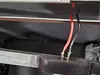
LED Light Wiring (Optional)
Caution: If you attempt to wire up/solder, you risk hurting yourself or wiring incorrectly.
- De-solder the old LED light.
- Solder the new cable to the new LED light (Positive to Positive, Negative to Negative).
- Solder the exiting LED light cable to the bracket.
- Note: Make note of which pin is positive/negative on the bracket.
- Mount: Bracket screws in using the old
Questions: Please feel free to reach out and ask. More than happy to answer what I can.
Printing: All parts in photos printed on an Elegoo Centauri Carbon in PETG at .20mm, 250 Degree Nozzle, 70 Degree Bed, Supports Normal / Snug with .4mm top and bottom Z distance.Rebuilt Riser general design via FreeCad, inspired by the [Elegoo Centauri Carbon - Top Plate Riser](https://www.printables.com/model/1232528-elegoo-centauri-carbon-top-plate-riser/remixes) by [@3DPrintStuff](https://www.printables.com/@3DPrintStuff)