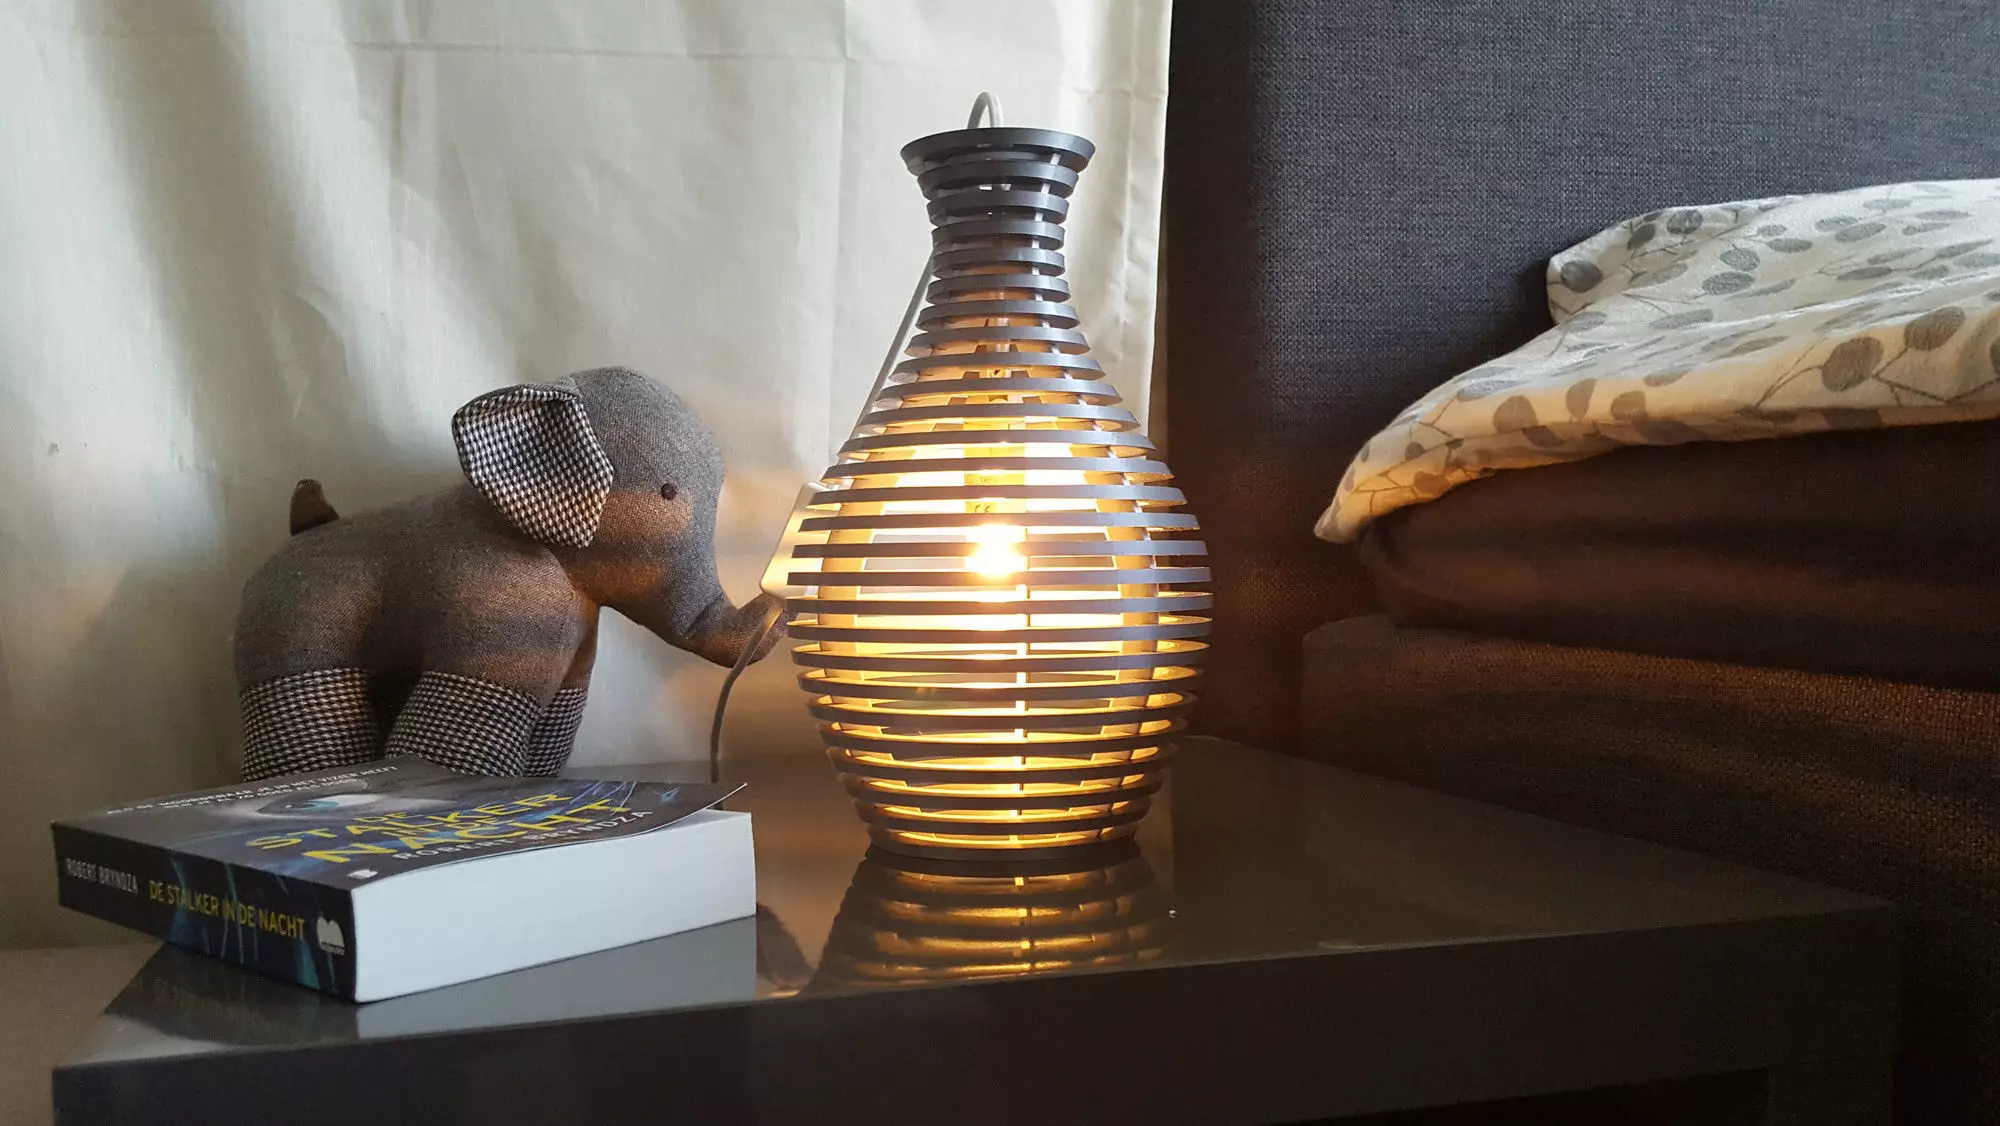
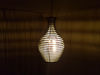
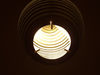
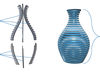
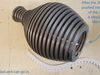
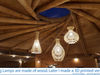
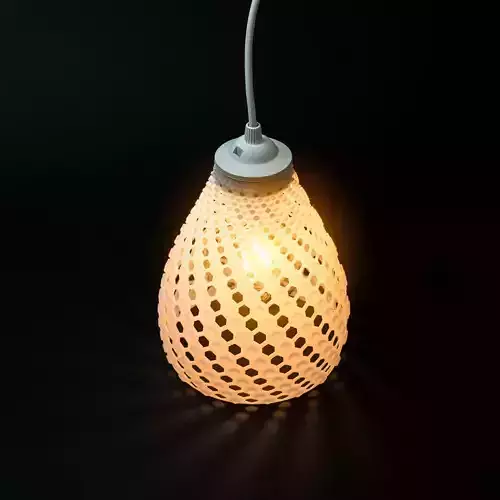
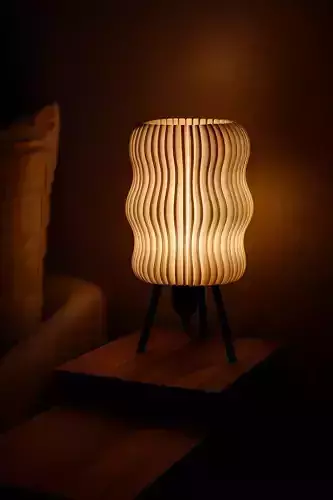
Ring LampThis is a lamp inspired by a Vase. It is build up out of 27 rings that are equally spaced from each other. This creates a ring shadow effect on the surrounding walls that is very nice.This Lamp can be used in 2 ways: You can put it aside you bed or hang it on the ceiling. The dimensions of the Lamp are about 180x180mm and 294mm high.
Assembling this lampAs a light source it uses a standard light bulb. That makes it easy for everyone to make this Lamp. You can choose any lamp bulb you like, as long as it fits. I used a E14 fitting, but a E27 should also fit. Of course beware with glowing bulbs and their heat... the plastic may melt. In my case it is a thing because the lamp is 3d printed out of PLA. But if you are going to used LED, you are save :-). It took me 51,5 hours to print this lamp. I used 481 gram of filament. For more details you can take a look at the photo section. I have included some data from printing to give you an idea where these hours and grams come from ;-)
Amount of Filament & parts needed:2x M3x16mm bolt2x M3 nut1x power cord (optional with a switch)1x lamp fitting (I used a E14, but you can use anything that fits)1x A bulb that fits your fitting+/-500 gram filament.
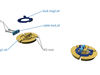
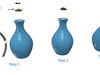
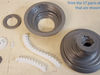
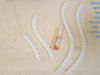
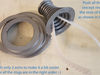
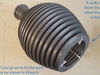
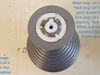
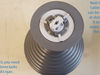
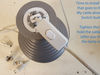
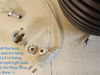
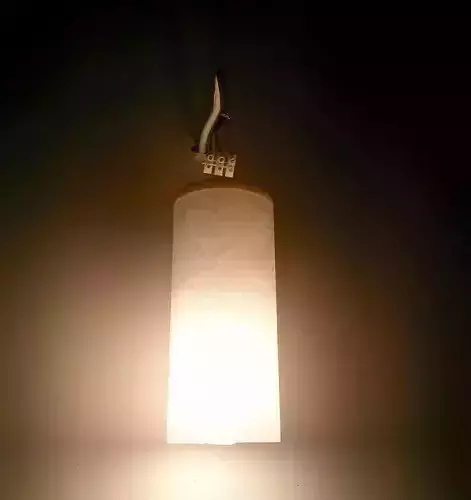
The Assembly of this lampTo give you an idea how to assemble the ring lamp, please take a look at images in the photo section. I made 10 steps you can follow. Step 1: Print the 37 parts of the lamp that are shown here.Step 2: Glue the parts “arm1.stl” & “arm2.stl” together. You have to do this 3 times. I used Super Glue for this.Step 3: Push all the rings (except ring1) into the slots of the “arms” as shown in this image. Start with only 2 arms to make it a bit easier. Make sure all the rings are in the right order.Step 4: After the 26 rings are pushed into the slots of the 2 arms it should look like this. Now the last arm can go in.Step 5: It looks like this from the bottom, when the last arm is installed. Now ring1 can go on to fix the arms in place as shown in “#Step 6”.Step6: Here you see the lamp from the top. Now ring1 can be place on the end of the 3 arms.Step7: When ring1.stl is mounted, the white part (lock ring1.stl) should fit inside. “Lock ring1.stl” is hold in place by “lock ring2.stl”. When lock ring2.stl is turned, it locks the arms in place. Here you see lock ring2 in the locked position.Step8: Now the part “cable lock.stl” can be installed. It acts as a strain relief for the cable. To install it, you need 2 M3x16mm bolts and 2 M3 nuts.Step9: Time to install a cable that goes to the lamp. Mine already has a switch in the cable. Tighten the bolts to hold the cable in place.Step10: Install the lamp socket and the lamp. After that the Ring Lamp is done :-). I used a E14 fitting and an old style light bulb.
To get a better idea, please look at the added images in the photo section
Of course feel free to ask any question, in case my summary is not clear :-)