Similar Models


11th Doctor Sonic Screwdriver Redrawn Free 3D print model
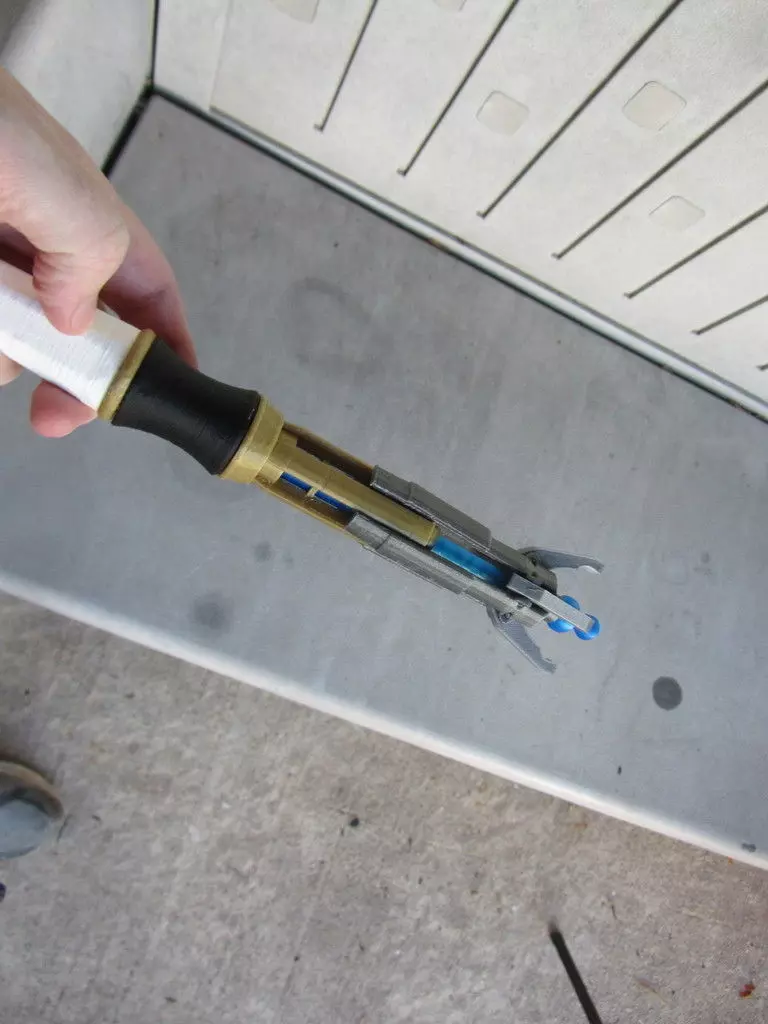
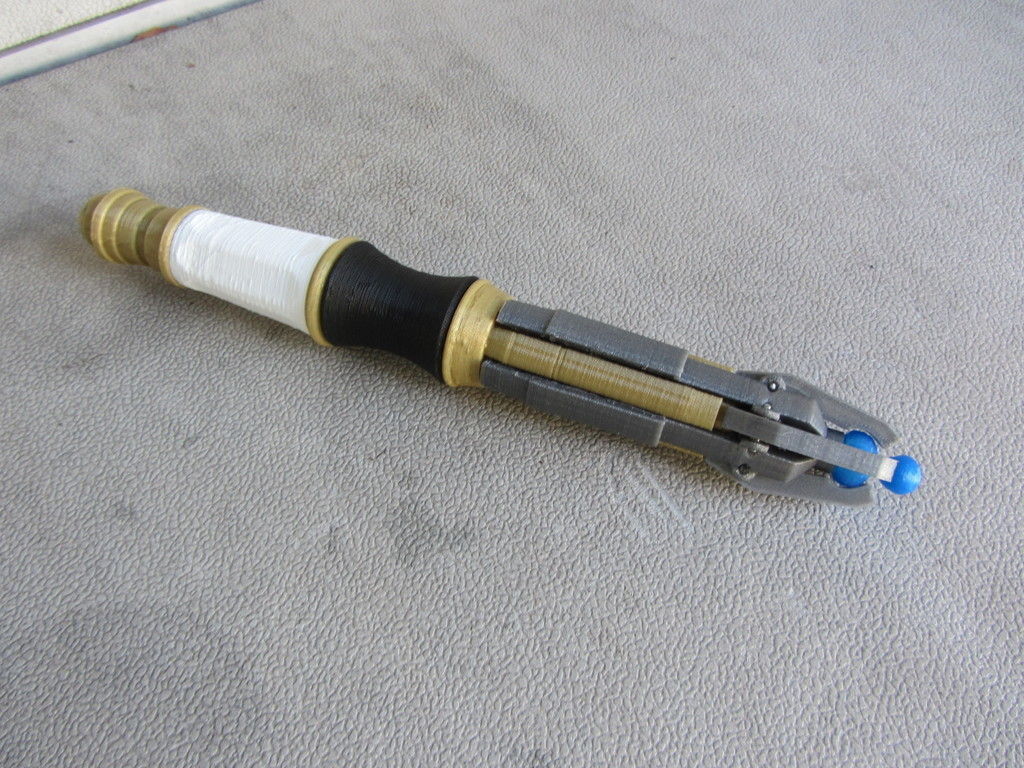
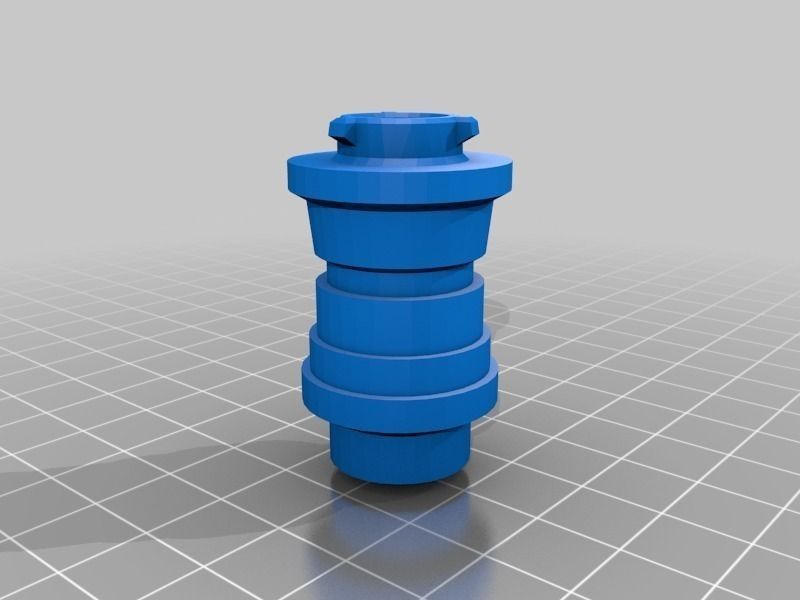
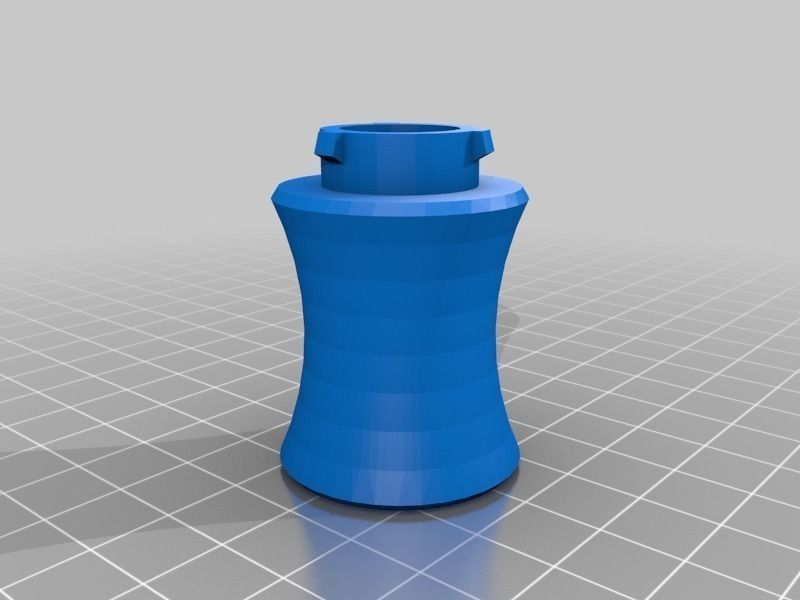
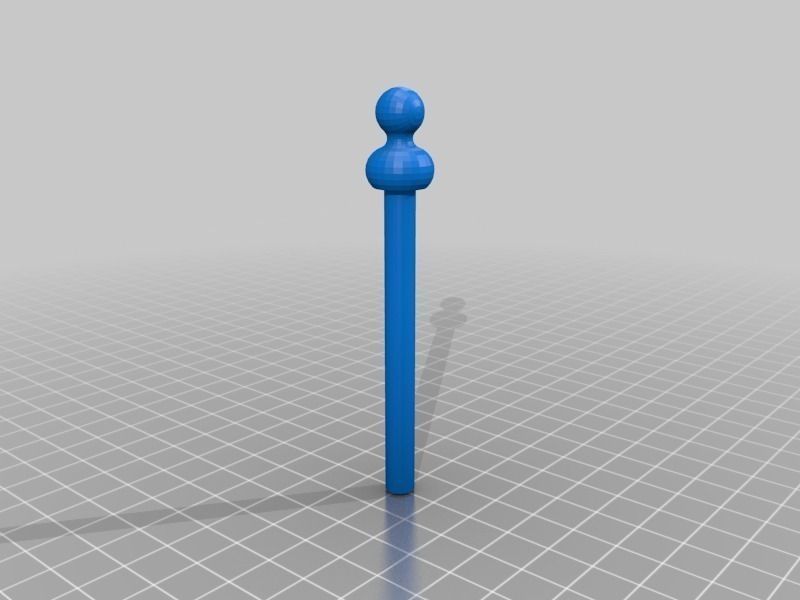
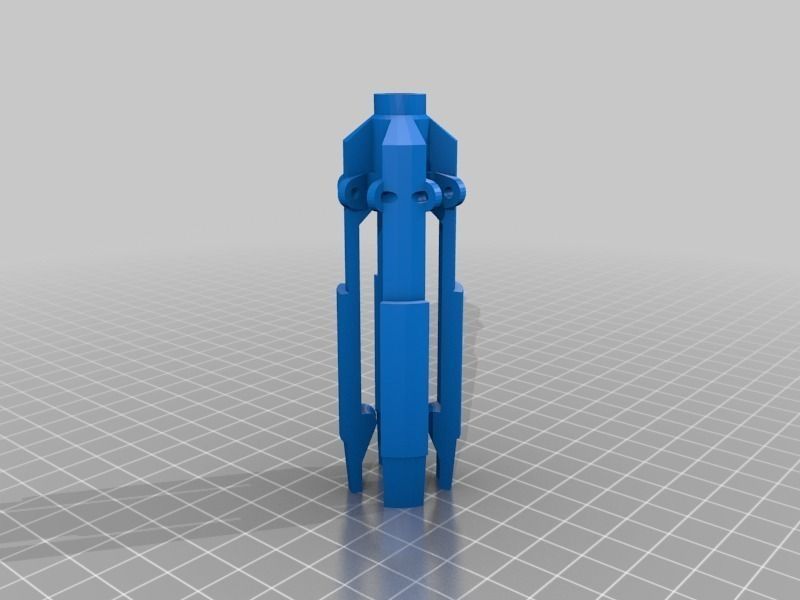
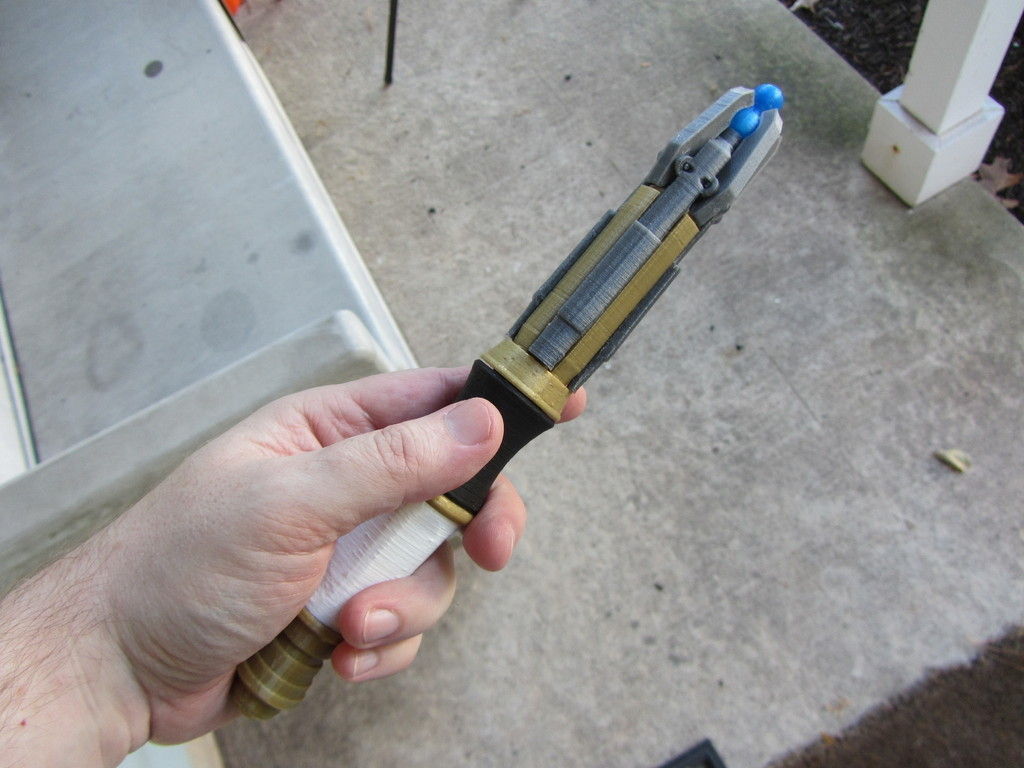
Created because I needed a good reference model for another toy crossover design. I started with TheNewHobbyist's model but redrew it from scratch using other downloaded images. I sliced up the handle into different pieces for each color so it can be show-accurate without painting. Also added a tip and core piece, fixed it so it has four prongs instead of six. Finally the telescoping part and opening prongs should actually work now. The printed model won't be spring-loaded like the actual toys and props are, so you'll have to extend it and open the prongs by hand, but the detent to hold the telescoping section retracted and the prongs in should work.
I have printed this now. Seems to print OK although there are some tricky overhangs. The core and tip should have been done in translucent green, but translucent blue was all I had on hand.
Note: minor change made to white_handle to add hexagonal indentation. Also, uploaded the source file.
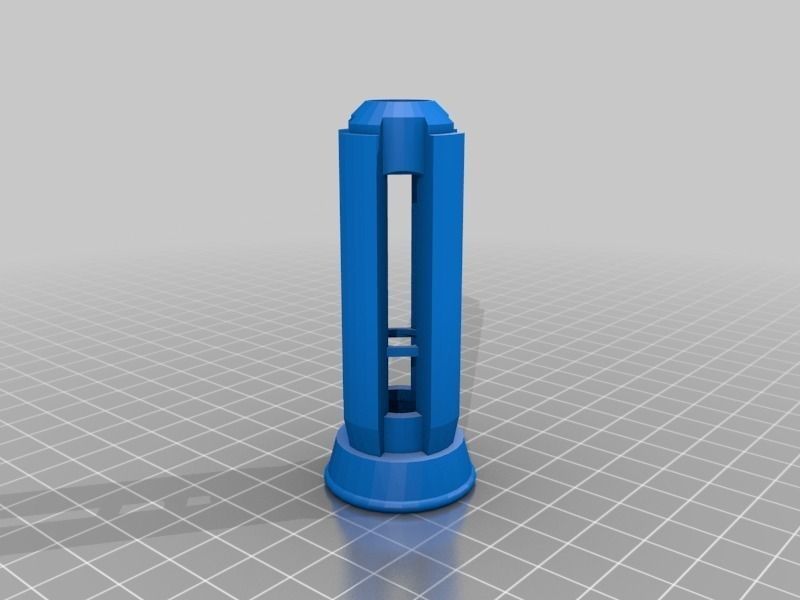
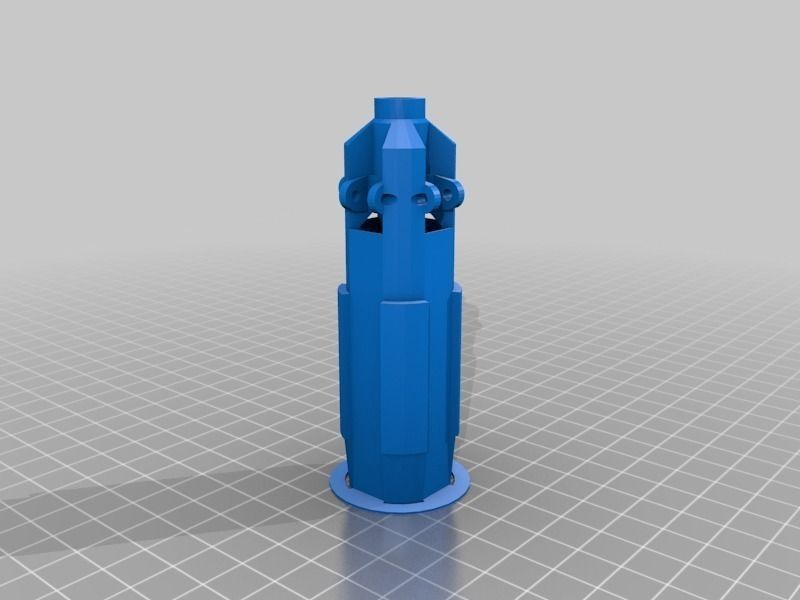
Updated with hollow version, for use of those of you who intend to put LEDs or remote controls or other devices inside. The handle is also connected to the cage with a twist to release mechanism for replacing batteries. This is the version printed above, which seems to go together well but I haven't tried actually putting anything in it yet.
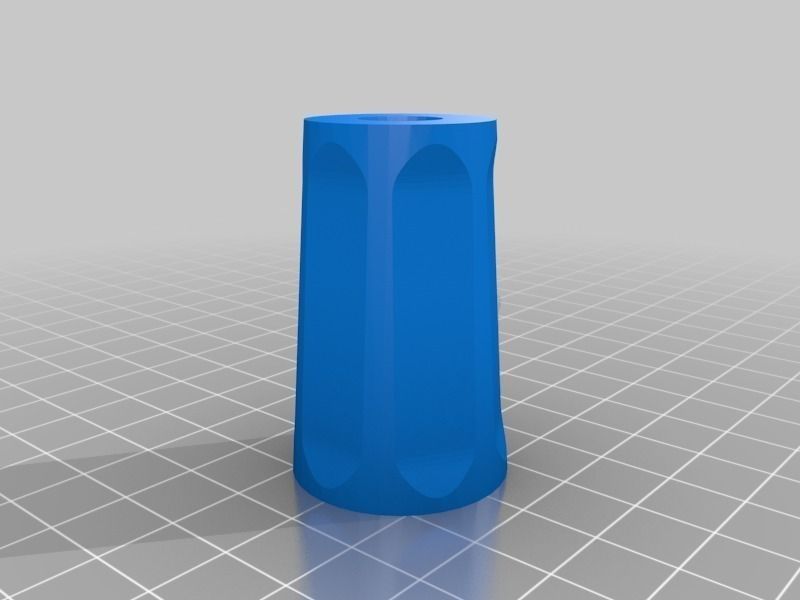
I have also added a version of the black part of the handle that is hollow and has a slot specifically sized for an Arduino Pro Mini.
As a warning - this model is fairly fragile. The tabs between the white and black parts of the handle don't work very well, are quite fragile and don't lock securely so I recommend just gluing those parts together. The sliding parts on the cage are also fairly fragile and are likely to break if you open and close it too many times. If you intend to use this as a frequently used toy or prop you are probably better off just gluing the movable parts in the open or closed position.
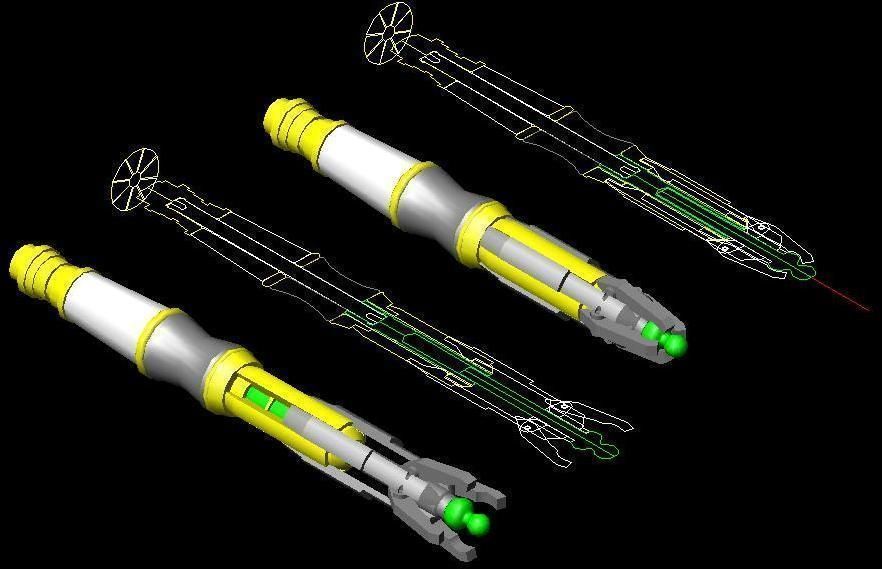
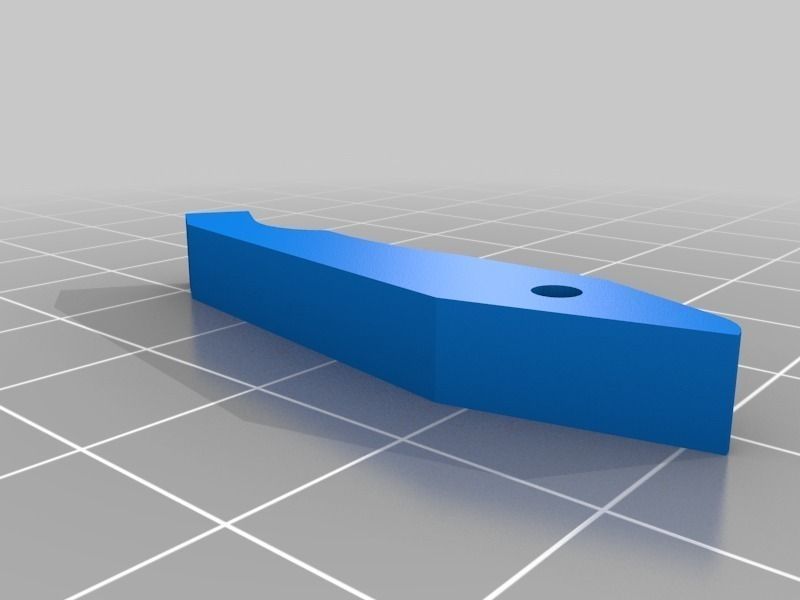
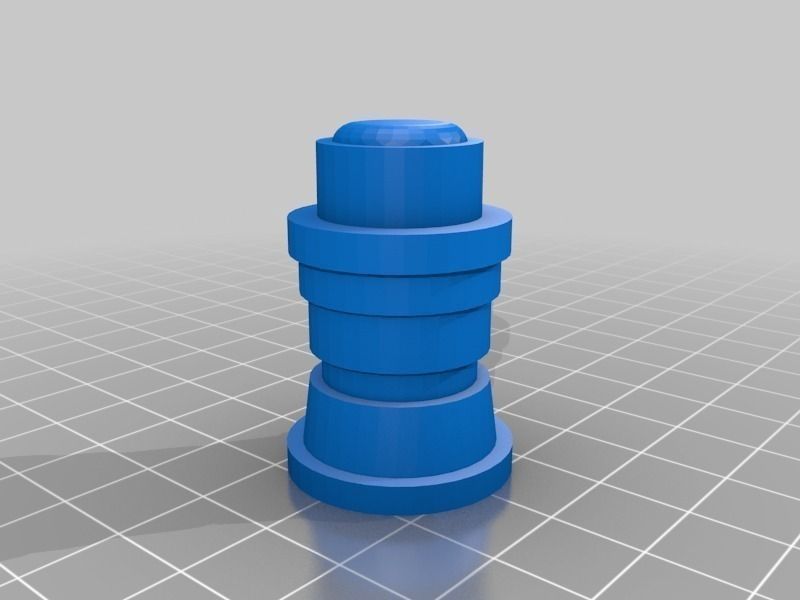
InstructionsPrint out one each of the parts, except for the 'silver_prong' part which you need to print four of. The color of each part is indicated, except for the 'connecting_rod' part which is buried inside and not visible so it can be any color.
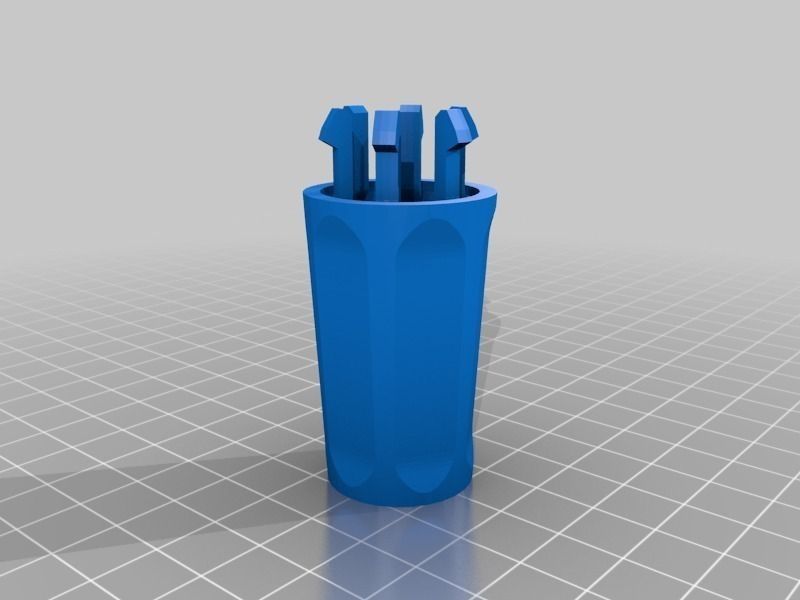
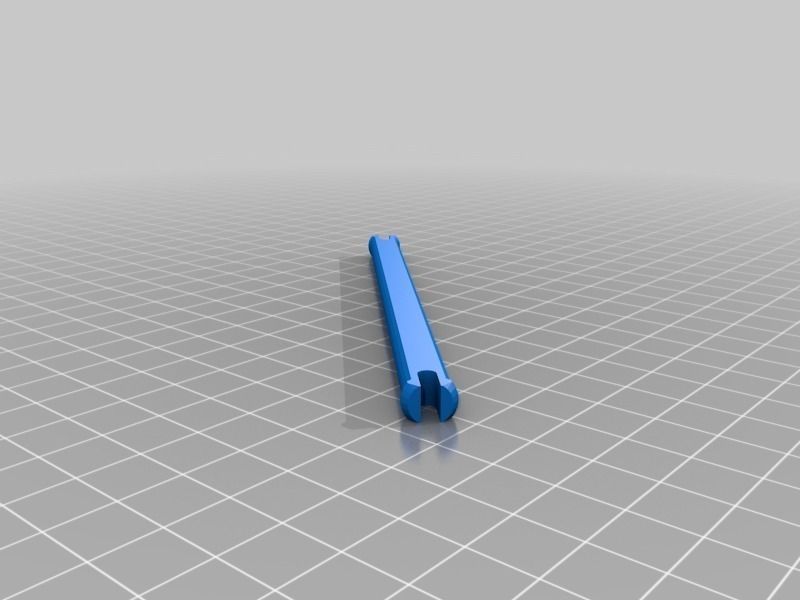
The 'green_tip' and 'silver_cage' parts may be difficult to print without support, so I have included alternate versions of them that have manually added support attached.
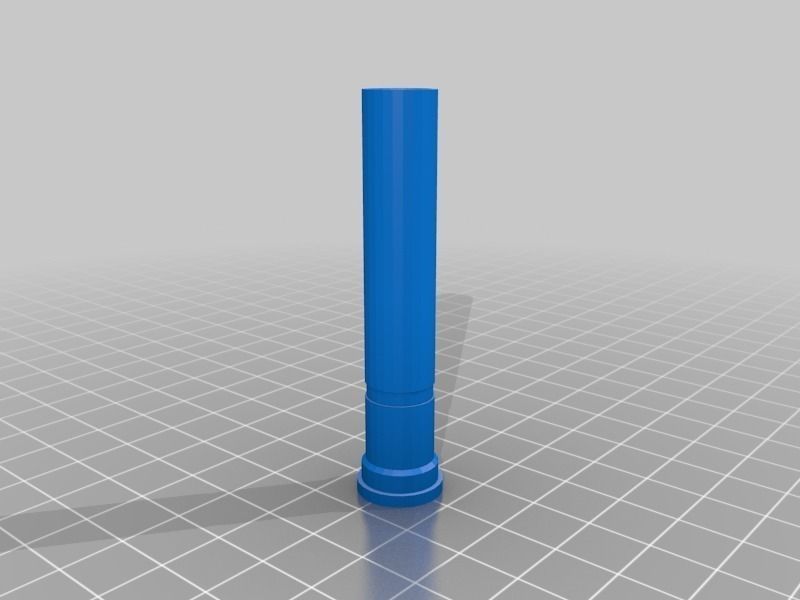
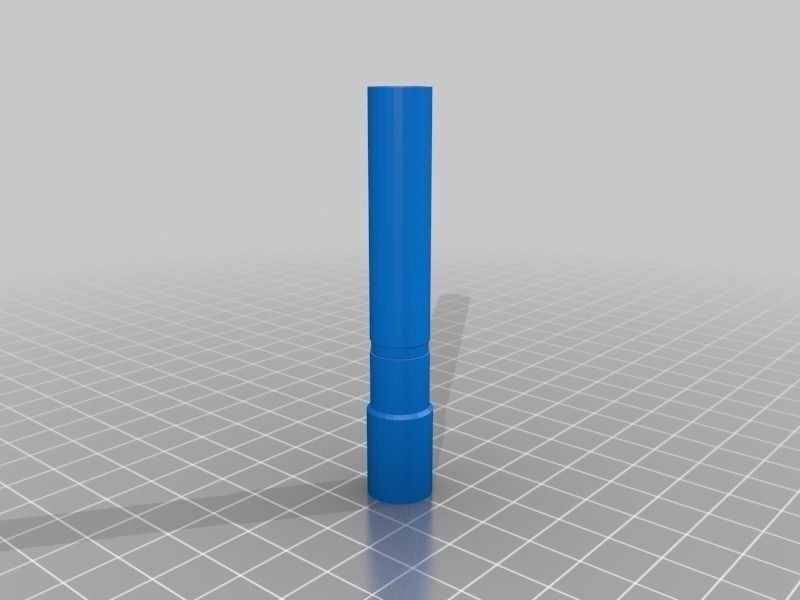
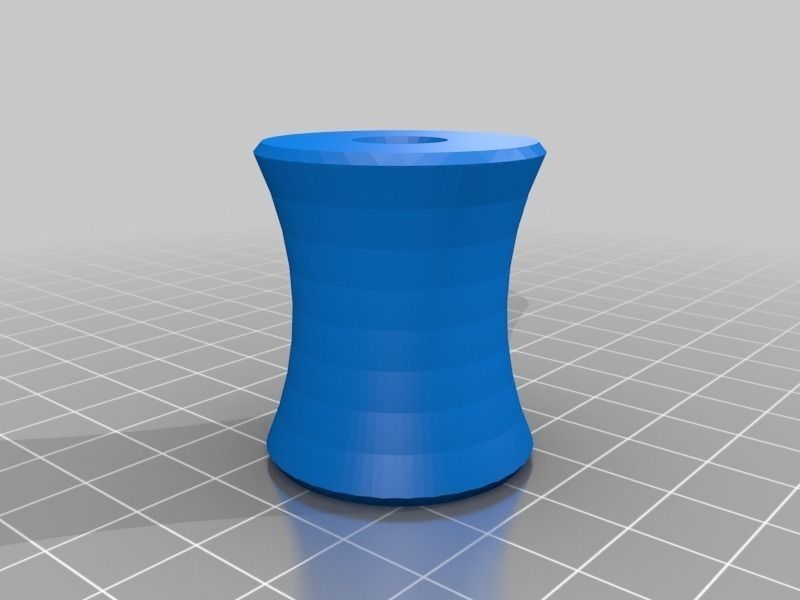
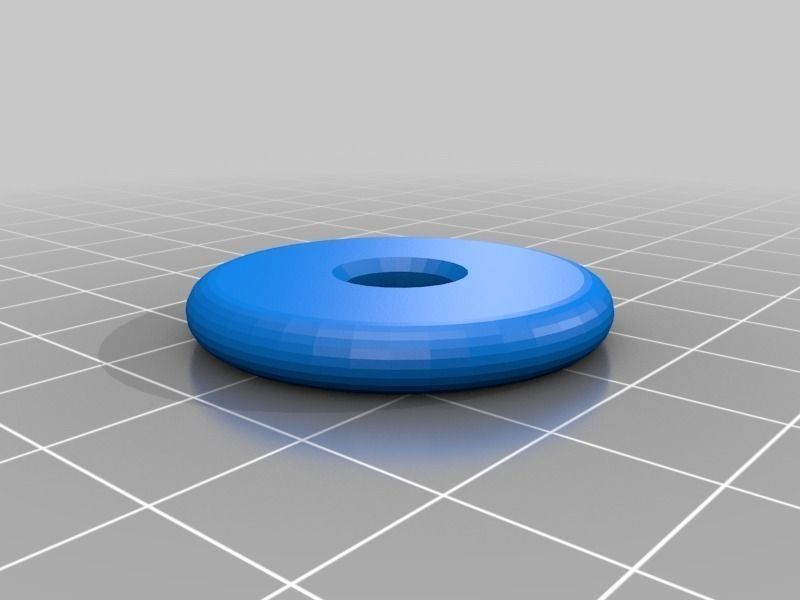
The connecting rod goes inside the parts 'gold-end', 'white_handle', 'gold_ring', 'black_handle', and 'green_core' and holds them together. Press 'gold_cage' over the outside of 'green_core', and optionally glue all those parts together if they aren't rigid enough without glue.
The hollow version does not need the connecting rod, instead fitting together with tabs on the insides of each piece.
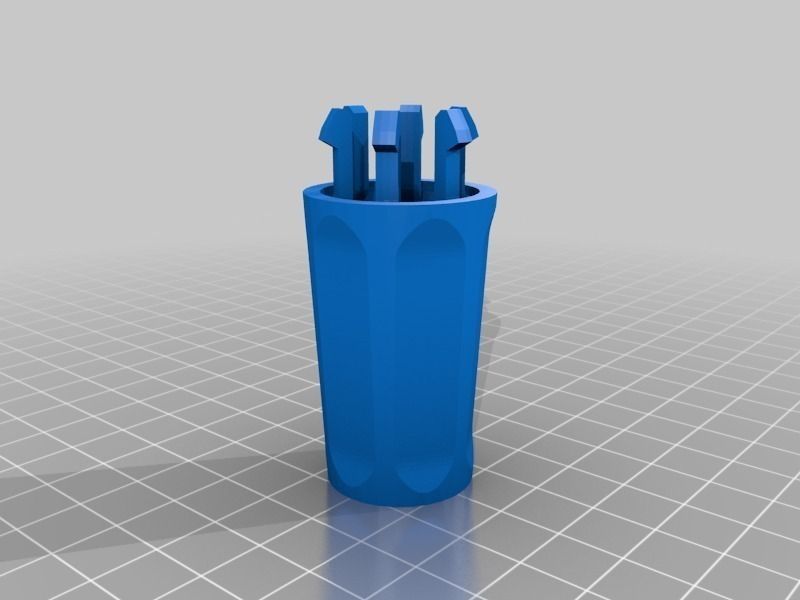
Cut four 10mm long pieces of 1.75mm filament and use them to pin the four 'silver_prong' parts into the 'silver_cage' part. You should then be able to snap the silver cage over the gold cage. Press the green tip piece into the center of the silver cage, use glue to attach it to the silver cage if required. The green tip should telescope in and out of the green core when the silver cage is moved forward and back.
I haven't yet printed this model, but everything should ft together. I may be updating these plans and instructions once I have printed it.
Similar Models
Users who bought this item also bought...